Stellar Converter for OST – Technician provides an option to ‘Split & Filter’ the converted OST file before you save it as a new PST file. The option helps you reduce PST file size and safeguard exported PST from corruption due to a large file size. Further, splitting PST in smaller size improves Outlook performance and helps avoid data loss.
In this KB, we have discussed the steps to split the converted OST file by using Stellar Converter for OST - Technician software and save it as new PST file(s).
Steps to Split and Save as PST
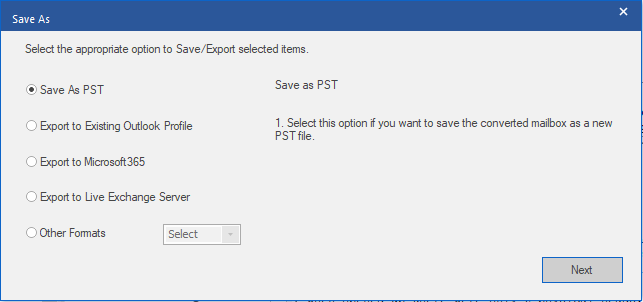
After you scan the OST file and proceed for saving it as PST, the software provides the ‘Split/Filter and Save PST’ option under the ‘Advance Options’ (refer to the screenshot below).

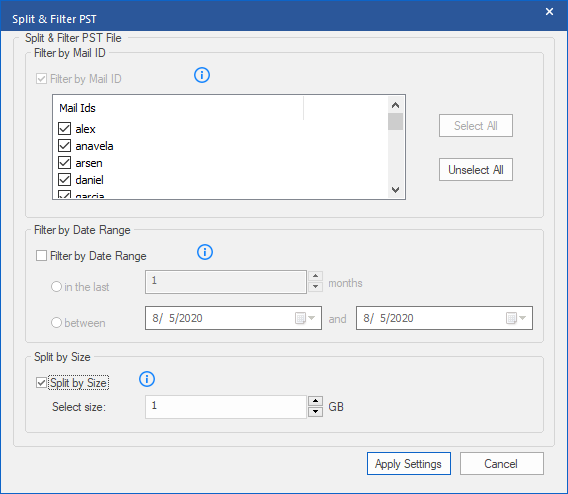
When you select the ‘Split/Filter and Save’ option, the software displays further options to filter and split the converted OST file data, based on ‘Filter by Mail IDs,’ ‘ Filter by Date Range,’ and ‘Split By Size.’
1. Filter by Mail ID
To filter by mail ID, select the particular email ID(s) under the Mail IDs scroll box. Use the ‘Select All’ or ‘Unselect All’ button to choose all or any specific mail IDs. The software will filter the mailbox content based on the selected mail IDs. Here are the steps to use this option:

- Click ‘Apply Settings’
- Then click on the ‘Browse’ button to choose a destination folder, where you want to save the PST file
- Click ‘OK’ to save
2. Filter by Date Range
Additionally, you can use the ‘Filter by Date Range’ filter to reduce the PST file size. The option allows you to save the mailbox items sent/received or created during a particular period or date range.
To use this option, follow these steps,
- Select the ‘Filter by Date Range’ checkbox in ‘Split & Filter PST’ dialog box
- Then choose between ‘in the last’ or ‘between’ options
- The ‘in the last’ option lets you split the mails according to month(s)
- The ‘between’ option creates a PST file that contains emails and other data sent/received during a particular time duration or date range. Here, you need to select ‘start’ and ‘end’ date
- Click ‘Apply Settings’
3. Split by Size
Finally, you can split the converted OST file and save it to PST based on desired file size. The option allows you to split the PST file based on selected size and saves it to equivalent-sized PST files.
To use this option, follow these steps,
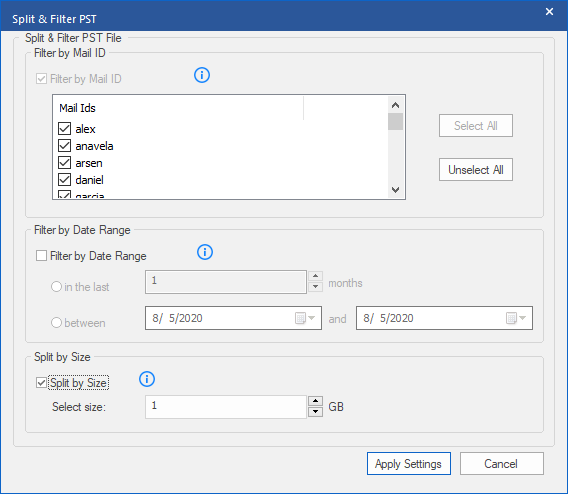
- Select ‘Split By Size’ checkbox and in ‘Select size’ drop-down, choose a size (in GB)
- You can choose to split PST file size between 1-50 GB, as per your need

- Click ‘Apply Settings’ and then choose a destination to save the PST file(s)
- This will save the converted OST file into corresponding PST files
Note: You can combine the Filter by Date Range and Split by Size options with Filter by Mail ID to split and filter the OST data and save it to multiple smaller PST files. This helps you avoid saving obsolete data in the PST file(s).
For more help, leave a comment or reach us via the Self Help & Support page.


