If you are a Rackspace® customer affected by the security incident and need to move your users' mailboxes to Microsoft 365, you can use the backup or their Archive Service to restore user mailboxes in Microsoft 365. The Archive Service allows you to search and export the mail items in PST format, which you can import to Microsoft 365 via the Network Upload method.
However, if you didn’t opt for Rackspace’s Archive Service before the incident occurred or you don’t have a backup, you can use an OST to PST converter software such as Stellar Converter for OST to migrate mailboxes of users from the local cache or .OST files created by the Outlook client to Microsoft 365 directly and restore user mailboxes with complete integrity.
How to use Stellar Converter for OST to Migrate OST Files to Microsoft 365
Considering the massive outage and its impact on businesses, we at Stellar® are providing our advanced software solutions and support to the affected Rackspace® customers to migrate the user mailboxes from their systems directly to Microsoft 365 mailboxes.
With the help of Stellar Converter for OST Technician, Rackspace customers can migrate the replica of user mailboxes stored in their systems as OST files at %localappdata/Microsoft/Outlook location to Microsoft 365 and restore users’ mailboxes.
Step by Step Guide for migration to M365 - OST files on different remote systems, follow the below steps:
This is the most efficient way of restoring user mailboxes from different remote systems, irrespective of their locations, to Microsoft 365 directly after such an Exchange Server outage with minimal effort and time.
Here’s how you can use the software to efficiently migrate multiple users’ mailboxes stored in OST files on different remote systems at various locations to Microsoft 365 simultaneously.
Step 1: Create user accounts in the Microsoft 365 tenant and assign a license to each user. Also, share the Microsoft 365 email credentials with your users to let them sign in to Outlook clients, access their emails, and send/receive new messages.
Step 2: Users must add their Microsoft 365 email account to their Outlook client on Windows.

Step 3: Install the Stellar Converter for OST - Technician software on the users' system or ask your users to install it on their systems. The software is free to download.
Step 4: Launch the software and click on the Activation button.
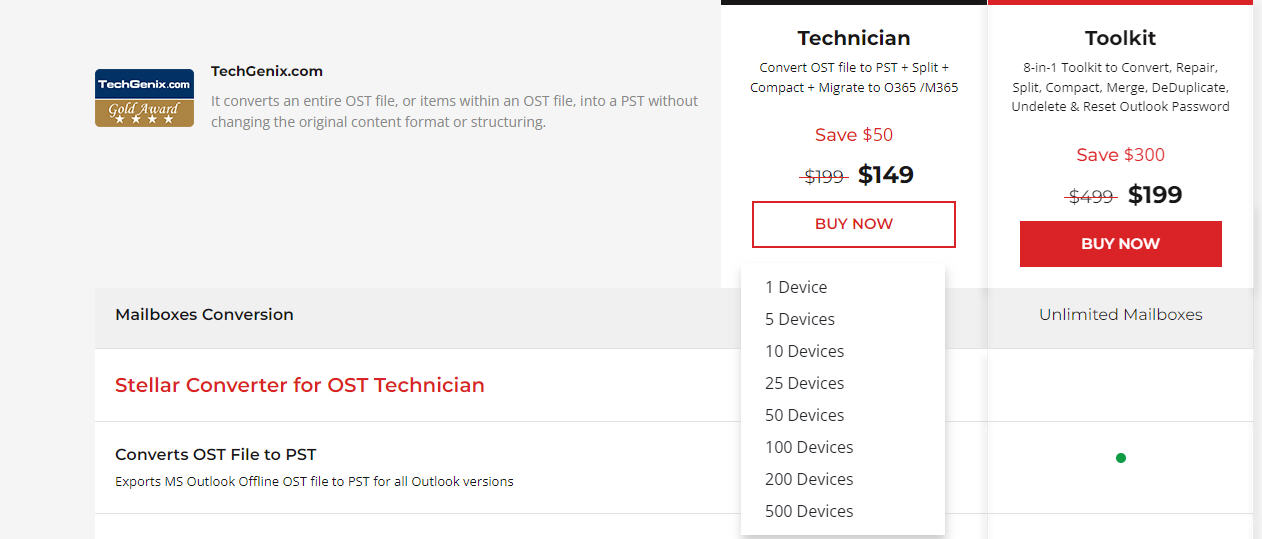
IMPORTANT NOTE: You can get the bulk licenses for multiple systems and distribute the keys among your users for product activation and mailbox migration to Microsoft 365. If you choose the Stellar Converter for OST - Technician or Toolkit edition, you can purchase bulk licenses for 1, 5, 10, 25, 50, 100, 200, or 500 devices or systems simultaneously.
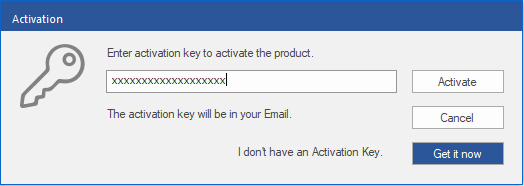
Step 5: Users need to enter the activation key in the field and click Activate.
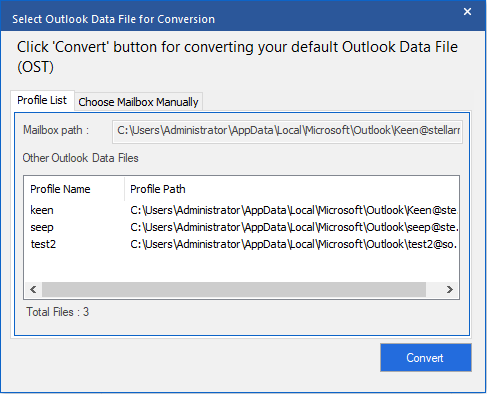
Step 6: After the activation, users can click on the Profile List tab and choose their OST file from the list that belongs to the Hosted Exchange Server account.
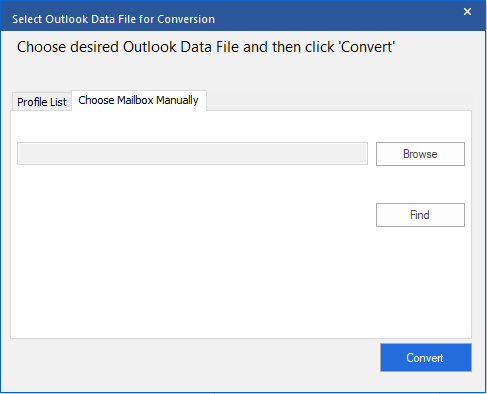
Step 7: Users or administrators can also use the Choose Location option to manually browse and select the OST file and then click Convert.
Step 8: After the scan, click Save Converted File under the Home ribbon and choose the Export to Microsoft 365 option in the Save As window. Click Next.
Step 9: From the profile name, users can select their Microsoft 365 profile name and then enter their password.
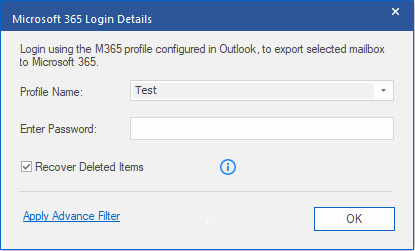
Step 10: Click OK. The software will validate the credentials using Microsoft Modern Authentication and securely export all the mailbox items from the OST file to the user’s mailbox on Microsoft 365.

The software automates the process and skips the intermediate steps that can take several hours or days and lead to extended downtime.


