Stellar Repair for Video

4.2. Repairing Corrupt Files
When you successfully add the required video files to the list, you can now repair them.
Note: The software does not affect the original file during the repair process.
Steps to repair video files:
1. Run Stellar Repair for Video.
2. To know how to add video files, see Add Video Files.
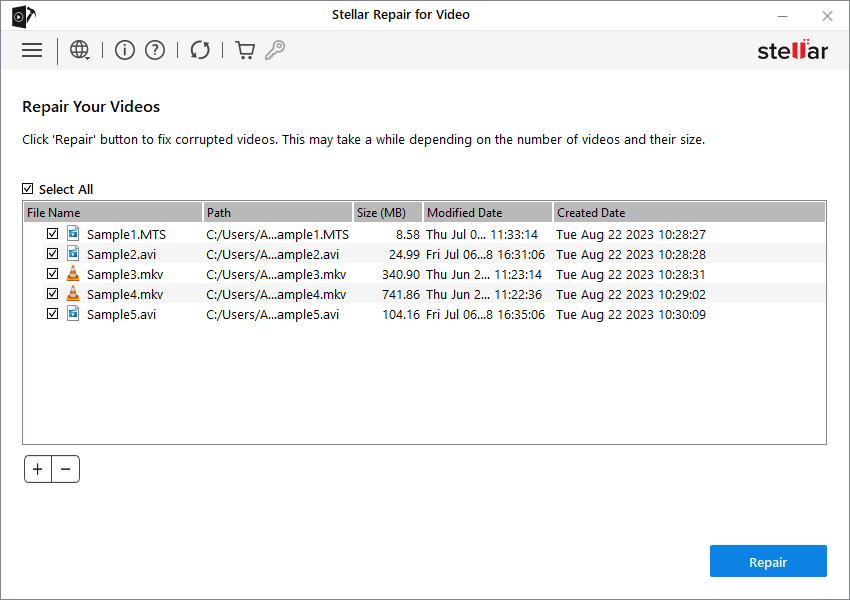
3. The added video files will be listed as shown below. With  you can select/unselect all the video files.

4. If you do not want to select all the video files then you can individually check/uncheck against the required checkbox.
5. When done, click Repair to start the repairing process.
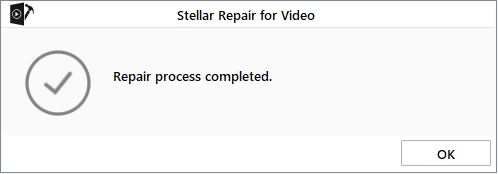
6. After the repairing process is completed, a dialog box appears with the message 'Repair process completed'.

7. Click OK to view the video files.
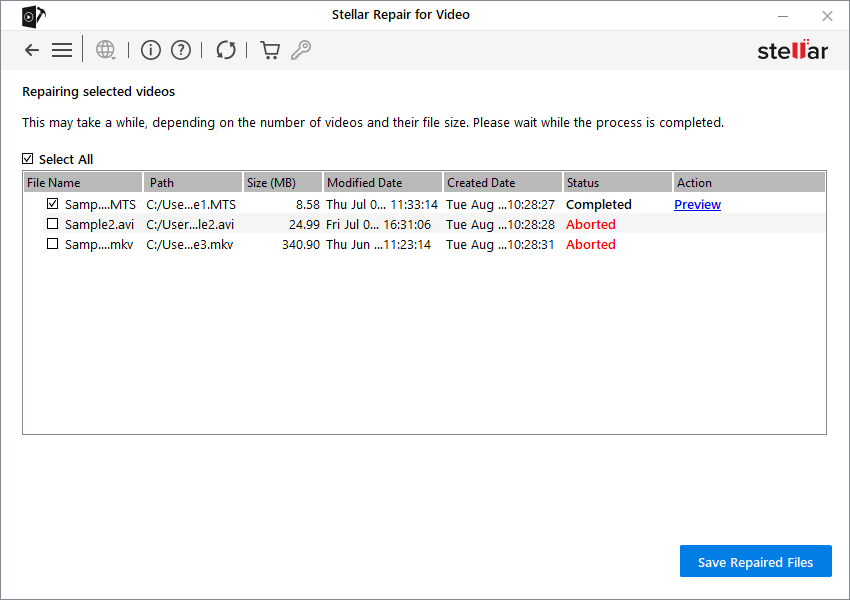
8. The status of the video files is shown under the Status attribute.
-
The video files that are repaired successfully are displayed with the 'Completed' status.
-
The video files that are severely damaged and need advanced repairing. Such files are displayed with the 'Awaiting Action' status. See Advance Repair to know more.
-
In case you stopped the repairing process midway, then such files are displayed with the 'Aborted' status.

To preview the repaired video files, see Preview Video Files.
Note: In the demo version of the software, the software shows a partial preview of the repaired files.
Related links:
Knowledge Base Article: "How to repair corrupt MOV, MP4, M4V, 3GP, 3G2 and F4V files with Stellar Repair for Video?"
 3. Getting Started