Stellar Data Recovery Technician software can repair damaged videos stored in removable devices like pen drive, memory card etc. with the help of the ‘Repair Video’ option.
Steps to Repair Damaged Videos:
- Open Stellar Data Recovery Technician software and click ‘Repair Video’ in the waffle menu on the "Select What To Recover" screen.
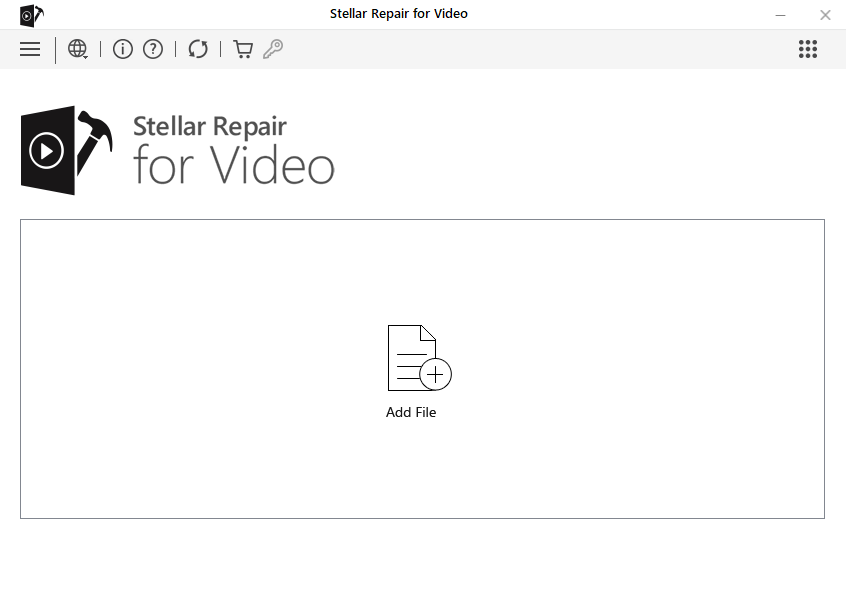
- The software directs to the main interface of software - Stellar Repair for Video.

- Click the ‘Add Files’ button to add the damaged or corrupt video files:
- The software allows selection of multiple files. Once selected, it lists all the selected data.
- If you want to add more files, click the ‘Add’ button. Next, click the ‘Repair’ button to repair the selected video files.
- Stellar Data Recovery Technician displays the overall progress of repairing the selected files through ‘progress bar’ and in ‘percentage’, as shown in the image below:
- The status column displays the following actions:
- Completed: Repair process complete. The software has repaired the damaged video. Users can ‘preview’ the damaged video. Click the ‘Preview’ option to check that the software has repaired the damaged video, successfully.
- Awaiting Action: Repair process complete but the damaged video file is not repaired. Click the ‘Advance Repair’ option to repair the selected file.
- Processing: Software is processing the damaged file. The ‘Action’ column does not display any message for the files under process.
Advance Repair
When the software displays the list of repaired files, it also displays those files which cannot be repaired.
- The Advance Repair option helps to recover the data from these files. Click the Advance Repair option available under the Action attribute.
- The Advance Repair dialog box appears. Click on Next button and the software displays a pop-up suggesting to upload the Sample File.
| Note: A sample file is an example file, basis which the software will perform the process of ‘Advance Repair’. The sample file should be clicked from the same device and must be available in the same format as the damaged file format. |
- Select the Sample file and click Repair.
- Once completed, the “Repair Process” shows a ‘Repair process completed’ dialog box.
Save Repaired Video Files
- Save the repaired video files option allows users to save all or selected video files.
- Checkbox for the files to be saved.
- Click ‘Save Repaired Files’ and a dialog box appears to confirm the location for the saved file.
- Save repaired file at source location: the software saves the repaired file at the same location as the original file
- Save file at custom location: click the ‘Browse’ button to select the location for saving the repaired file.
- Click the ‘Save’ button
- The repaired files are saved successfully, and Stellar Data Recovery Technician software displays a message: Repaired files saved successfully‘
- Click OK to close the message box.
The damaged video is repaired and saved at a specified location using Stellar Data Recovery Technician software.


