To extract and repair thumbnails from a corrupt image files using Stellar Repair for Photo, follow these steps:
- Launch Stellar Repair for Photo software on your Windows or Mac.
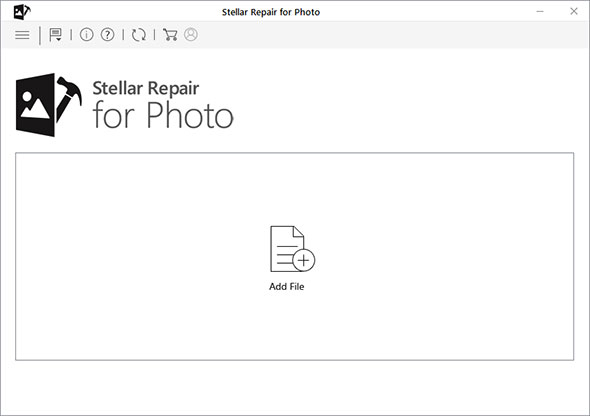
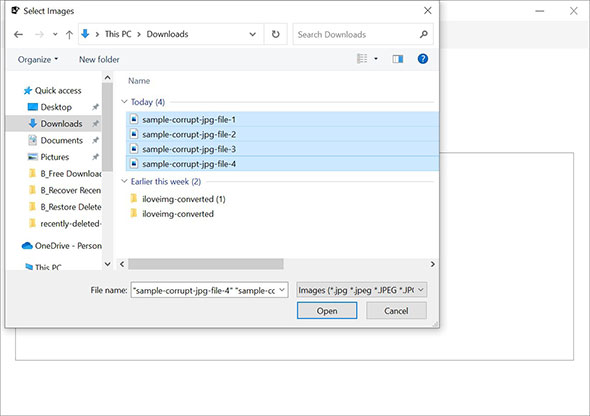
- On the home screen, click ‘Add File’ to insert corrupted images. Select single or multiple files and click Open to add photos for repair.
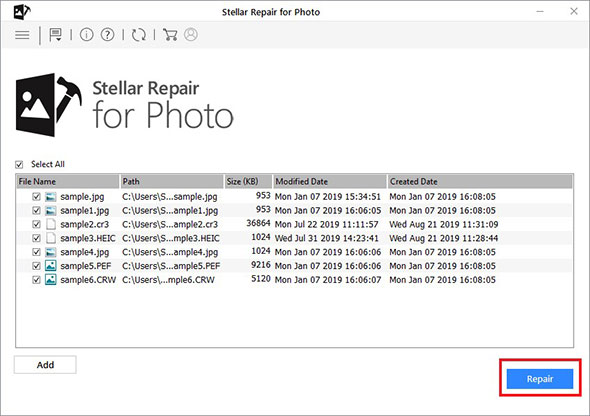
- Once you finish adding corrupted photo files, click the ‘Repair’ button to initiate the repair process.
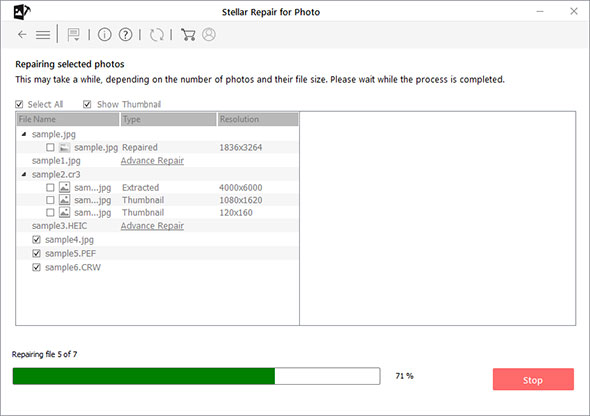
- You can see the progress of the image repair process and click the Stop button if you wish to stop the current repair process.
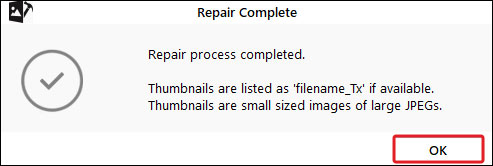
- Click OK when the software prompts ‘Repair process completed’.
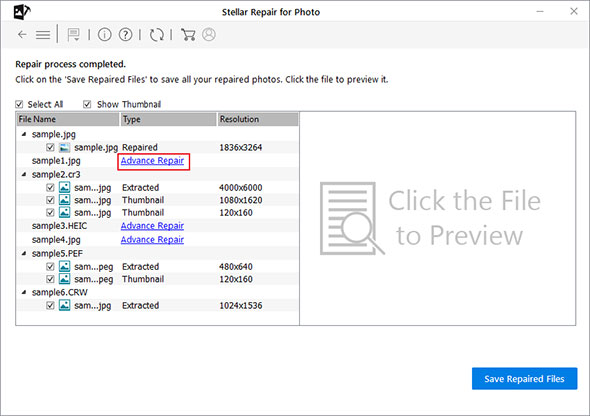
- Now, you can see the list of repaired images and here some files are not repaired. Click the Advanced Repair option present under the Type attribute.
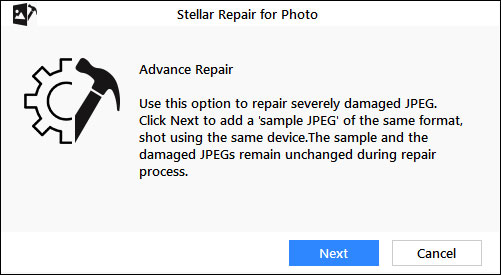
- Click Next in the dialog box that appears with information about Advanced Repair. Click Browse to add a sample file for repairing corrupt images.
- Don’t forget to select Apply to all JPEGs of same format and click Repair to begin the repairing process.
- After the process is over, click OK when you get ‘Repair process completed’ prompt. Select the files you want to Preview to see how repaired image files look.
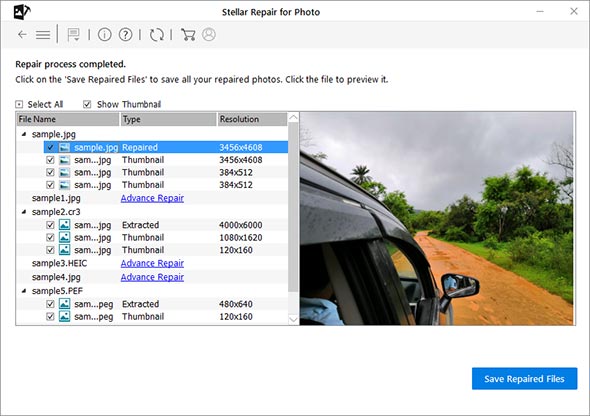
- Once you are satisfied with the repair result, click Save Repaired Files. Next, Browse the location to save the repaired images at a desired destination. Then click Save. After the saving process is complete, click OK.
