Yes, Stellar Repair for QuickBooks® Software supports the UK version of QuickBooks® software. In order to repair your corrupt company file created in QuickBooks® UK version, follow the steps given below.
But Before We Begin
Make sure that the following prerequisites are met:
- Create a blank target company file (QBW) that will be used to store all the recovered data.
- The target company file should be created with the same version of QuickBooks® as that of your corrupt database.
- Close the newly created company file and the QuickBooks® application.
Steps to Repair Corrupt QBW File with Stellar Repair for QuickBooks® Software
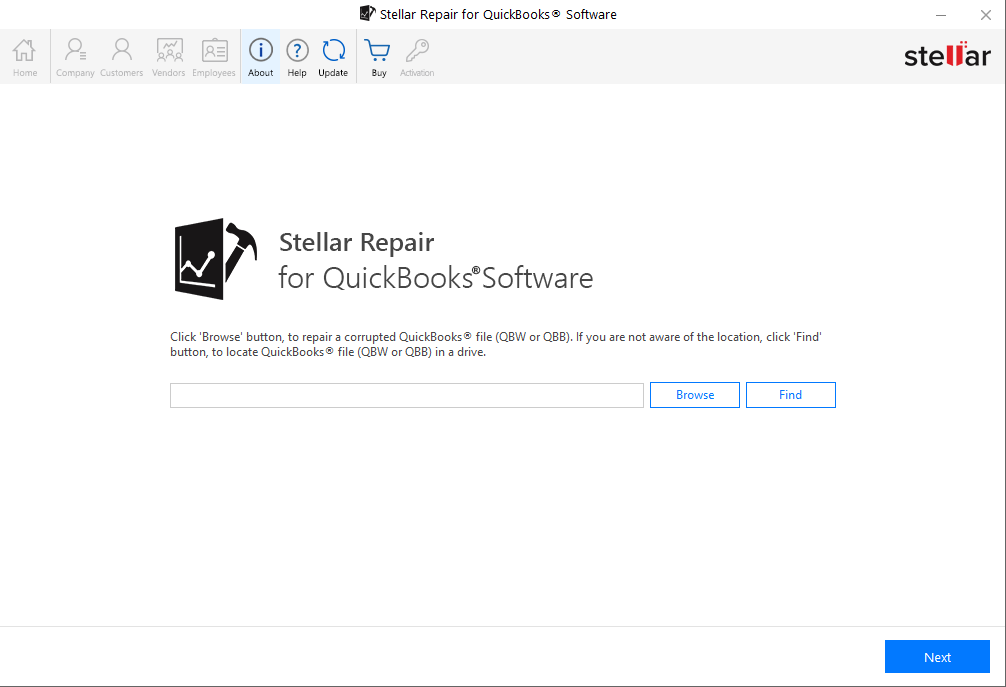
Step 1: Launch the software. On the main interface, click 'Browse' to select the QuickBooks® company file (.QBW) you want to repair. If the QBW file is not available, you may also select a backup file (QBB) to recover the company file data. If you can’t locate the file (QBW or QBB), use the 'Find' option to locate the file in any folder, subfolder, or local drive.
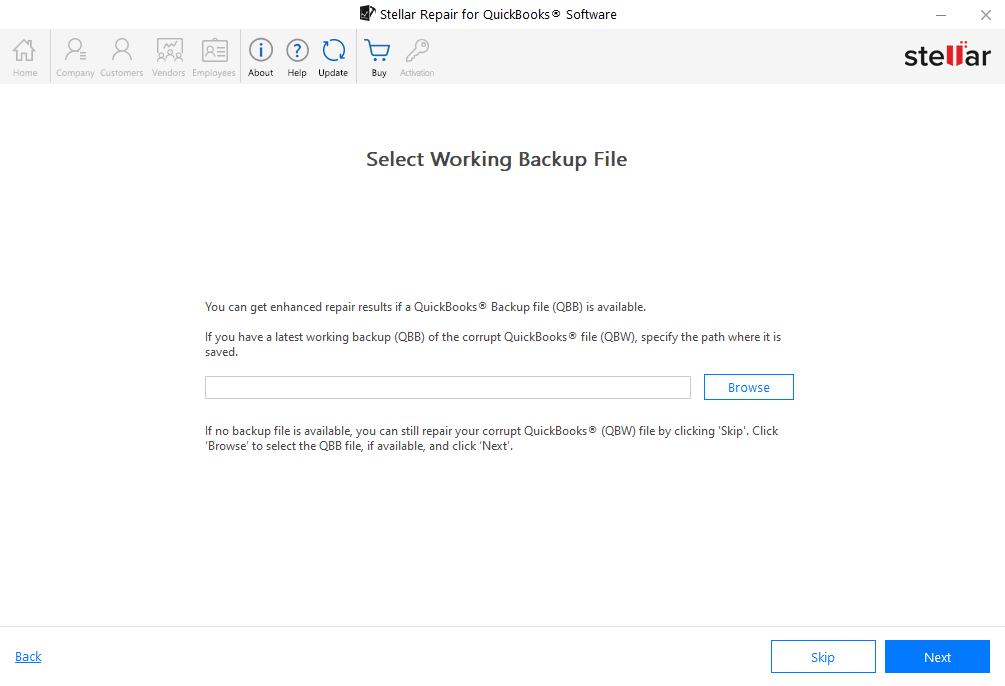
Step 2: A window with an option to browse a working QuickBooks® backup file (QBB) opens. Select a QBB file and click ‘Next.’ If you don’t have a QBB file, click ‘Skip.’
Step 3: After selecting the file, do the following:
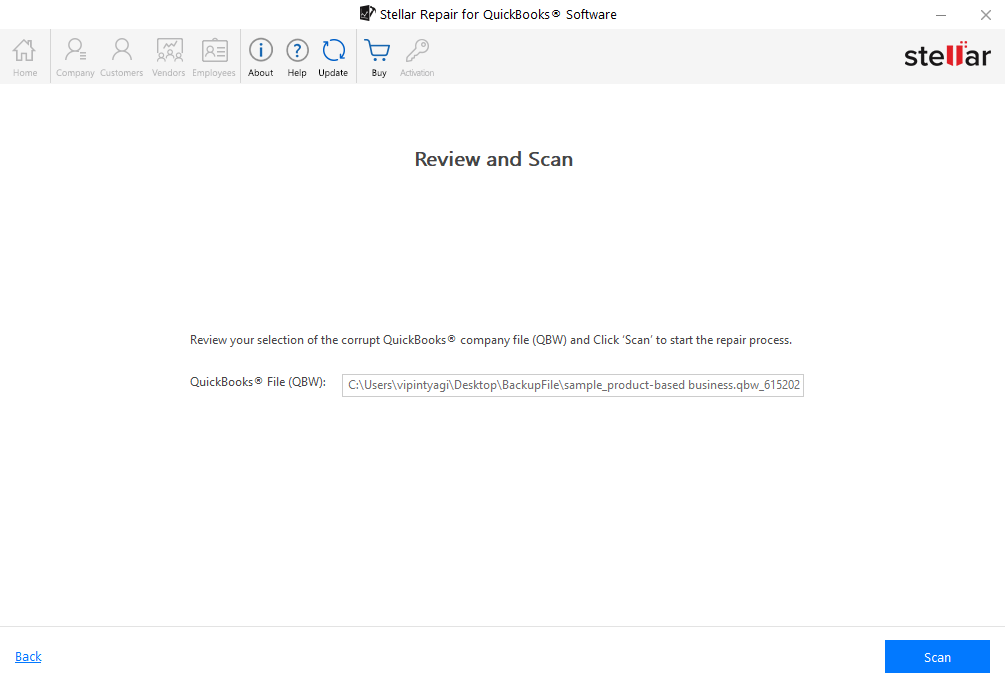
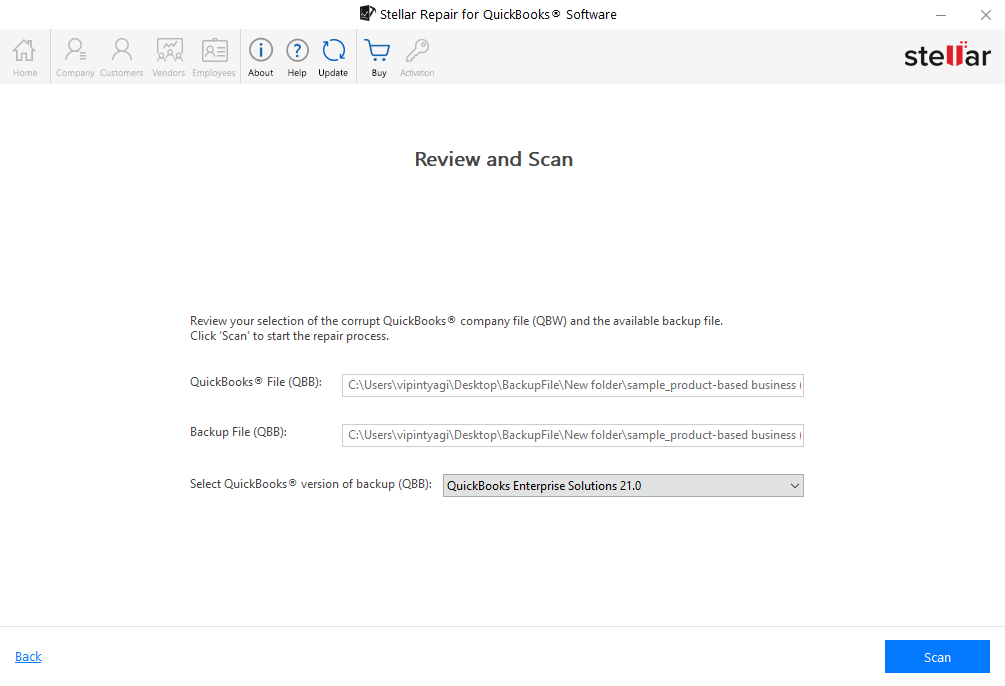
3.1. If you’ve selected a QBW file without a backup file (QBB), review the selected QBW file, and then click ‘Scan.’
3.2. If you’ve selected both QBW and QBB files, review the selected files, and press the ‘Next’ button.
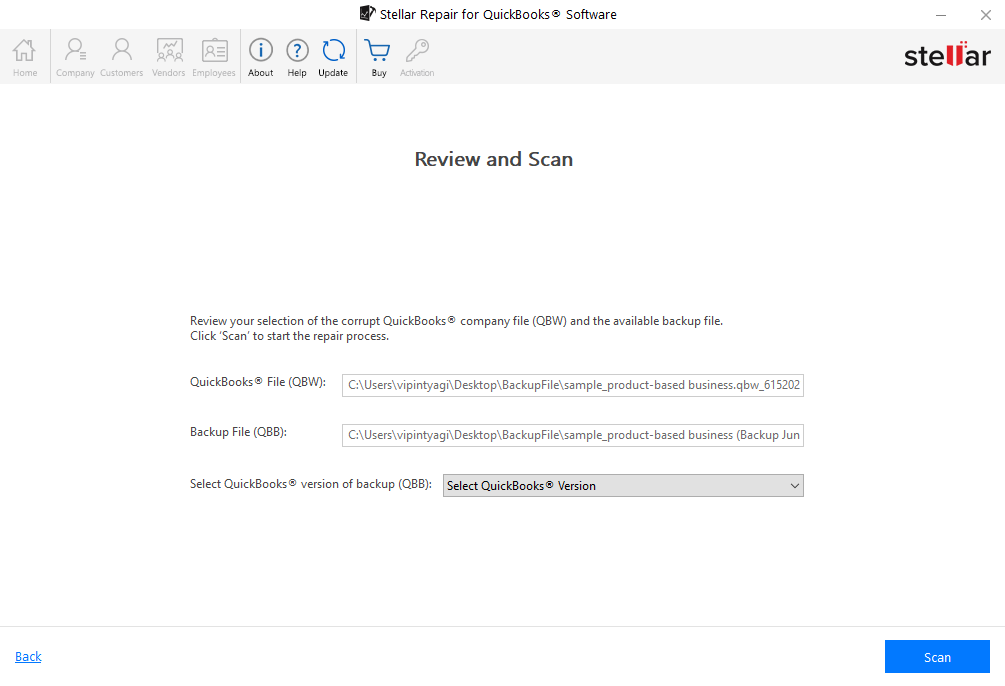
3.3. If you’ve selected two backup files, review both the files, and then click the ‘Scan’ button.
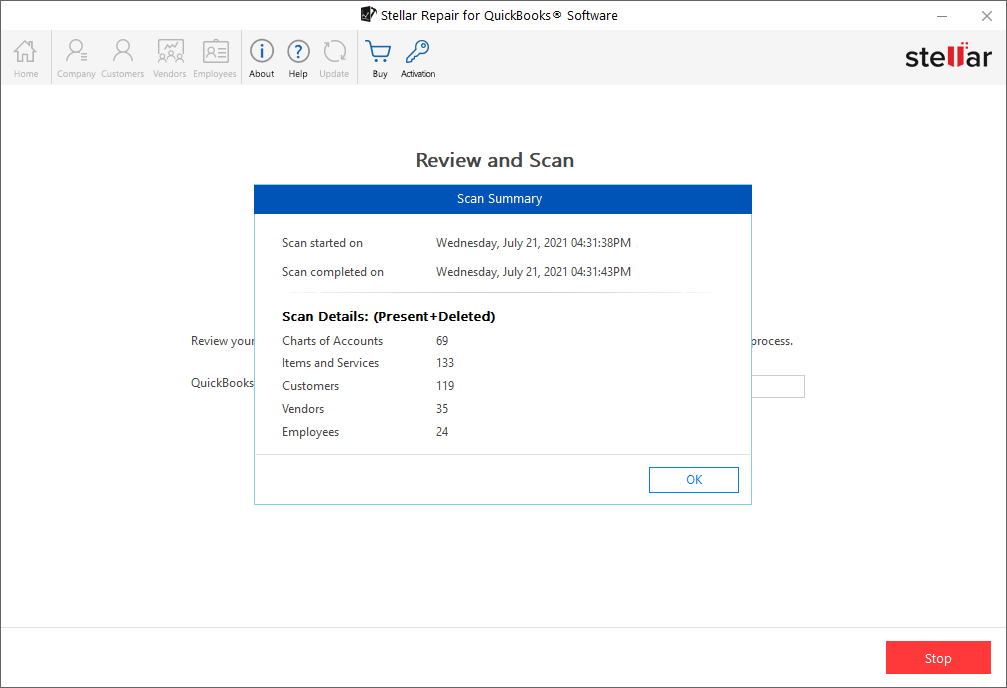
Step 4: The software now starts scanning the selected file. It then displays details of the scanning process in the ‘Scan Summary’ window.
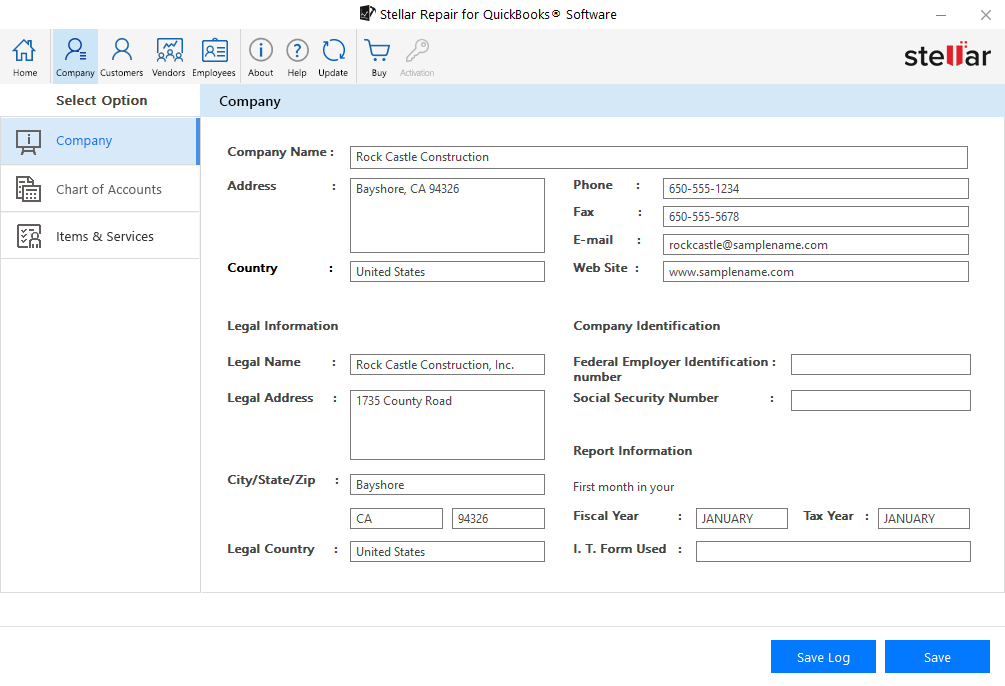
Step 5: Clicking OK opens a preview window displaying the recoverable QBW file components like the Company. While previewing the Company information, select ‘UK’ from the Country drop-down list. After verifying the data, click ‘Save.’
Note: You can also view data of the Customers, Vendors, and Employees by clicking on the appropriate option.
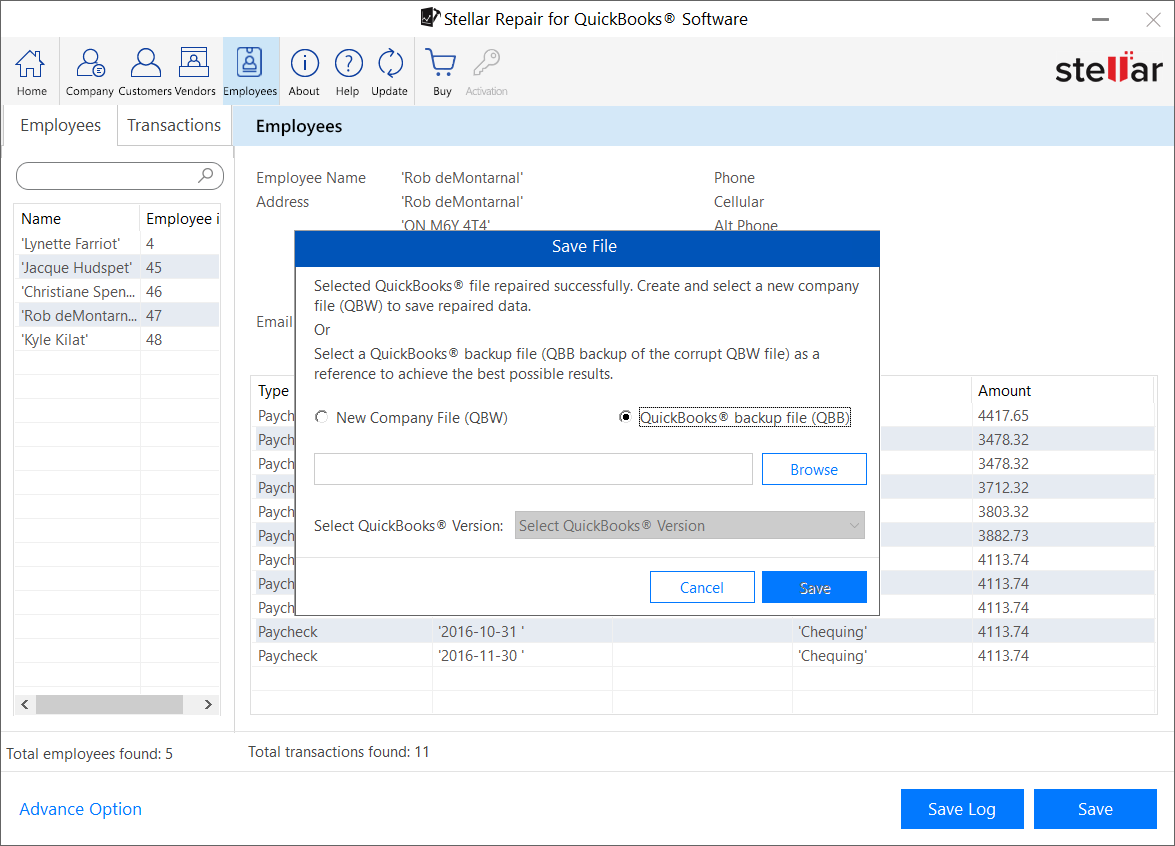
Step 6: When prompted to select a new QBW file, select the file where you want to save the repaired data. You may also choose to save the data in the latest working backup file (QBB). After selecting the file, click ‘Save’ to initiate the repair process.
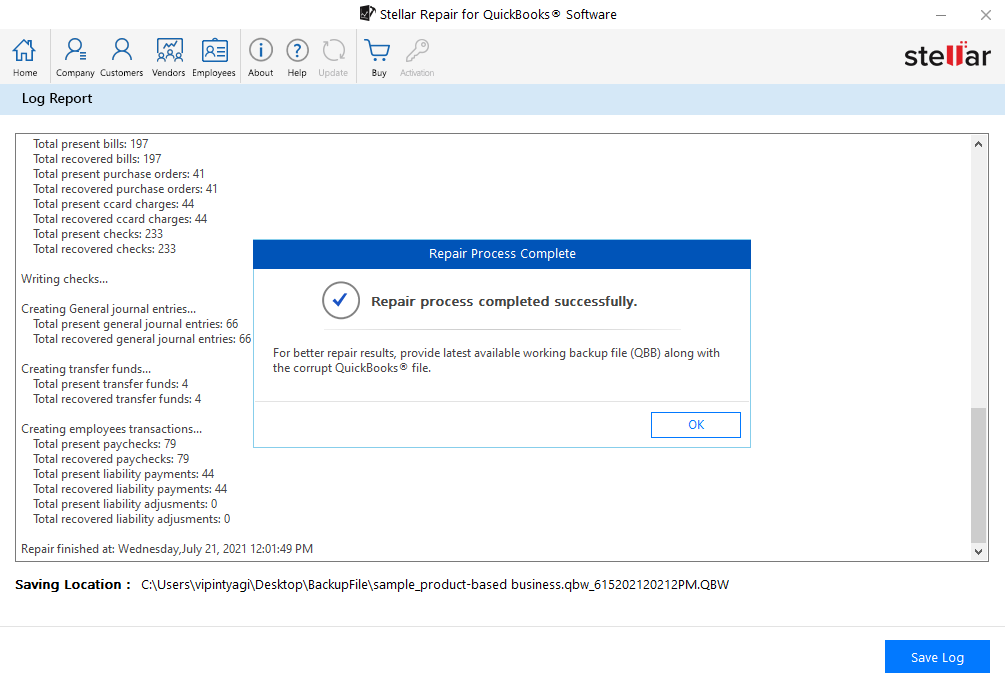
Step 7: Once the repair is finished, you’ll see a dialog displaying the message 'Repair Process Completed Successfully'. Note that if the repair results are not satisfactory, you can try to recover the QuickBooks® data from a backup file (QBB).
Note: If you have selected a QBB file in the initial steps, clicking on ‘Save’ in Step 6 will repair and directly save the file in a QBW file.


