Stellar Repair for Exchange is a professional software to recover mail items from corrupt EDB files. The software uses an advanced approach to get back lost mail items like emails, contacts, calendars, notes, and more. The other important feature offered by the software is to save the scanned information for future recovery.
With Mailbox Exchange Recovery software, you can save the scanned result at any desired location and use it for future recovery. The software uses an image file format to save the scanned information. However, you can load back the saved image file back to complete the recovery process at anytime. Once loaded back, you can preview the mail items and save them in any desired format supported by the software.
In order to save scan information of EDB file and load them back to recover mailboxes, you need to follow the below-mentioned steps:
- Launch the software ‘Stellar Repair for Exchange ’ software.
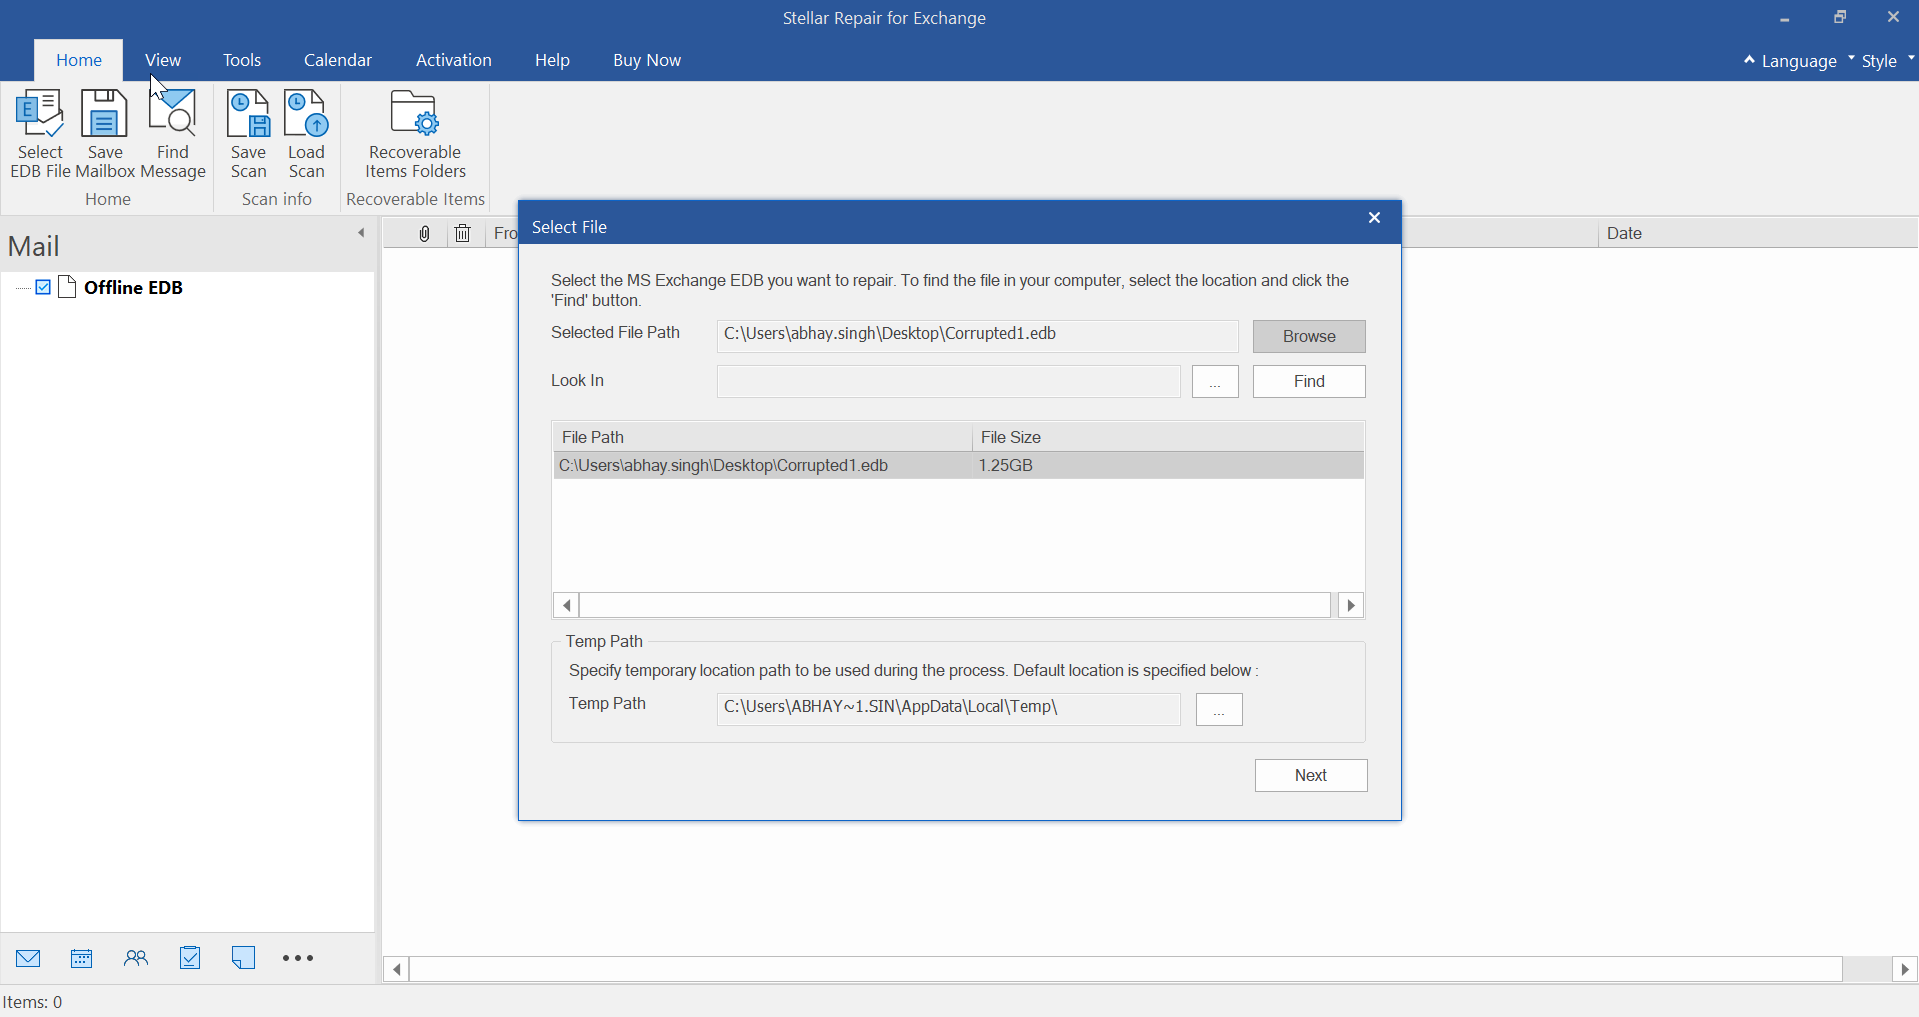
- Click on 'Browse' dialog box if you know the location of the EDB file.
- Click ‘Find’ if you want to search for an EDB file from your system. This option is helpful in case you do not remember the location of the EDB file.

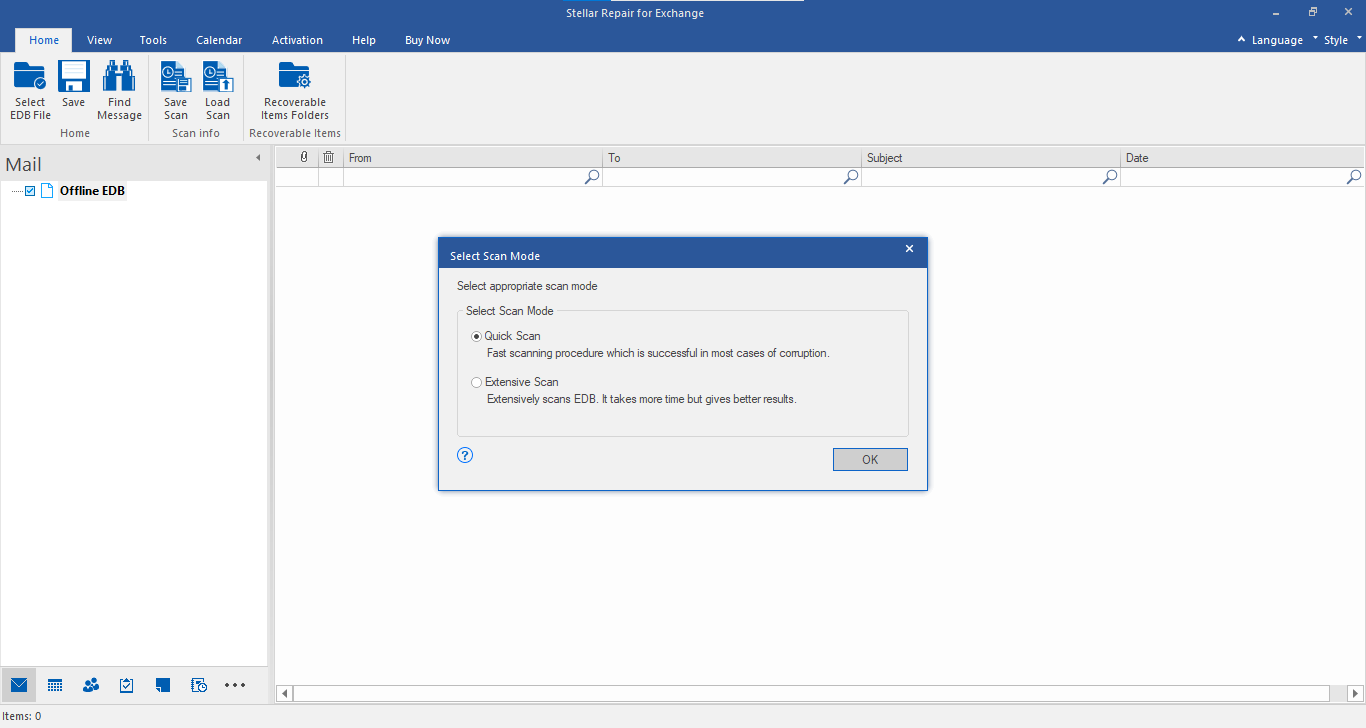
- The software then allows you to select a scan mode from the ‘Select Scan Mode’ dialog box. Choose Quick Scan or Extensive Scan as shown below.
- In order to quickly repair corrupt EDB file, select ‘Quick Scan’ and click ‘OK’. Else, in order to get a better result, select ‘Extensive Scan’ and click ‘OK’.

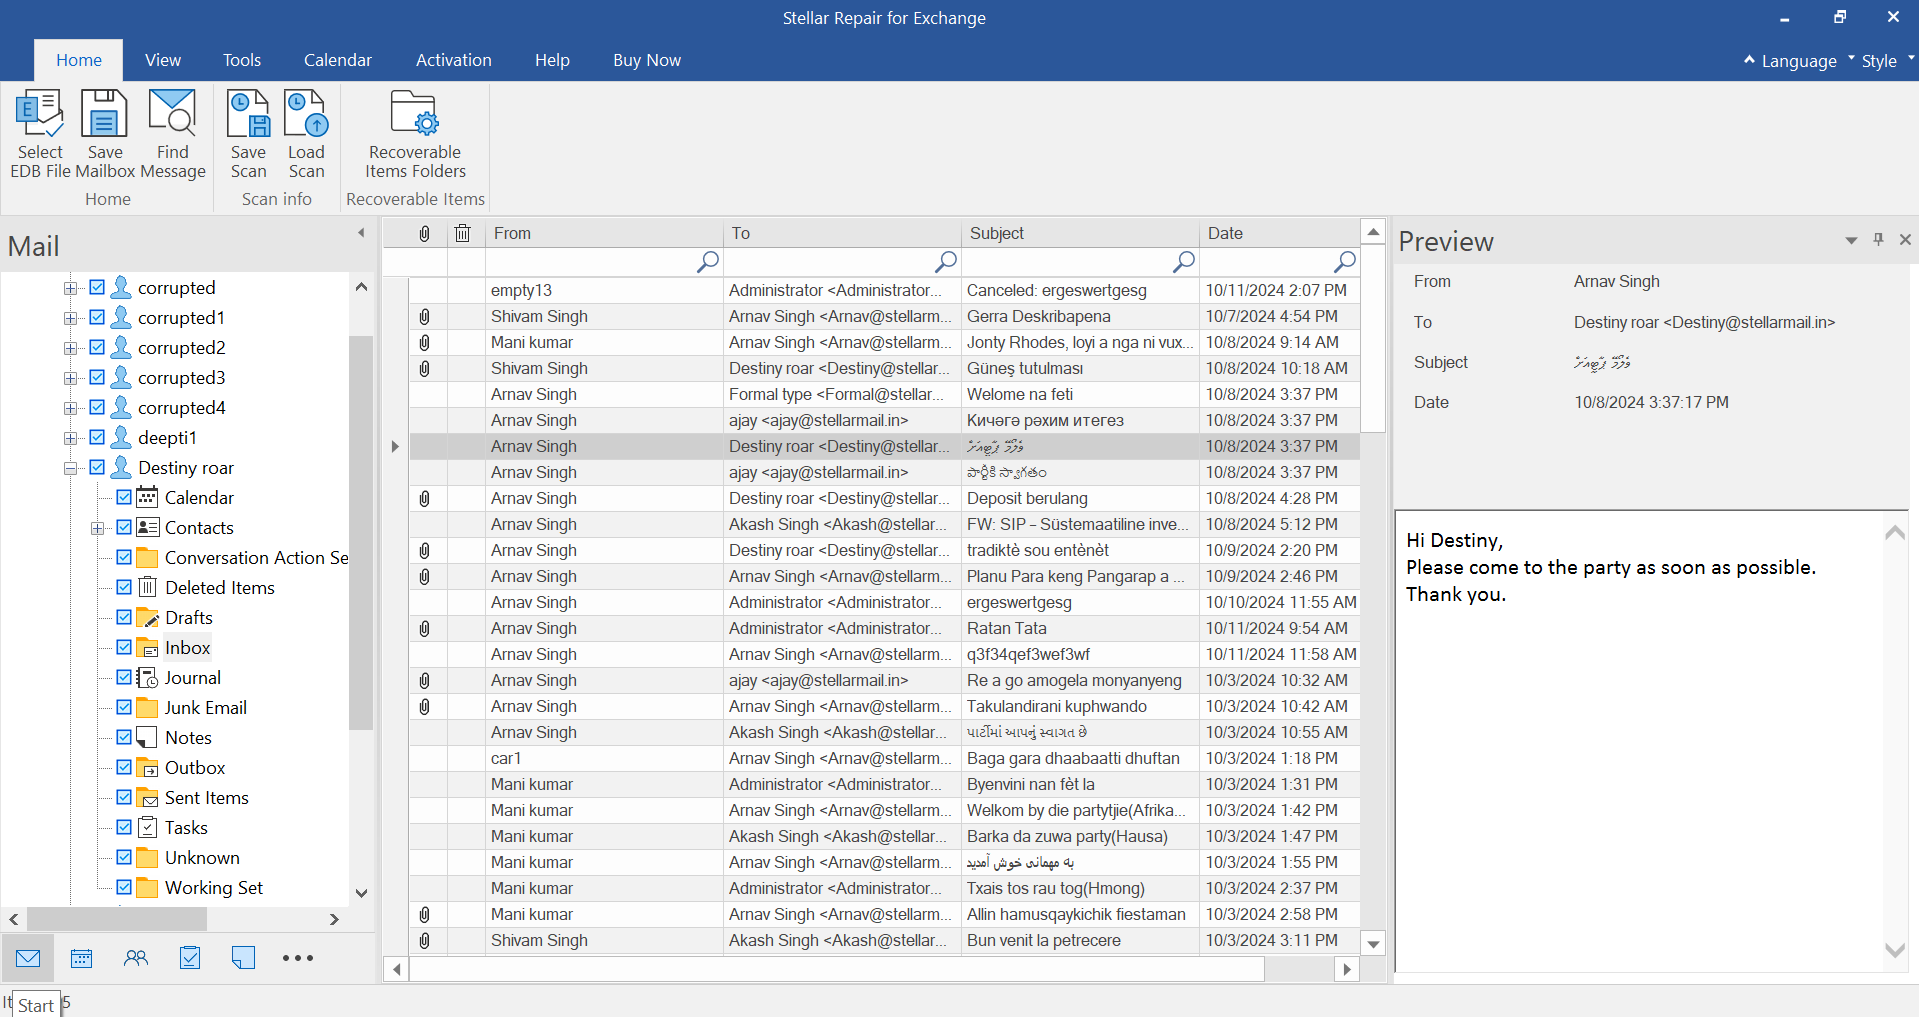
- The software displays a list of recovered mails in the left side of the interface after the scanning is over.

- The scanned result can be saved and loaded back later. From the ‘Home Menu’, click ‘Save Scan’.

- Choose the destination to save the scan information by clicking ‘Browse’ and then click ‘OK’. This would save the scan information in an image format.

- In order to load back the scan information, select ‘Load Scan’ from the ‘Home Menu’.

- Click ‘Browse’ to navigate to the location where the image file is saved and click ‘OK’ as shown below.

- You can now save the scanned/recovered file in various formats supported by the software. From the ‘Home Menu’ click ‘Save’. Choose a desired format and destination to save the file. Click ‘Ok’ as shown below.


