You can use Stellar Migrator for Exchange to Migrate mailboxes from an on premise Exchange server to Microsoft 365. This software will directly access the mailboxes on the source sever and migrate them to the cloud-based server.
Steps to migrate mailboxes from Exchange server to Microsoft 365 using Stellar Migrator for Exchange
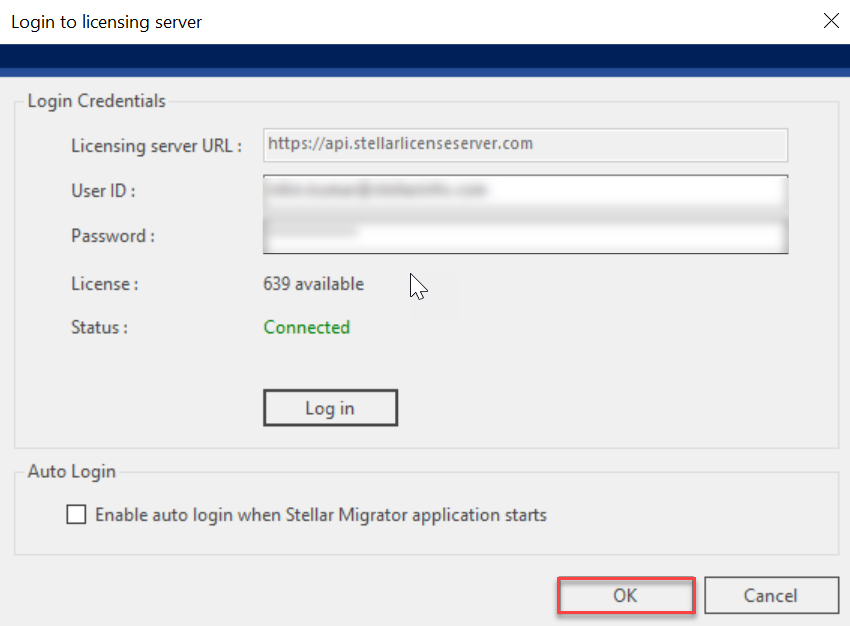
- Download and open Stellar Migrator for Exchange. From the Login ribbon, select Login and enter your User ID and Password. Click on Log in.

- The Status will change to Connected and you will be able to see the number of available licenses. Click on OK
- In the Job ribbon, click on New to create a new migration job.

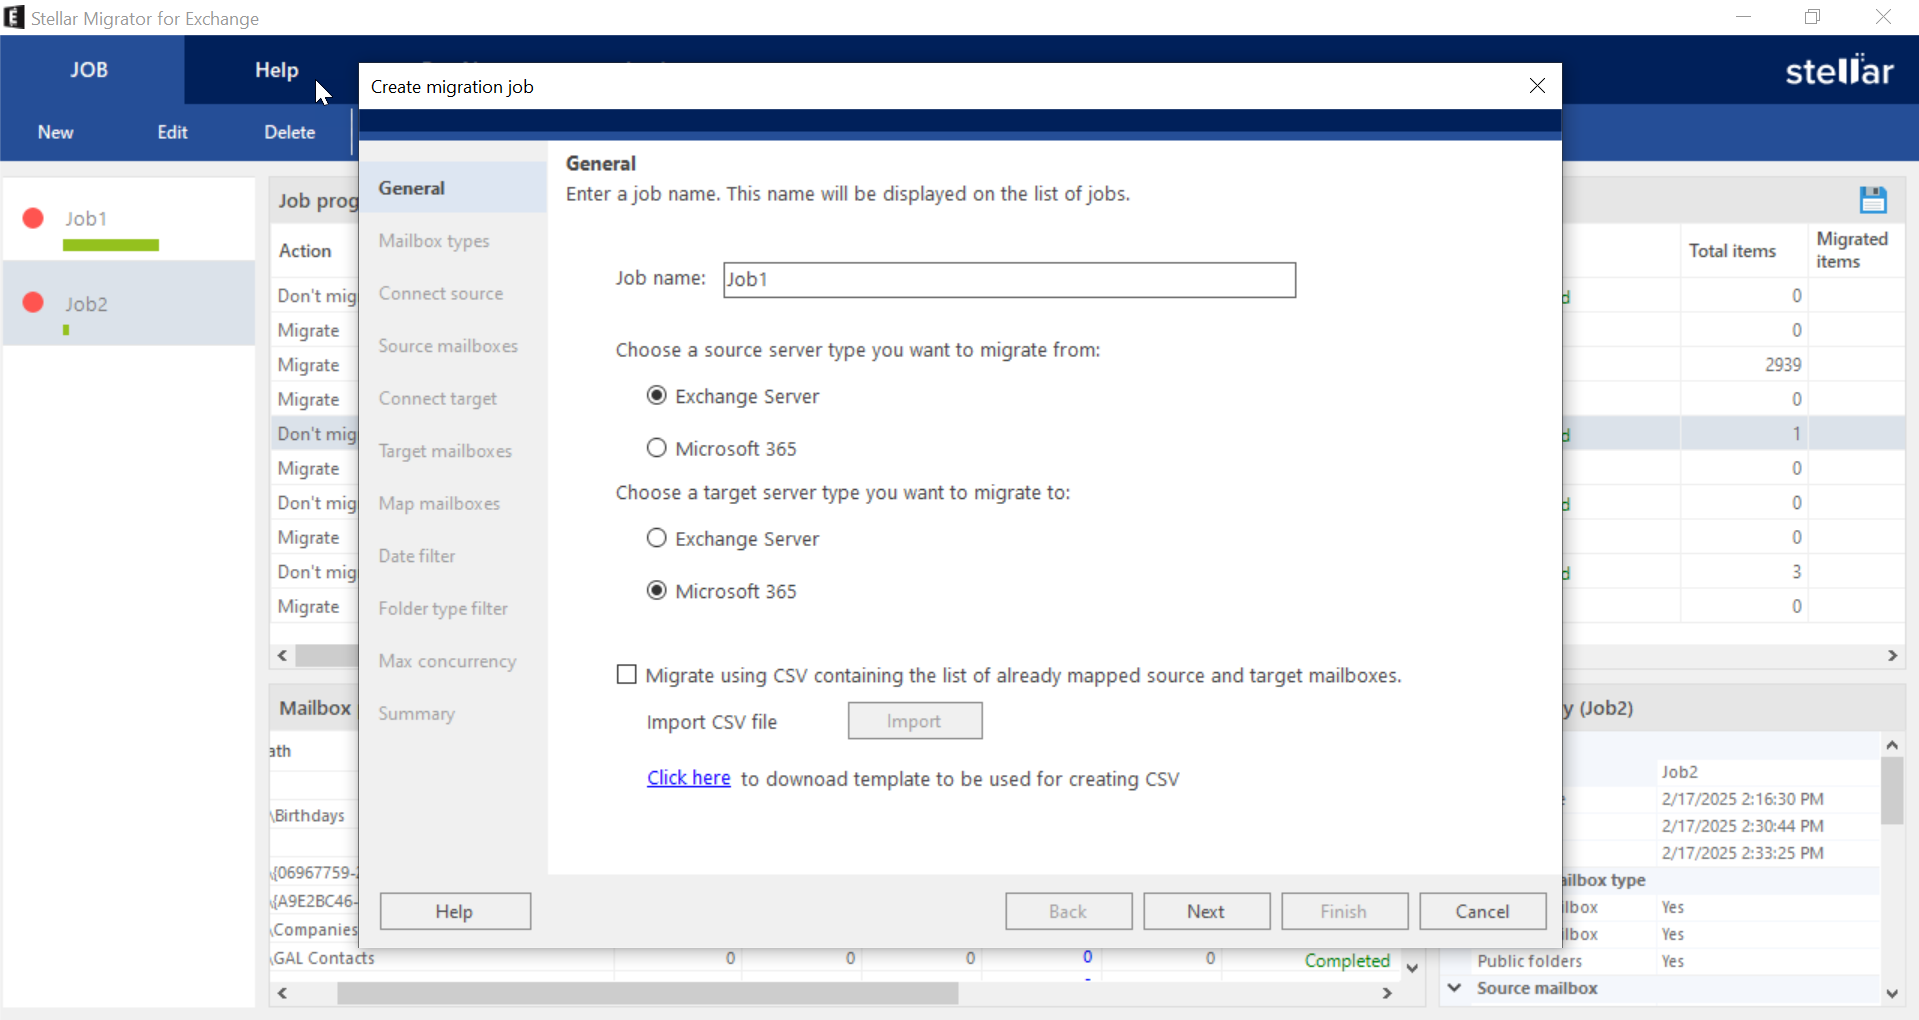
- Configure general setting of the job
1. Enter the Job Name
2. Select Exchange server as the source server type
3.Select Microsoft 365 as the destination server type.
4. Once you have configured the General settings, click on Next.
- Choose the mailbox types (Primary, Archive, or Public Folders) you want to migrate. You can select them separately or together to make sure that only required data is transferred to Microsoft 365.
 you want to migrate..png)
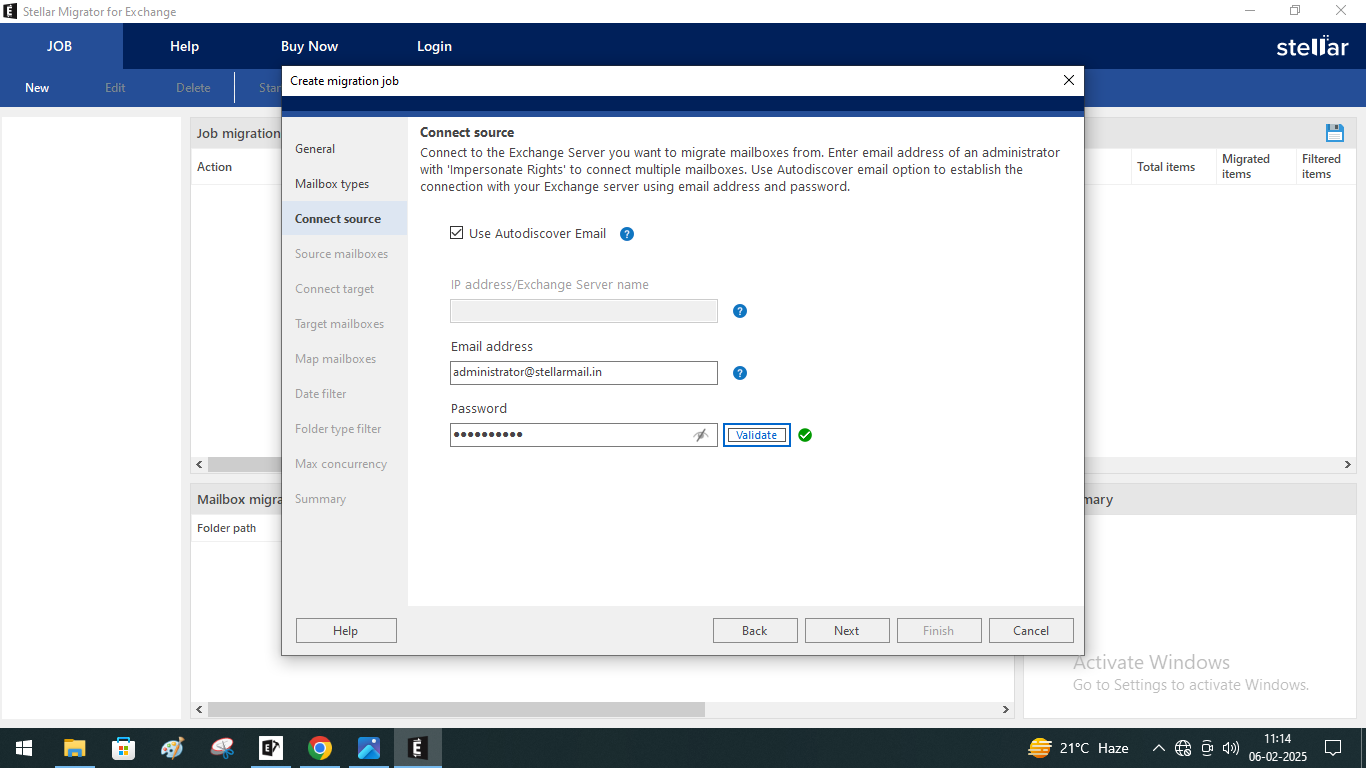
Note: You must migrate public folders to Microsoft 365 as a separate job. - Now you need to connect the software to the source Exchange server. In the Connect Source section, you can check the Use Autodiscover Email checkbox and enter only the email address and password to establish the connection. As an alternative, you can manually enter the IP address or the name of the Exchange server along with the credentials and connect the source server to the software. Click on Validate to check if the user credentials are correct.
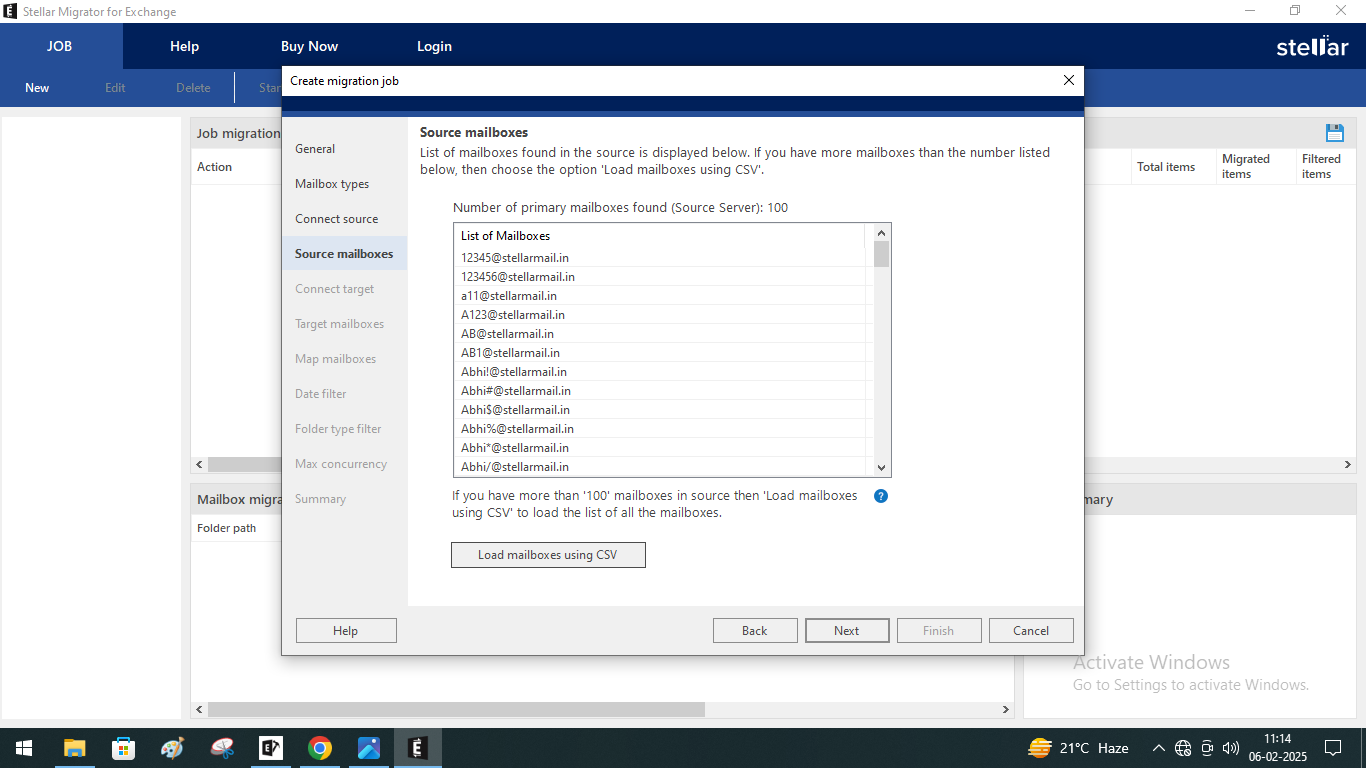
- The next section is Source mailboxes and here you can see the list of mailboxes that the software found on the source Exchange server. Although, If you did not use a CSV file, you will be able to view up to 100 mailboxes. If you have more than 100 mailboxes, you can click on Load mailboxes using CSV, Upload a CSV file and view all the mailboxes. Once you have viewed the list of source mailboxes, Click on Next.
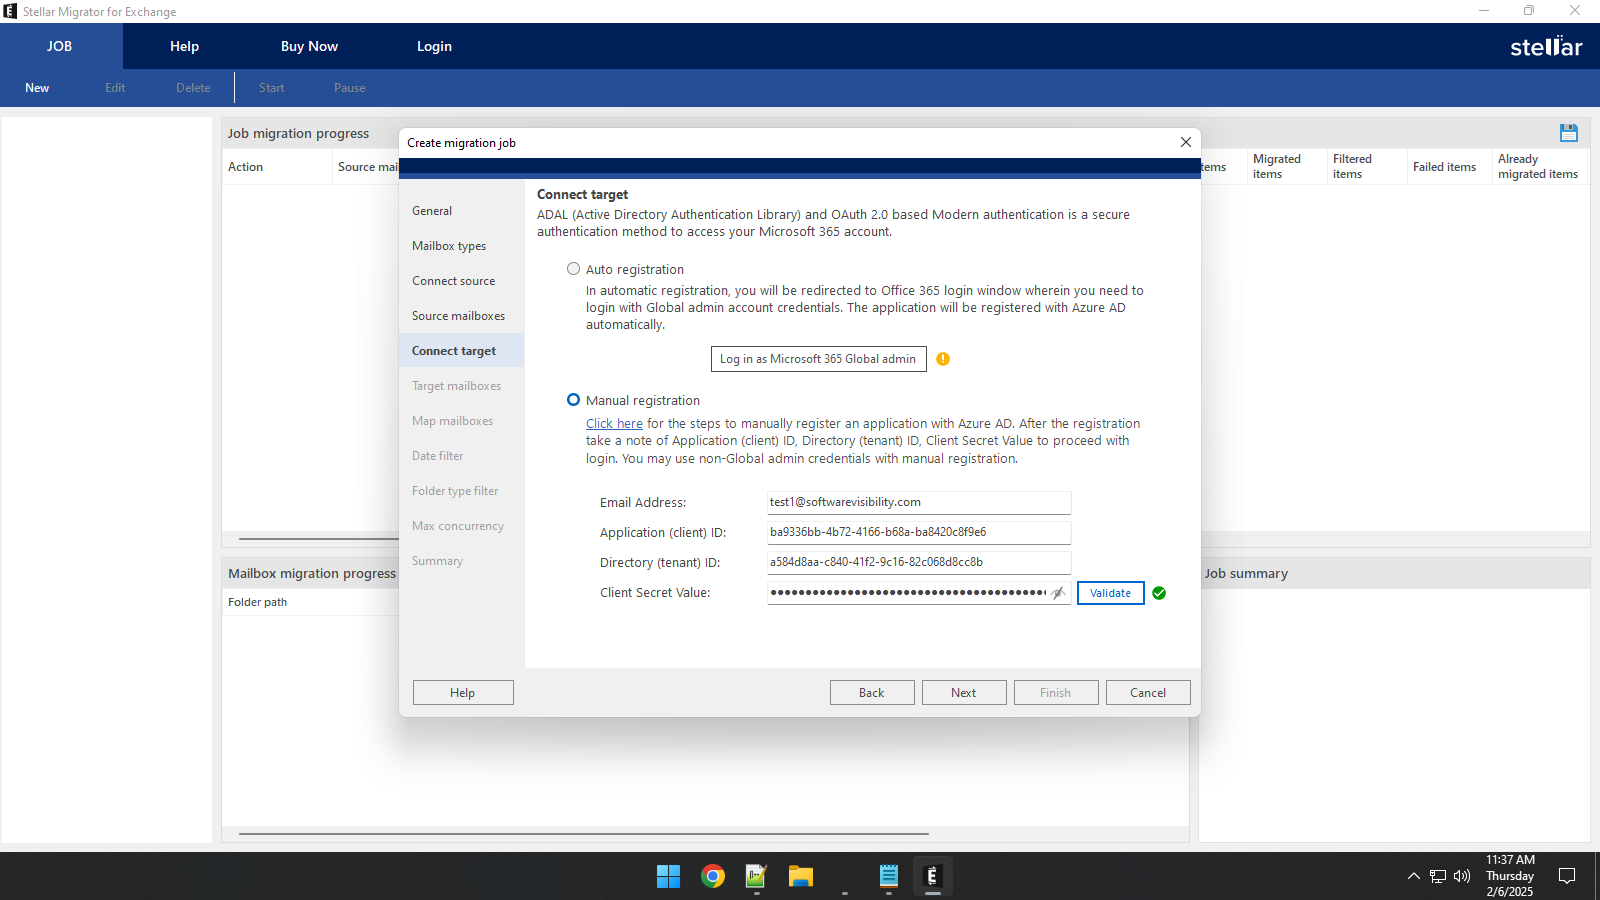
- To connect the Target Microsoft 365 account to the software, you will have the following options:
1. Auto registration: With this option, you will be redirected to the Office 365 login window and there you will have to login with the Global admin account credentials. Auto app registration - Source window appears, displaying the registration process. This includes steps such as registering the application in Azure AD, and assigning Microsoft Graph API permissions. When the registration is successful, the check icon next to each step, such as Registering the application in Azure AD, assigning Microsoft Graph API permissions, and granting admin consent for these permissions, will turn green.
2. Manual Registration: If you select this option you will have to manually register an application with Azure AD and note the client ID, tenant IDs and client secret value. You then need to enter these values in the respective fields and connect to Microsoft 365.
- Once the cloud-based server is connected, you can you can see the list of mailboxes that the software found on the target Microsoft 365. Although, if you did not use a CSV file for the mailboxes, you will be able to view up to 100 mailboxes. If you have more than 100 mailboxes, you can click on Load mailboxes using CSV, Upload a CSV file and view all the mailboxes. Once you have viewed the list of target mailboxes, Click on Next.

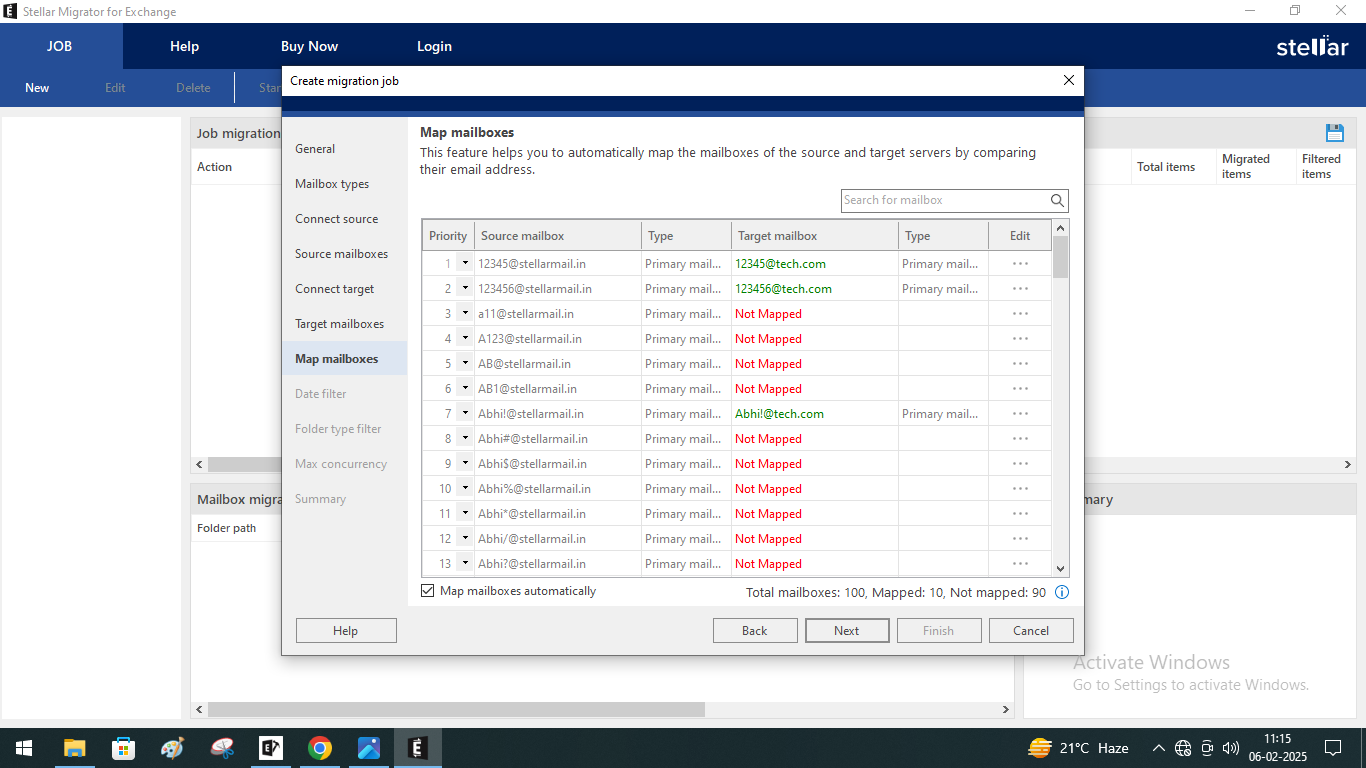
- In the next step you will have to map the mailboxes on the source Exchange server to the mailboxes on Microsoft 365 tenant. If you have uploaded a CSV file, all the mailboxes will be already mapped. Otherwise, the software will map the mailboxes using the mailbox IDs. However, if there is no matching mailbox ID the mailbox will remain unmapped and you will have to map the mailboxes manually. For this:
1. Click on the ellipsis icon in front of the unmapped mailbox and select a mailbox from the list to map it.
2. You can also click on the ellipsis icon in front of a mailbox that is mapped and remove or change the mapping.
The priority section shows you the order in which the software will pick the mailboxes to migrate. You can change this priority form this section. Once you have made all the changes, click Next.
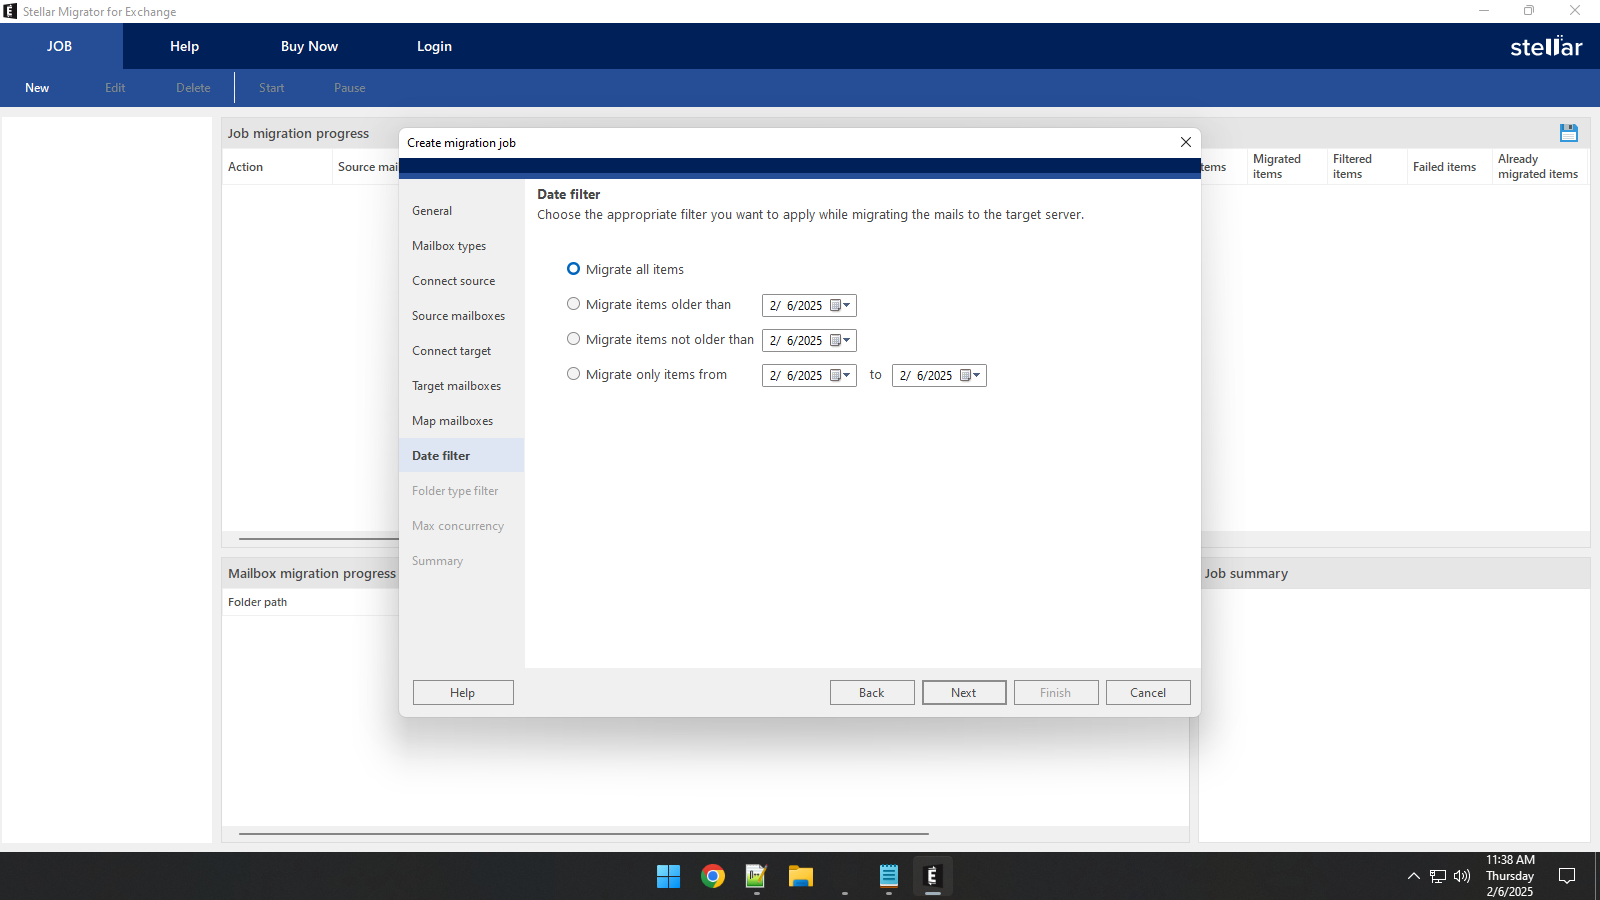
- In the Date filter section, You will get the following options:
- Migrate All Items: If you select this option all the mailbox data will be migrated.
- Migrate items older than: If you select this option, the mailbox data that is older than the selected date will be migrated
- Migrate items not older than: If you select this option, the software will migrate the mailbox data that was received after the selected date.
- Migrate items from: With this option you can select a date range and the mailbox items that fall in that date range will be migrated.
- Next is the Folder type filter section, here you can include or exclude specific folders from being migrated. By default all, the folders are selected, if you want to exclude a particular folder you can un-check the check box in front of that folder.

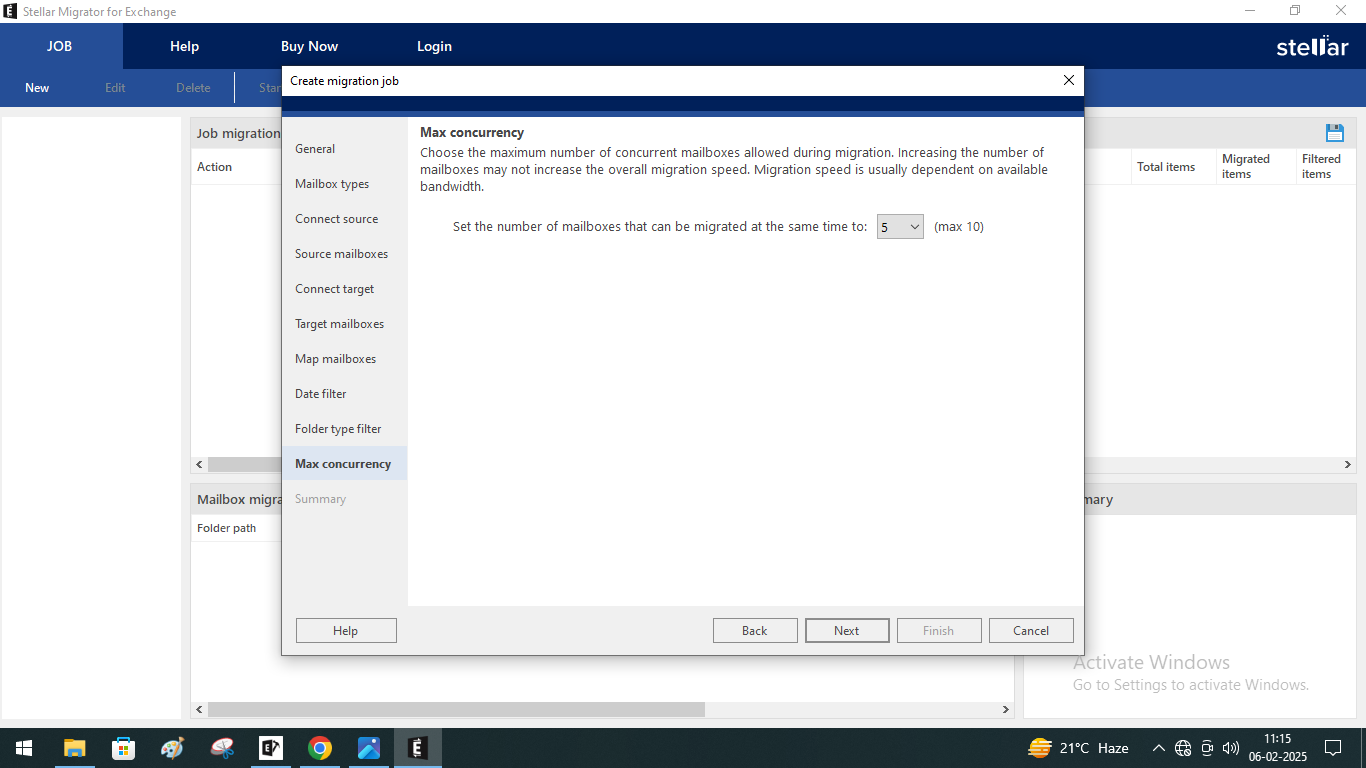
- Choose the number of mailboxes to migrate concurrently, with a maximum limit of 10.
Note: The number of mailboxes that the software can migrate at once depends on the RAM and other configurations of your system.
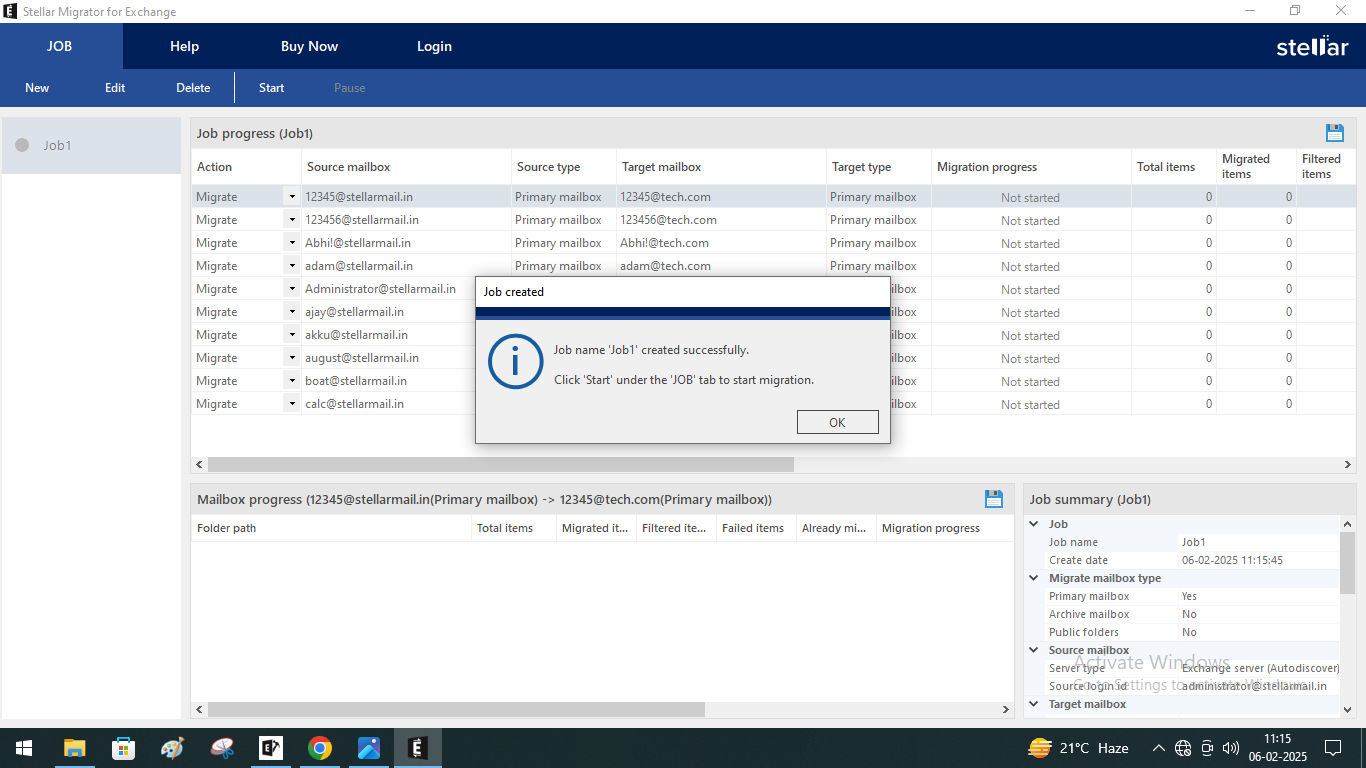
- Review and confirm all configuration settings before proceeding with the migration. If you want to make changes in any section, you can select that section and make the changes. Once you have confirmed all the changes, click on Finish. Your Migration Job will be created successfully.

- The created job will be displayed on the Job screen. You have to click on Start under the Job ribbon to initiate the migration.
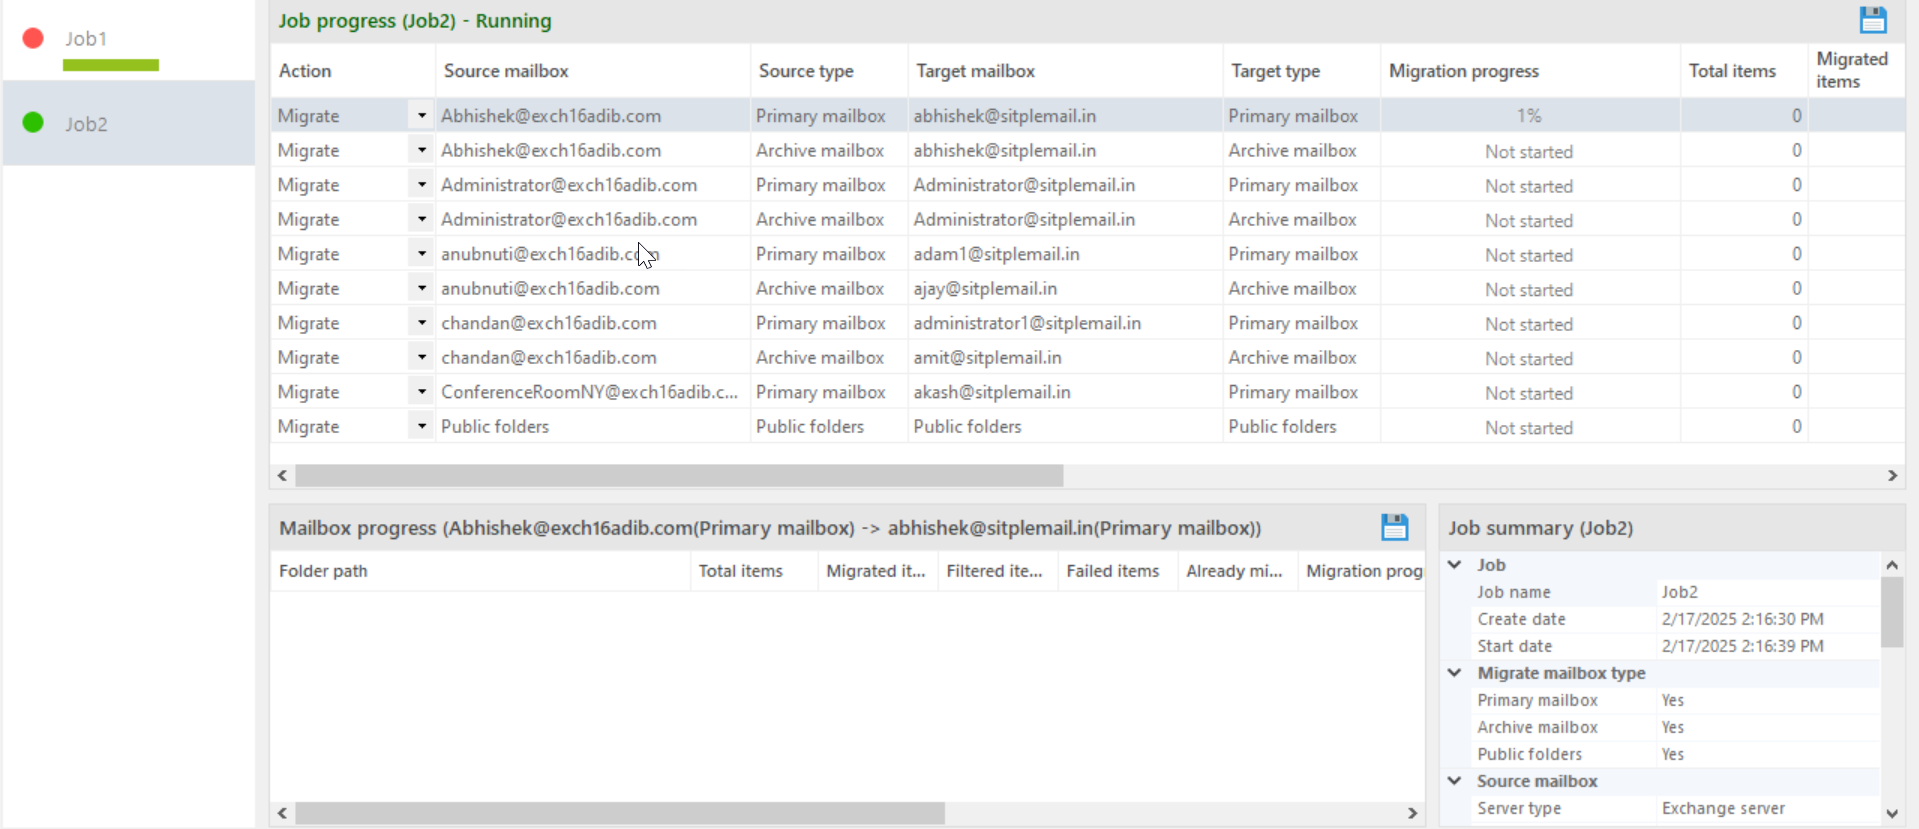
- When you start the job, the status of that job turns to green as shown in the image. On the screen, you can see the progress and details of the complete job and you can also see the progress of as single mailbox along with other details.
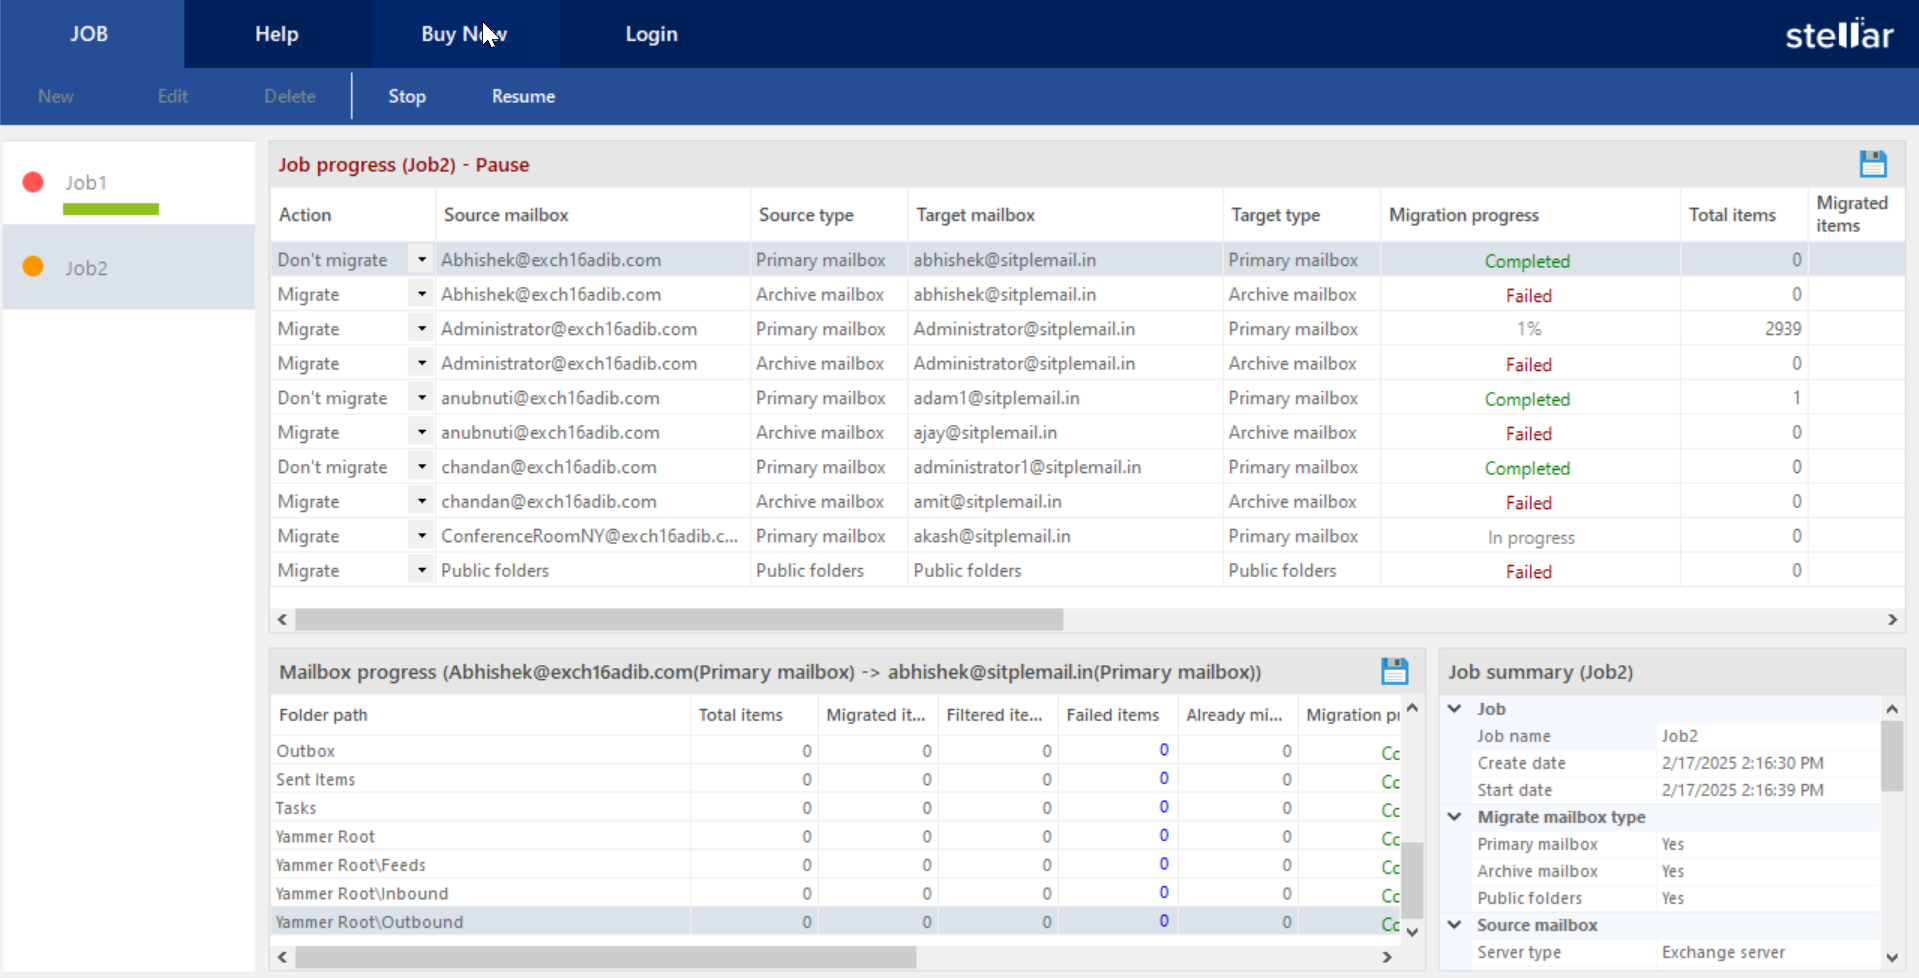
- At any point you can pause the migration process by using the Pause button under the Job ribbon. In the paused state, the status of the job will turn yellow. To resume the job click on Resume under the Job ribbon.
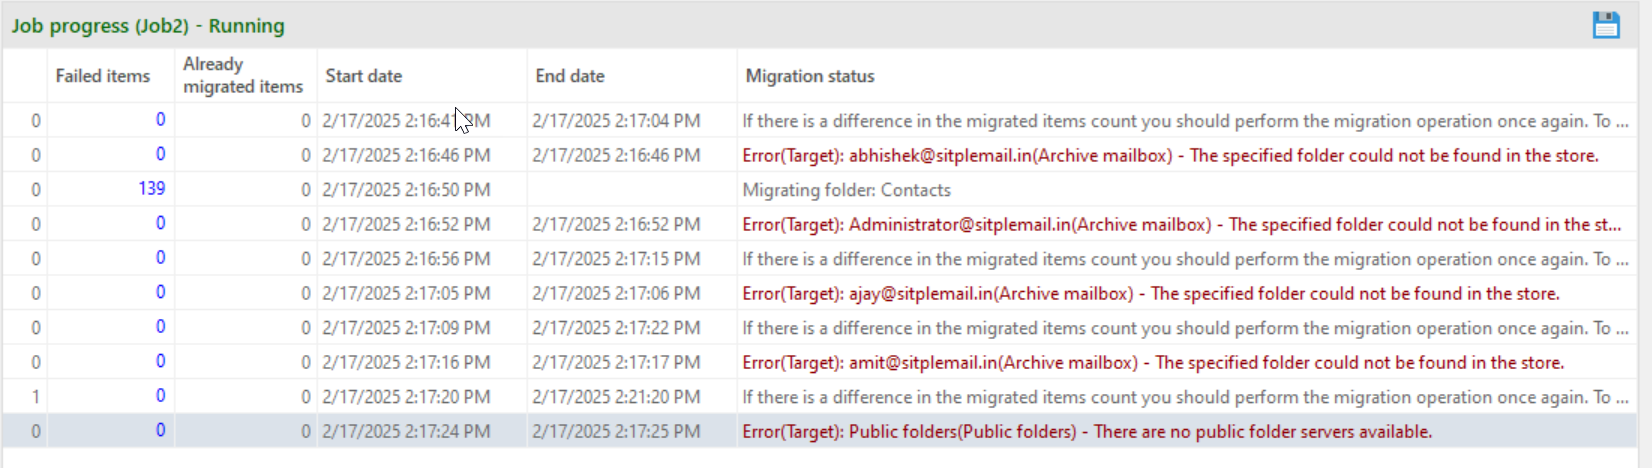
- When you scroll towards the right, in the job progress section, you can see the migration status of the mailboxes. If any mailbox fails to migrate, you can see the reason here; fix it and then re-run the migration. The software supports incremental migration and no duplicate data will be transferred.
- Similarly, you can see view the status of items in a particular mailbox. For this, select the mailbox from the Job progress screen and check the details in the mailbox progress section.
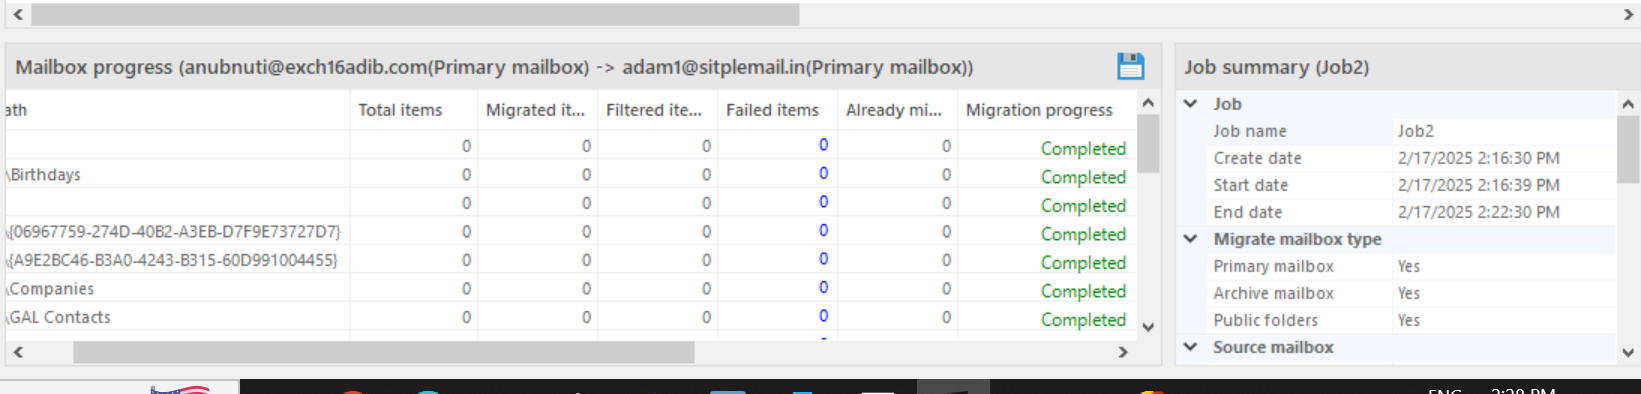
- At any point, you can generate a Migration report for all the mailboxes or a particular mailbox. By clicking on the save icon. You can save this generated report on your system.
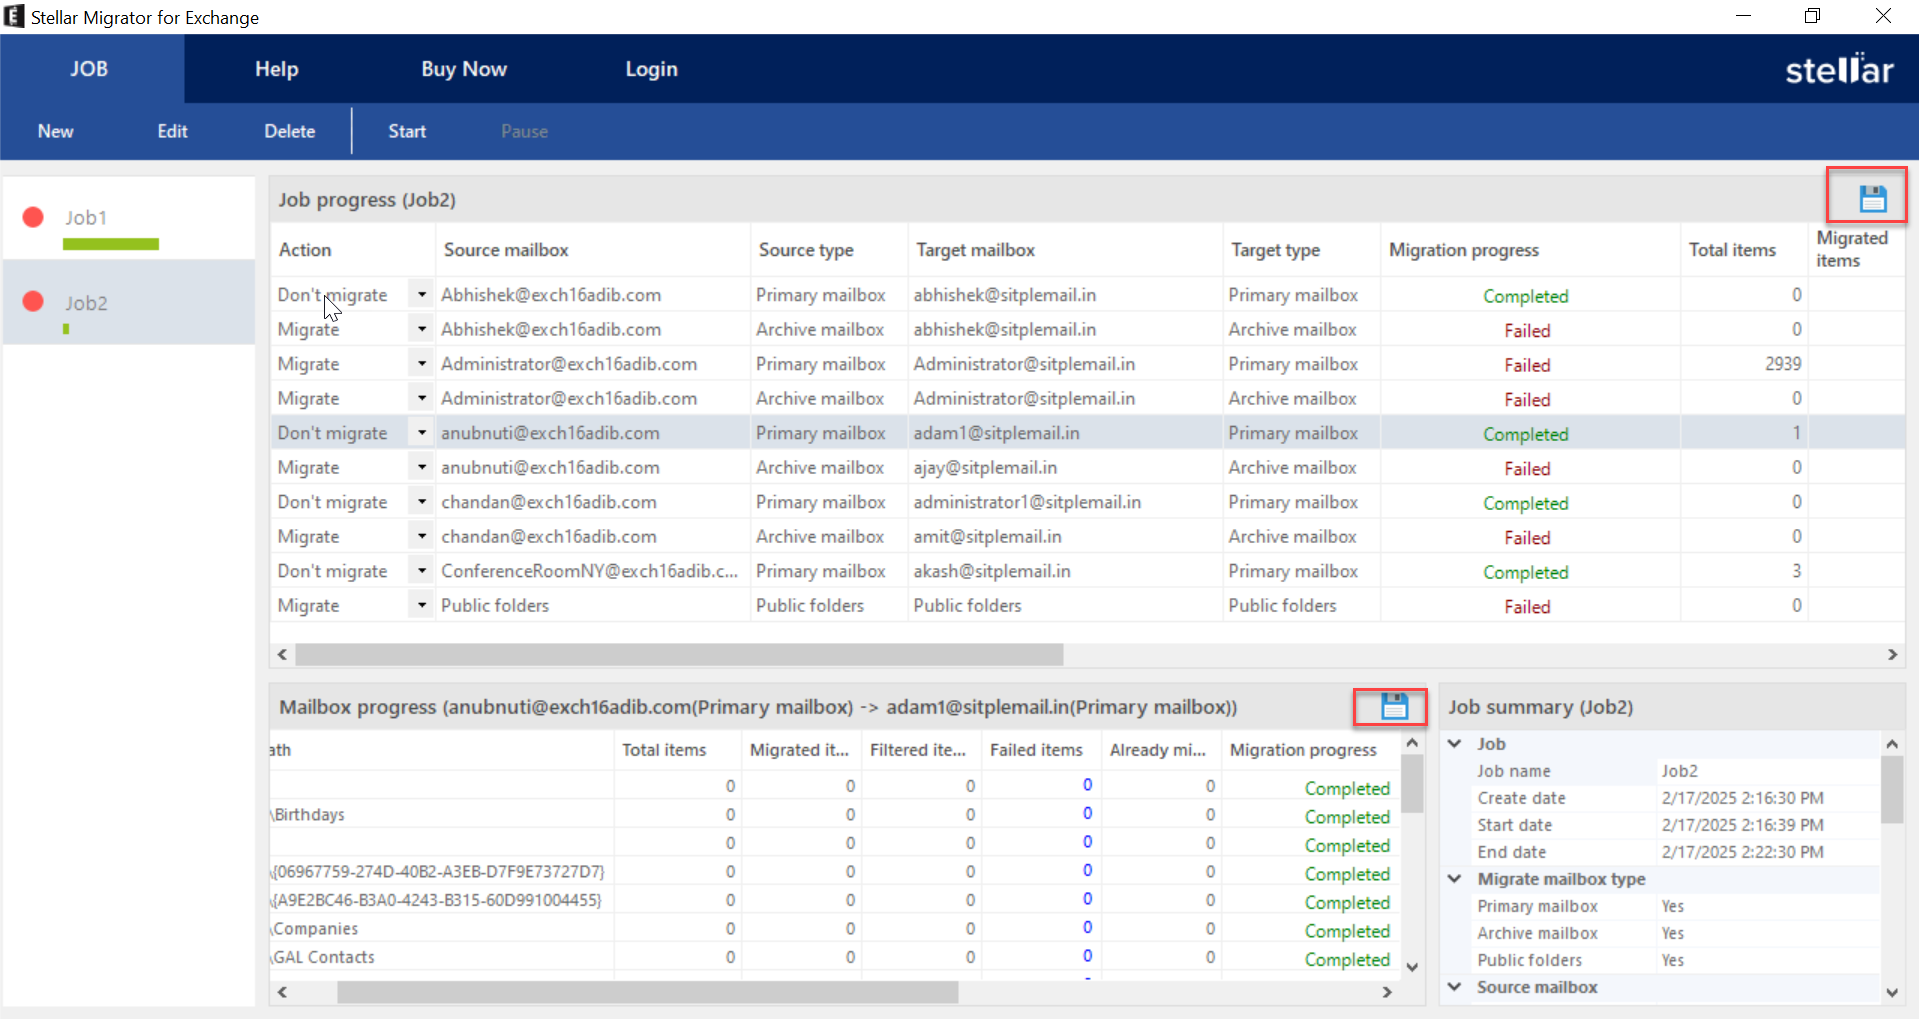
- Once a mailbox is migrated, the Action status for it, changes from Migrate to Don’t Migrate. Additionally, the Migration progress will change to Completed. When the Migration progress of all the mailboxes is changed to Completed, the job will be done.
- You can then access your Target Microsoft 365 tenant and check if all the mailboxes are migrated successfully.