Due to one or many reasons, the hard drive or a specific volume of your Mac might become inaccessible. Fortunately, you can recover all your valuable data from your Mac even on a Windows system. Stellar Toolkit for Data Recovery can create an image of your Mac hard disk or any specific partition or volume. The recovery is then performed on the newly created image.
The KB article below will provide you the step-by-step procedure on how to create a disk image.
Step 1) Download and launch the software on your Windows system.
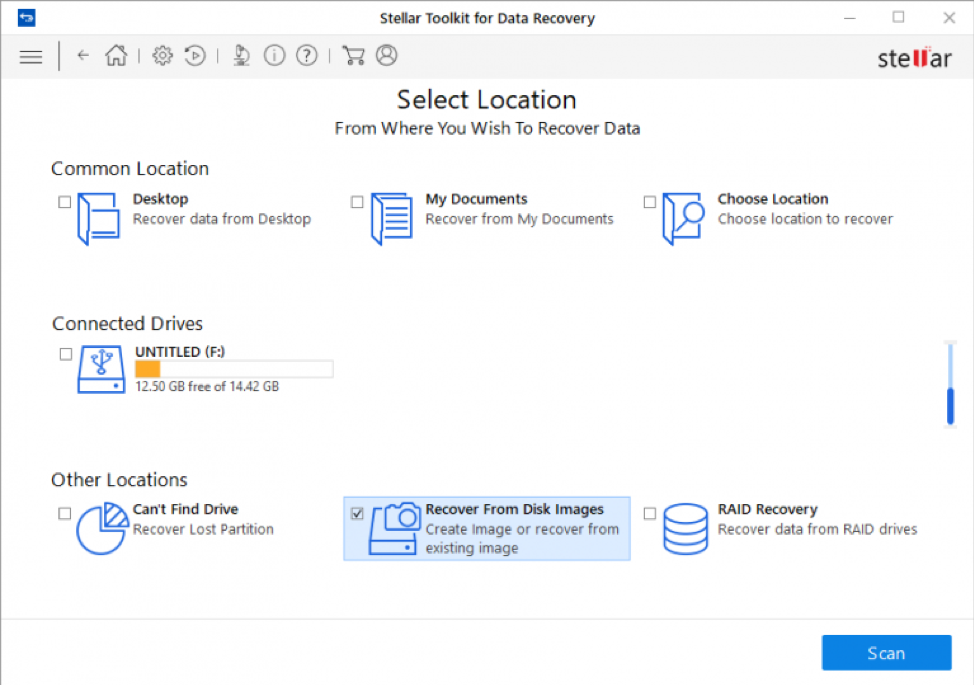
Step 2) On the Select Location screen, select Recover from Disk Images option under the Other Locations section and click Scan.
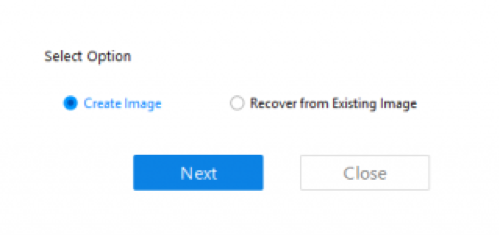
Step 3) A dialog box will appear. Select Create Image option and click Next.
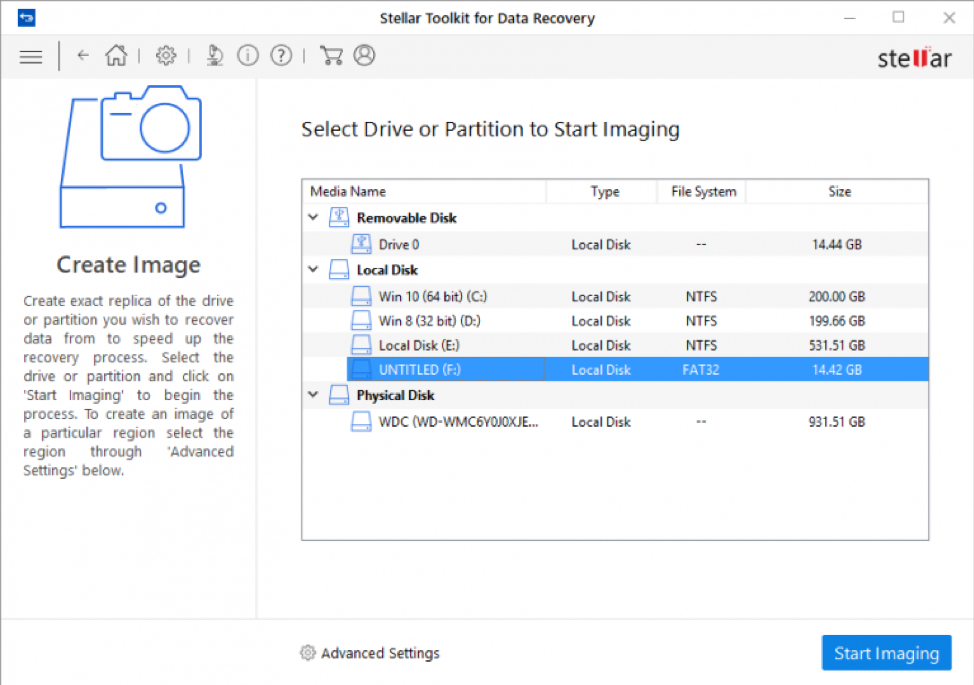
Step 4) Under the Create Image screen, select the drive or partition for which you wish to create an image.
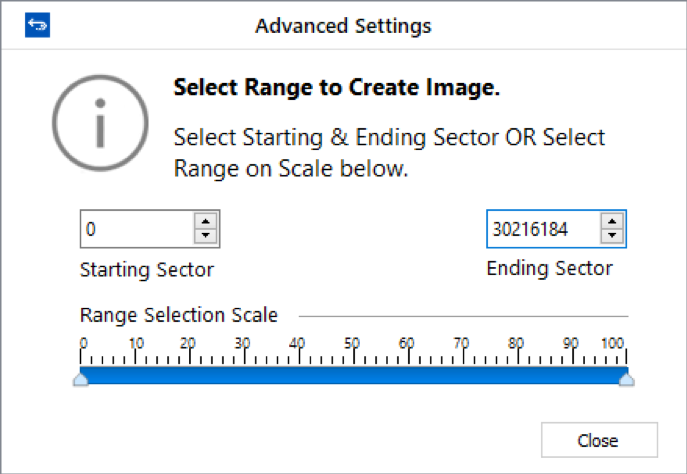
Step 5) To create an image of the entire drive or partition, click Start Imaging. If you wish to create image of a selected region, click on Advanced Settings. Drag the sliders in the Select Range to Create Image screen to define the starting and ending sectors of the image file. Click Close, and then click Start Imaging.
Step 6) In Create Media Image to Save dialog box, locate the destination where image file should be saved. In the File Name text box, type name. Click Save.
Step 7) At the end of the process, a screen displays the newly created image.
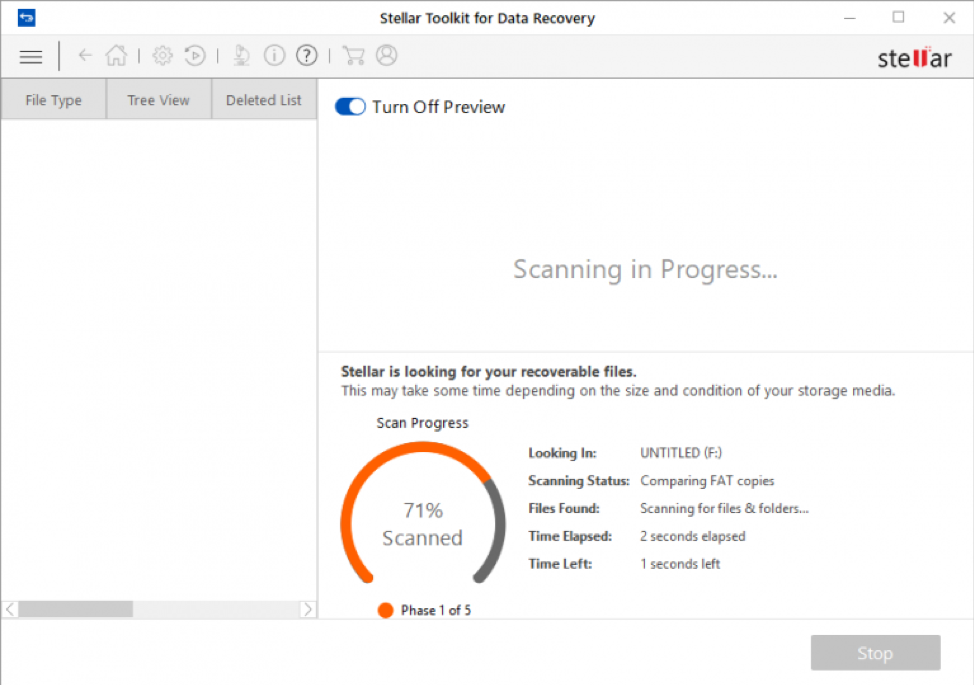
Step 9) Click Scan to start the recovery process.
Step 10) A screen showing the scanning process is displayed. Click the Stop button to halt the scan at any point.
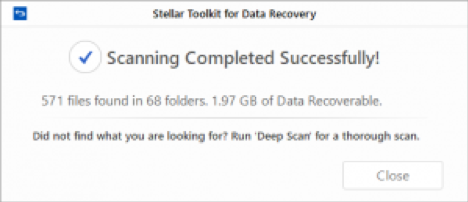
Step 11) Once the scanning process is completed, details of the files and folder found are displayed in a dialog box as shown below:
Note: It is recommended to save 'scan information file' and 'hard disk image' at different locations with proper name. This allows you to easily retrieve the required image file. The software also allows you to preview the scanned files before recovery. The preview can be done in three types of list: Classic list, File list and Deleted list.


