Stellar Converter for EDB can migrate or export all mailboxes stored in an offline EDB file directly to live Exchange server. The steps to export the mailboxes are given below.
Before You Begin
- Download and install Stellar Converter for EDB software..
Here are the steps to export EDB file to live Exchange server:
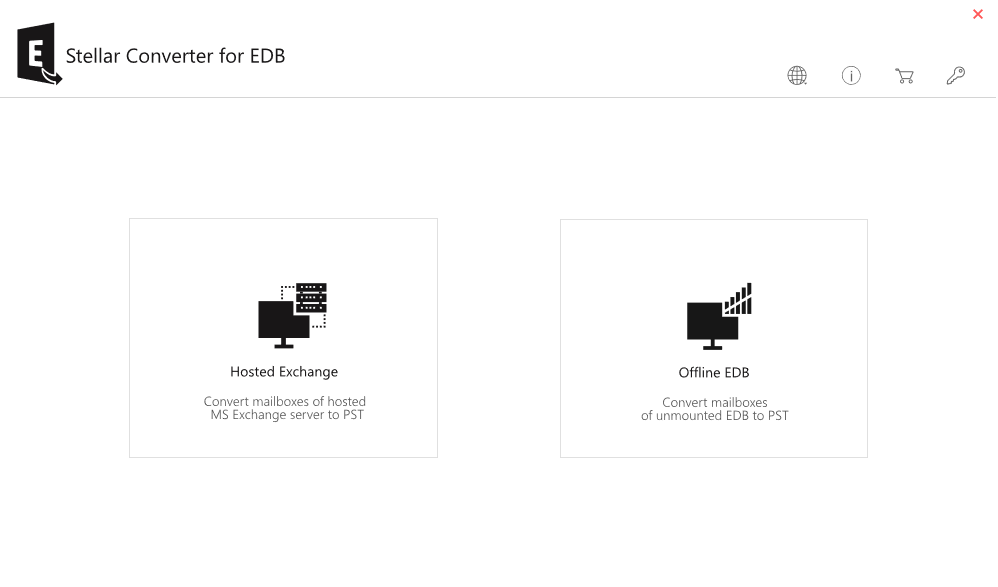
- Launch EDB to PST Converter Software. From the main interface, select the Offline EDB option.
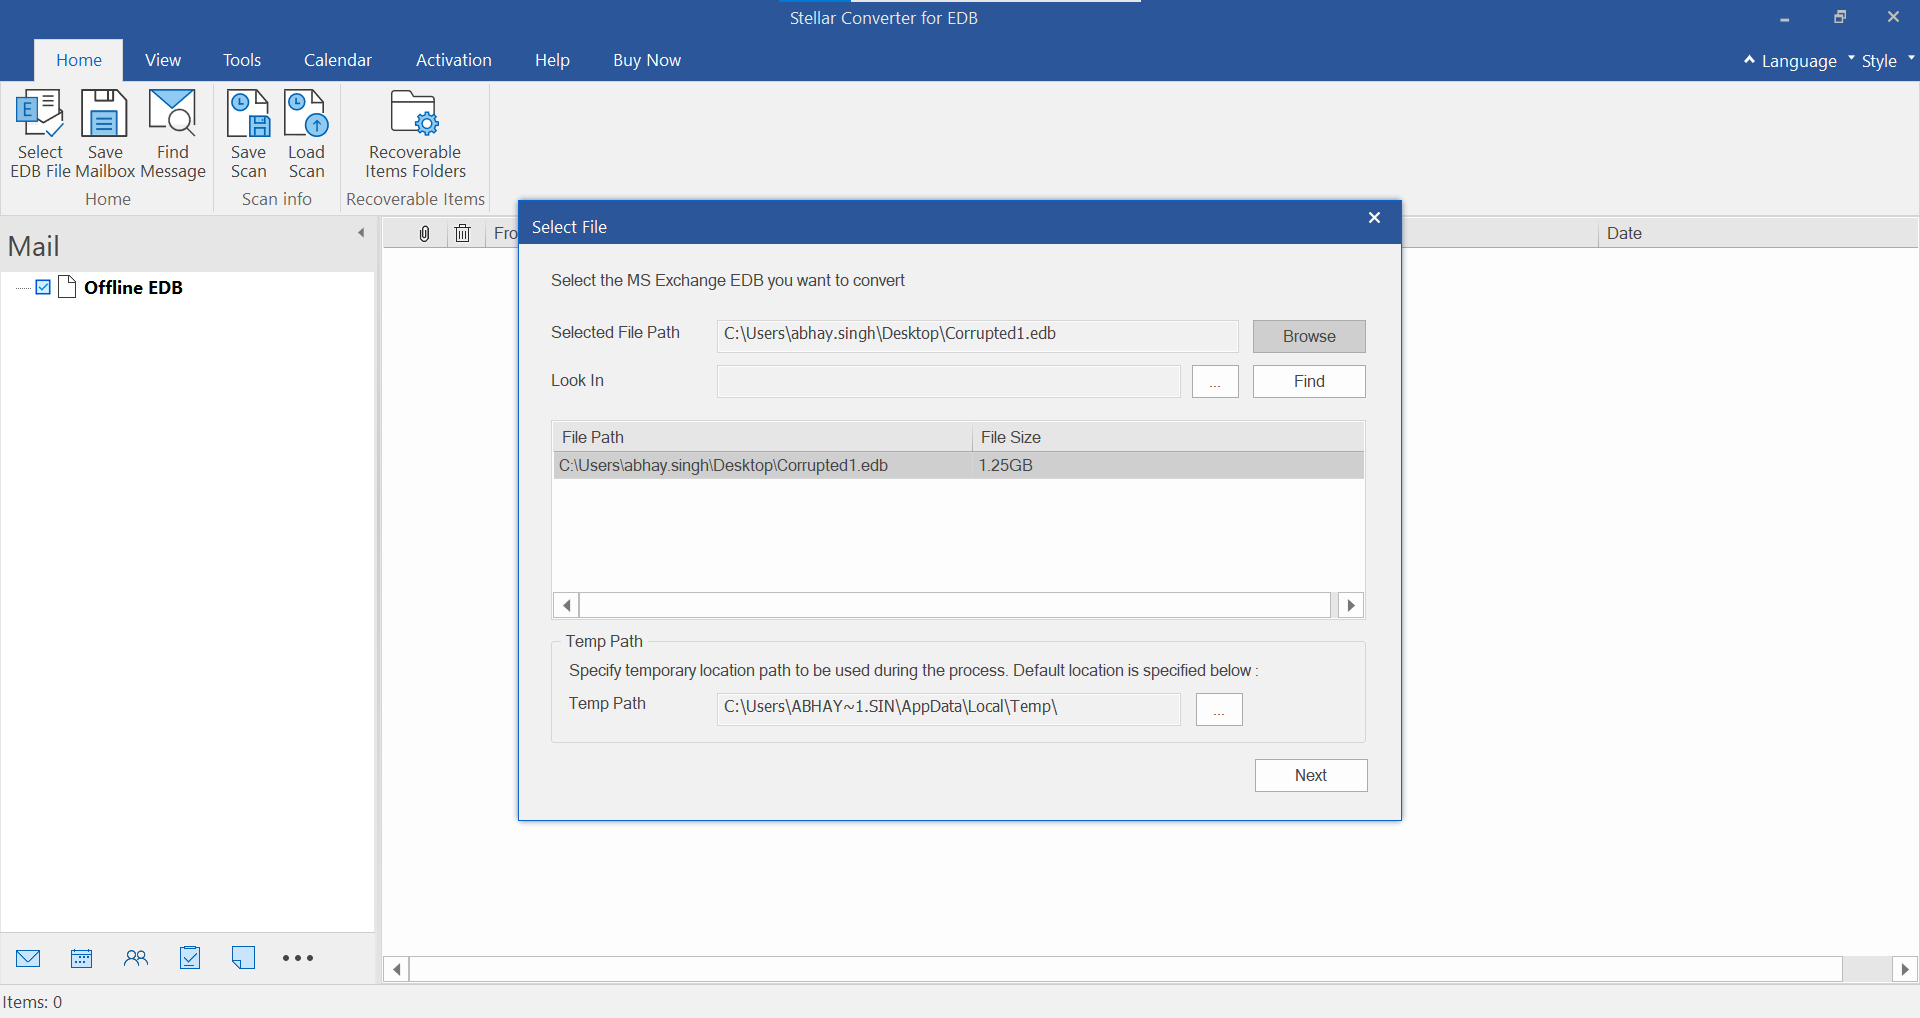
- Click Browse to select the EDB file that needs to be exported to live Exchange server.
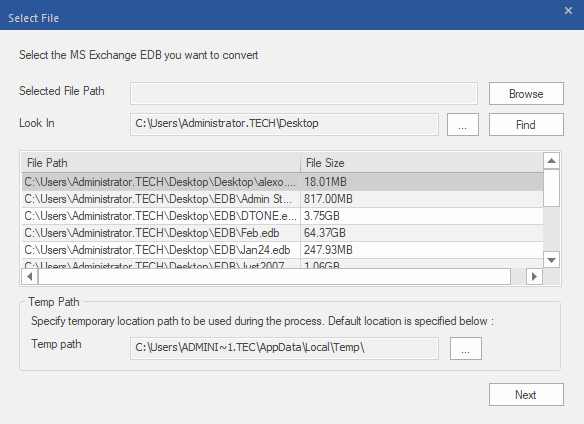
- Alternatively, click Find to search the EDB file in case if its location is not known.
- Click Next to scan the EDB file and extract the mailboxes.
- After the scan, the software displays a detailed preview of all the mailboxes extracted from the EDB file.
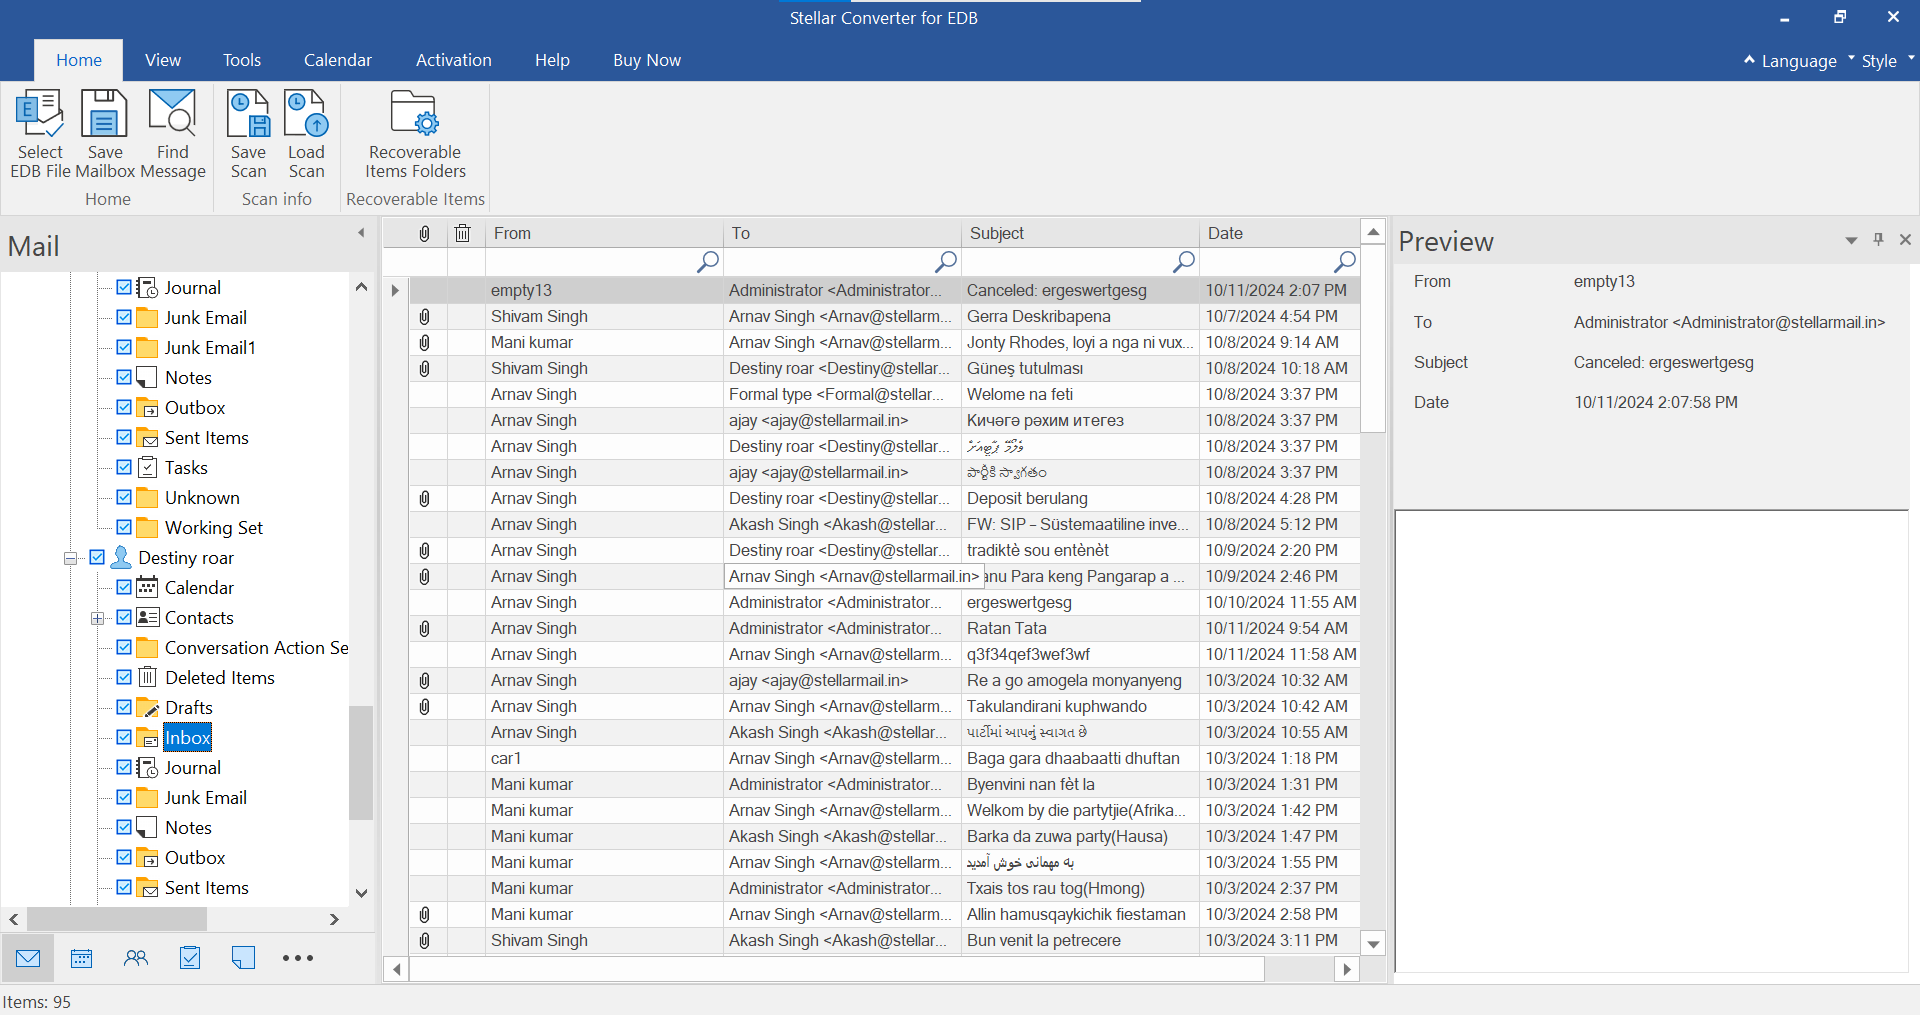
You can now export all or the selected mailboxes from the EDB file to a live Exchange using Stellar Converter for EDB. There are two cases to export EDB mailboxes:
- Export multiple mailboxes to Exchange Server
- Export single mailbox to Exchange Server
Case 1: Exporting Multiple Mailboxes to Live Exchange Server
- In the Preview window, choose all the mailboxes you want to export or migrate to live Exchange server and then click Save Mailbox under the Home ribbon.
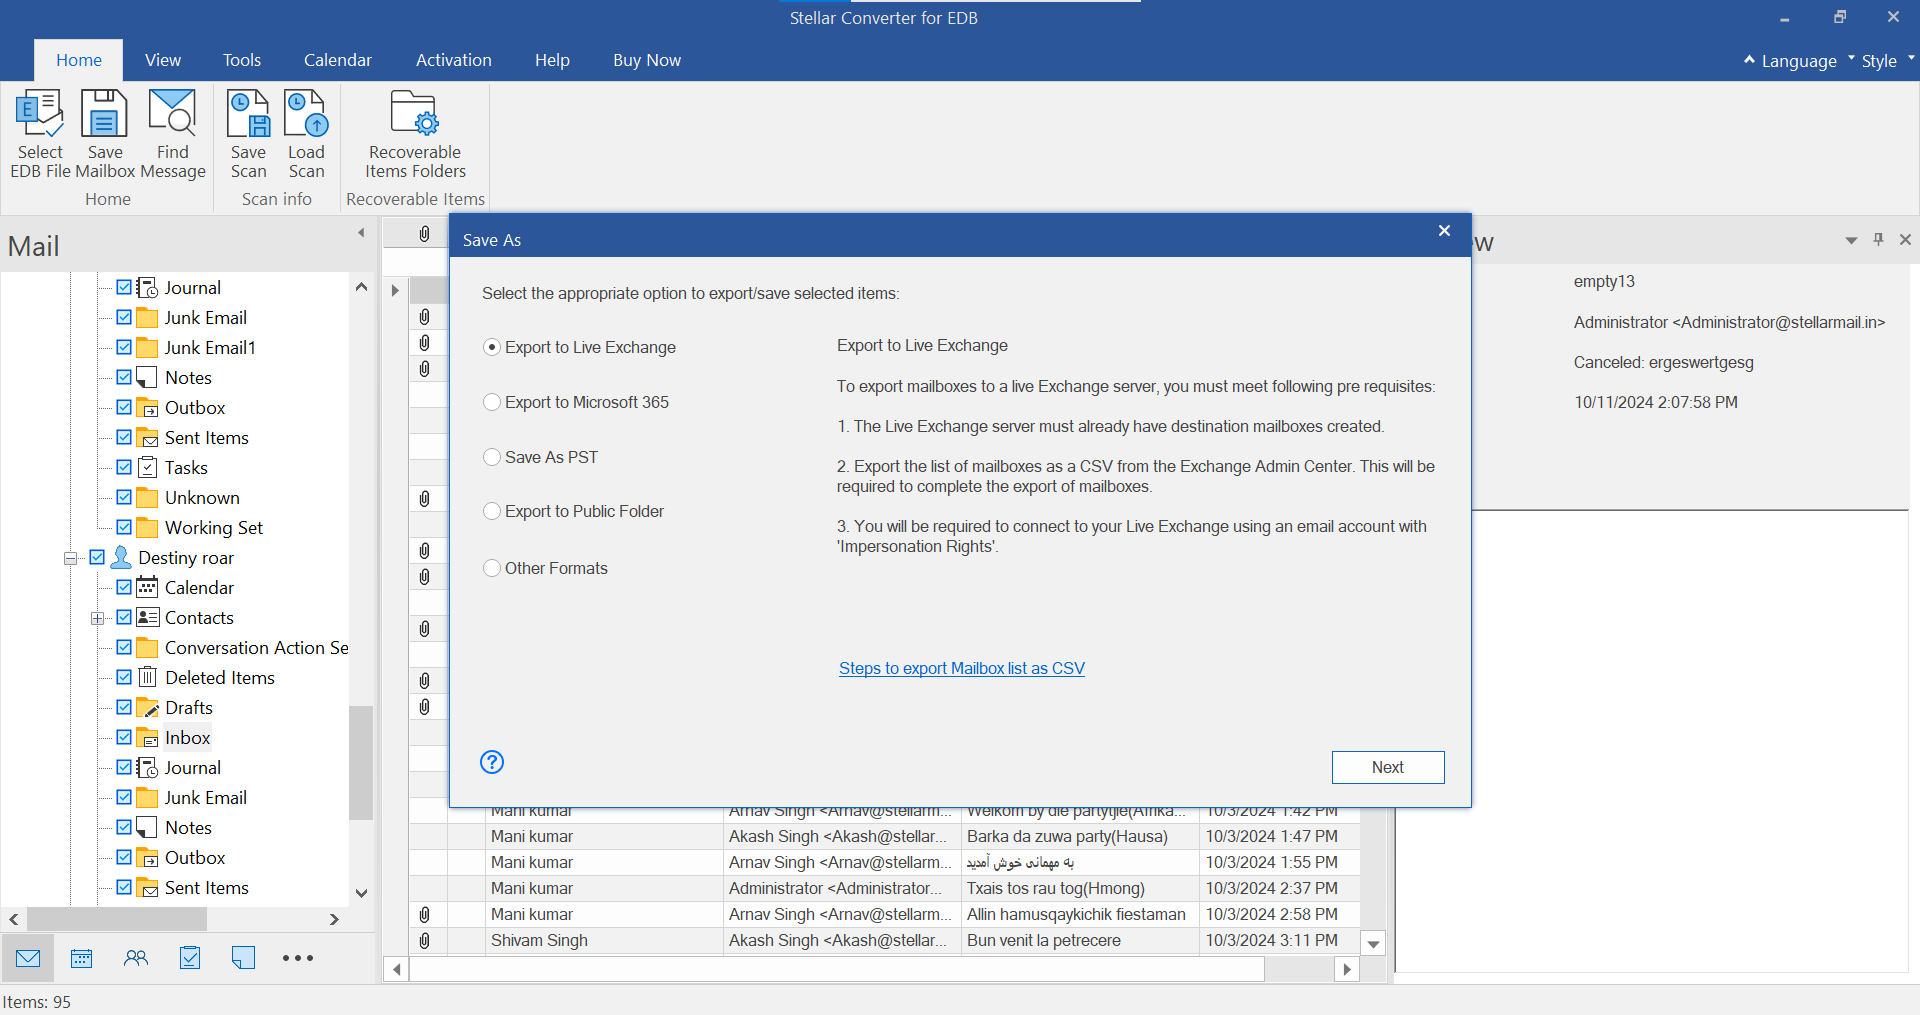
- From Save As dialog box, select Export to Live Exchange and then click Next.
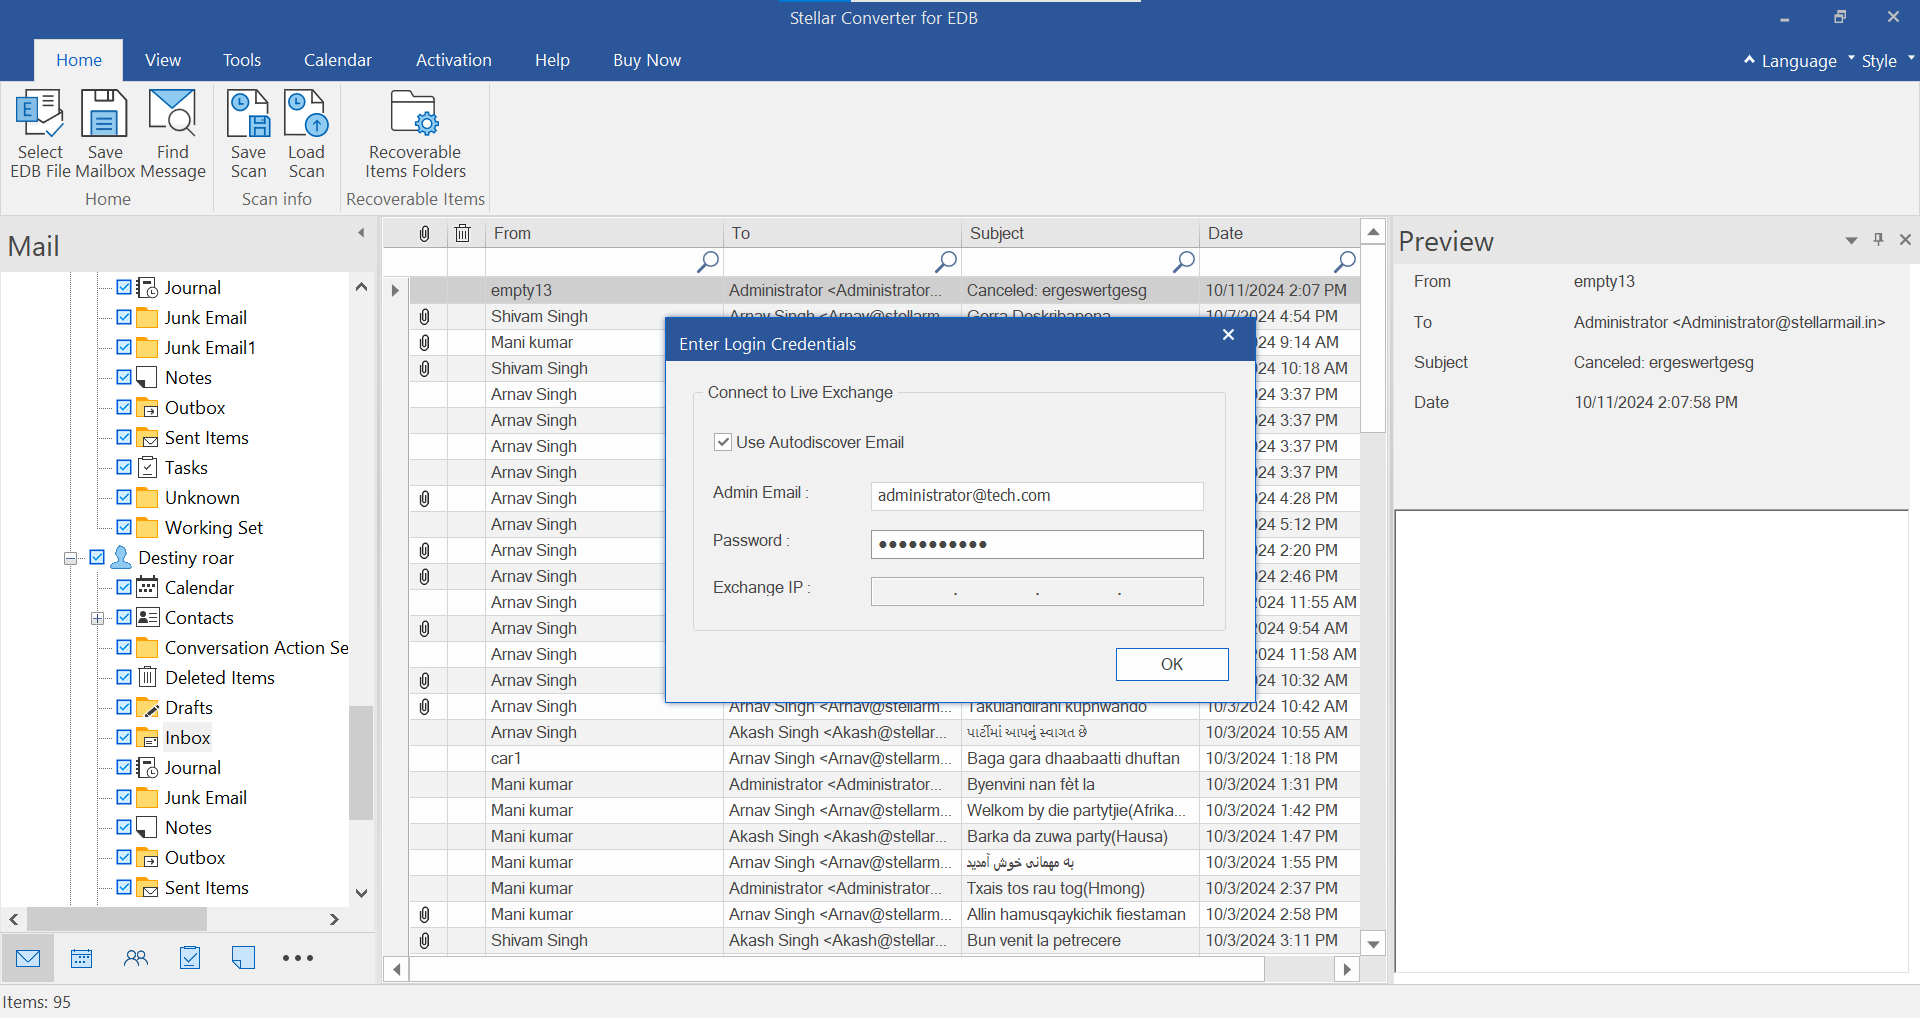
- The Enter Login Credentials dialog box appears, offering two methods to connect to the Live Exchange Server: Use Autodiscover Email or manually enter the server details.
-
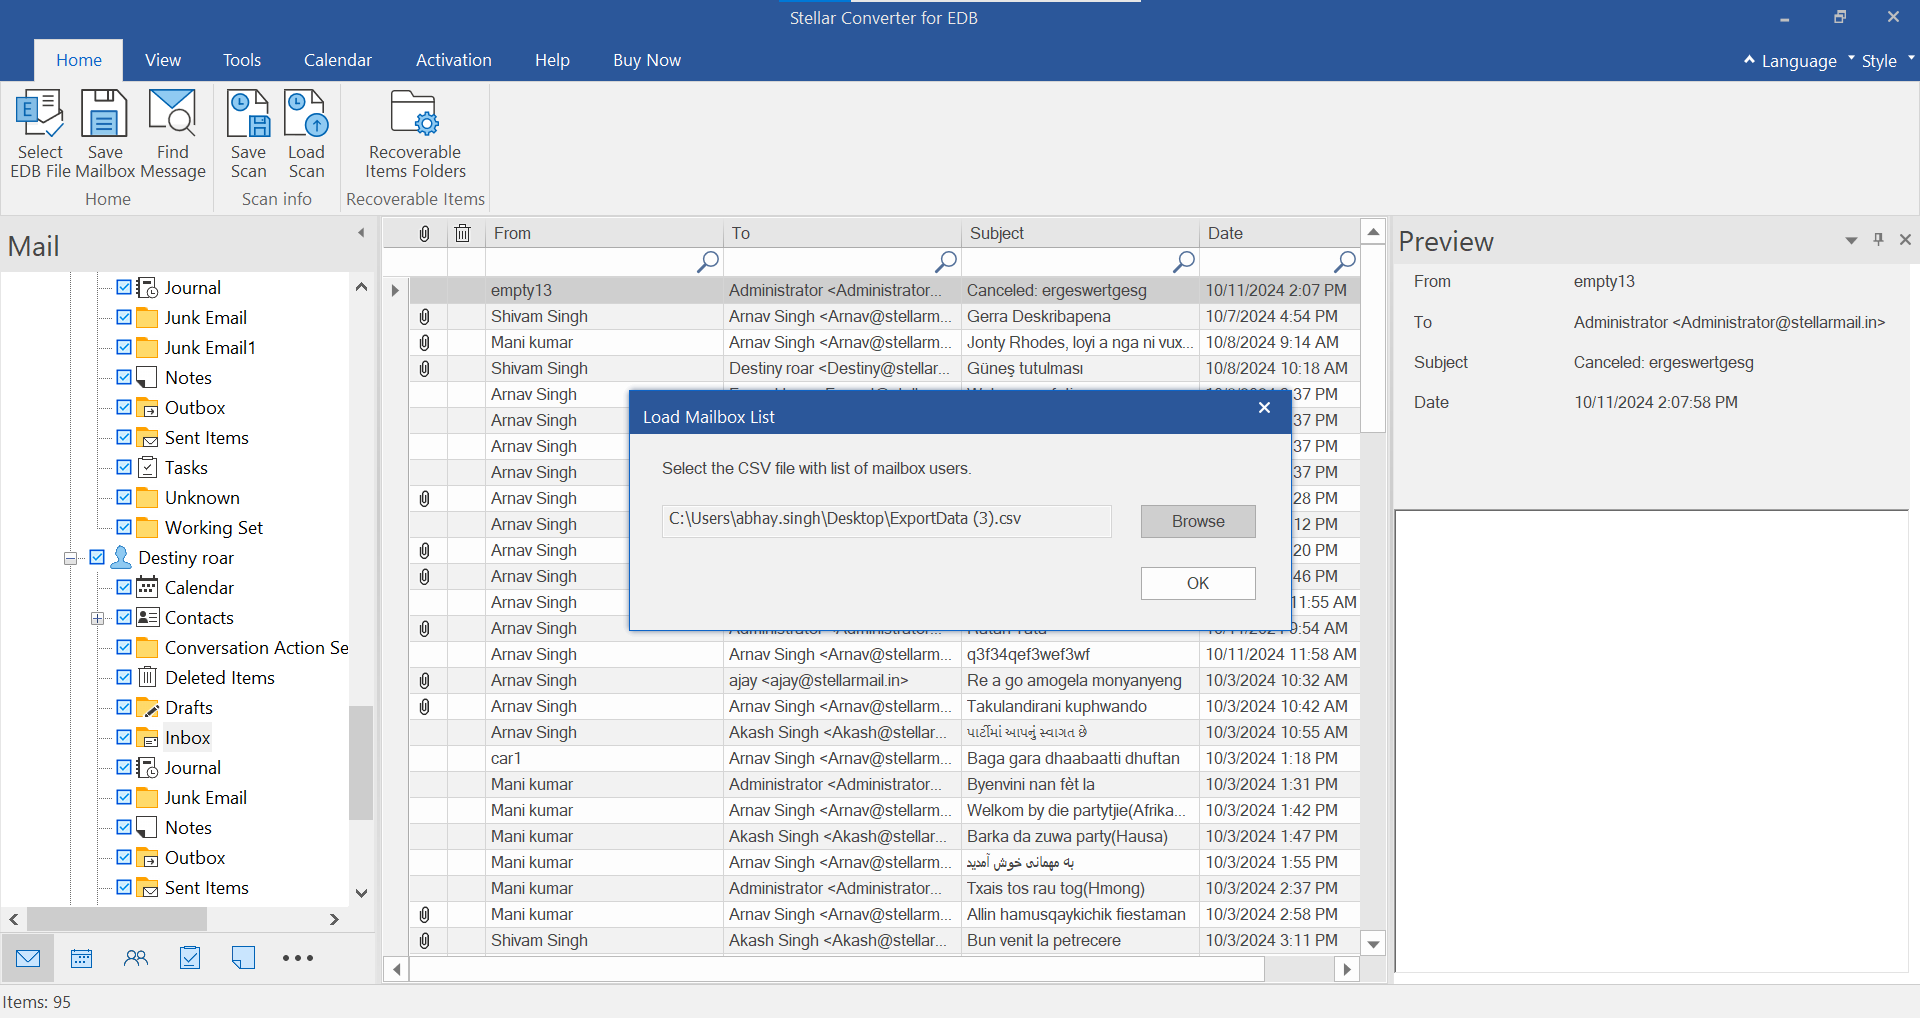
- The Load Mailbox List dialog box will appear. Click the Browse button to select the CSV file containing the list of mailbox users. Click OK.
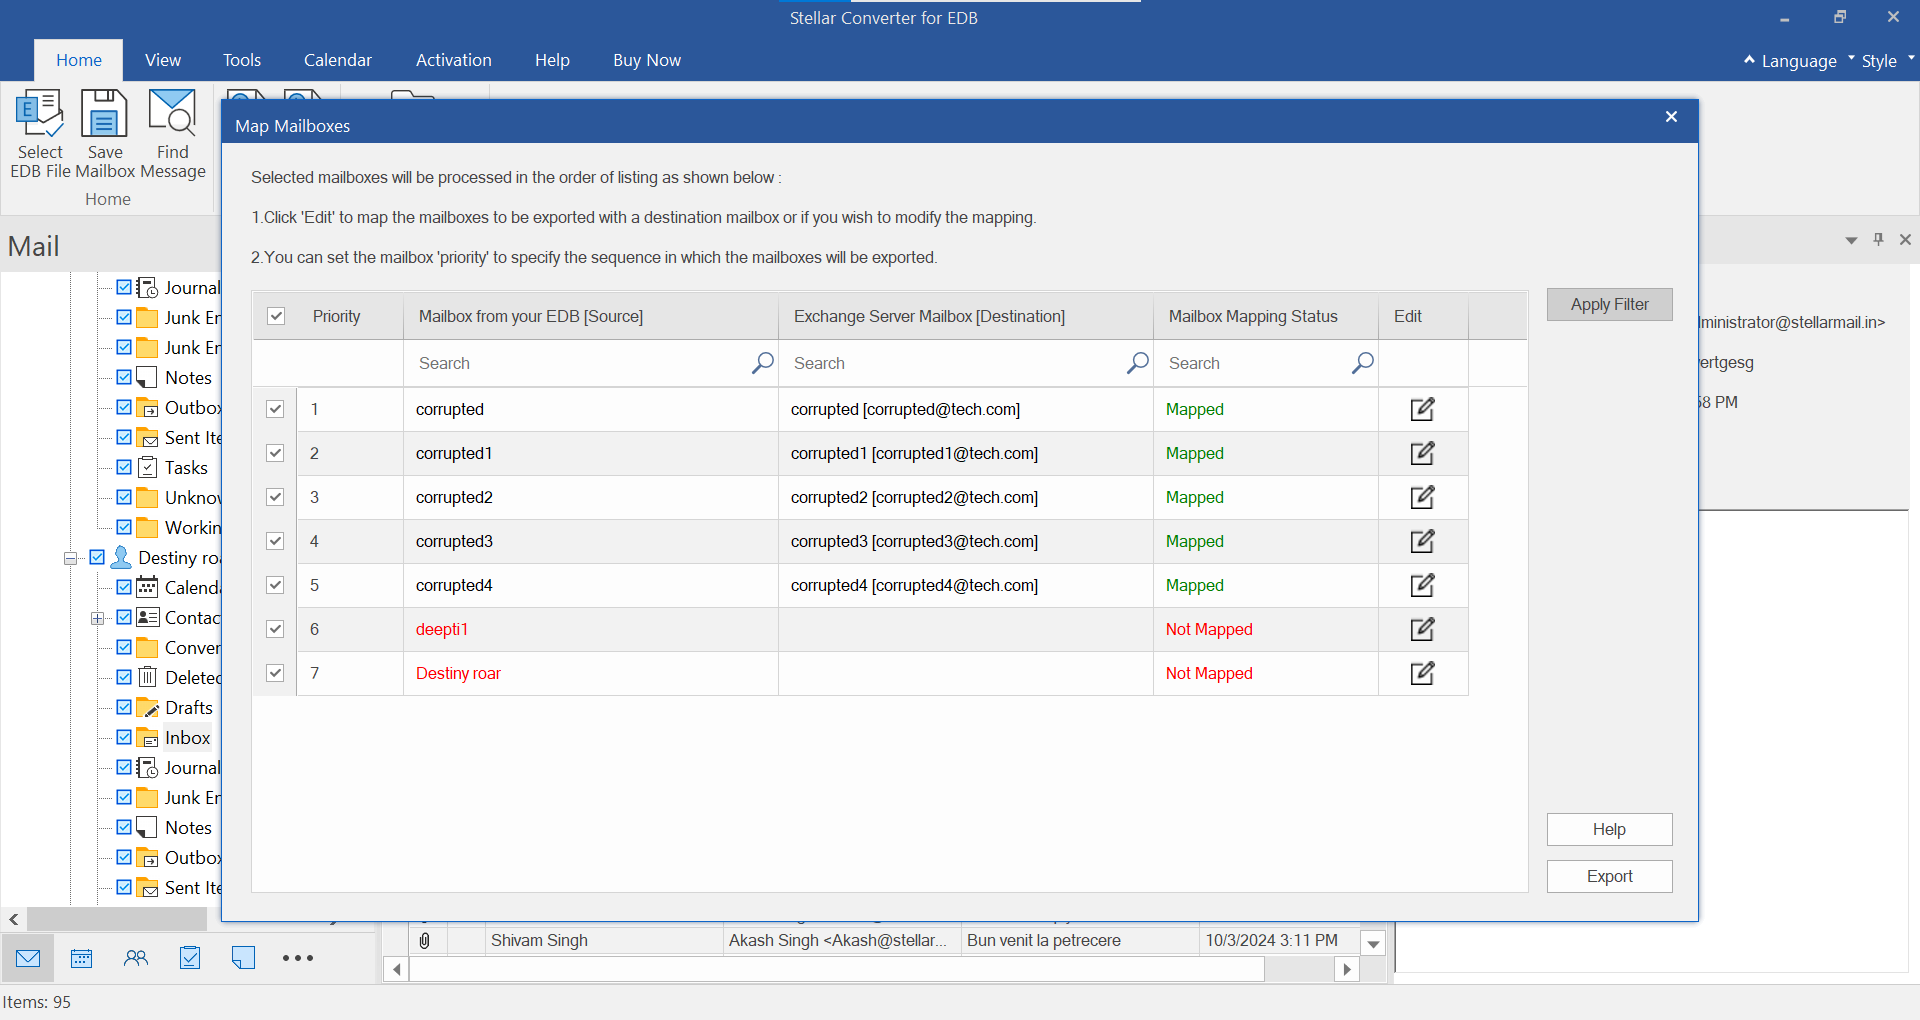
- Map Mailboxes screen appears displaying mapped and unmapped mailboxes. By default, all converted mailboxes are listed in alphabetical order. This screen can be used for functions such as setting priority to export the mailbox data, mapping source mailboxes to desired destination mailboxes, applying a filter for exporting the data, etc.
If you want to filter the scanned results before exporting, click on the Apply Filter. Stellar Converter for EDB provides three filter options in Offline EDB conversion:
- Exclude: This filter allows users to exclude mails from Junk Mail Folder and Deleted Mail Folder.
- Date Range: This filter allows the user to specify a starting and ending date for which the user wants to include the mails for saving/ exporting.
- Sender IDs to be excluded: This filter allows the user to exclude the mails from a list of specified senders. To exclude the mails, enter the complete E-mail addresses of the sender and click on Add to List. The mentioned E-mail addresses will be listed in the E-mail addresses list box. Click Next.
- After mapping mailboxes, setting priority, and applying filters, click the Export button to start exporting the selected EDB mailboxes and mail items to the live Exchange server. If any source mailbox from scanned EDB is not mapped with the destination mailbox, a dialog box as shown below appears to confirm your action for the unmapped mailboxes. On this dialog box, click Map Mailboxes to go back to the previous screen to map the unmapped mailboxes. If you do not want to save the unmapped mailboxes, click on Skip Mapping, this will only save the mapped mailboxes.

- When you click Export, a Confirm Mailbox Export dialog box appears informing you that the export process, once started, cannot be aborted. Click Yes to proceed with the export process. Click No to cancel.
- Save dialog box appears
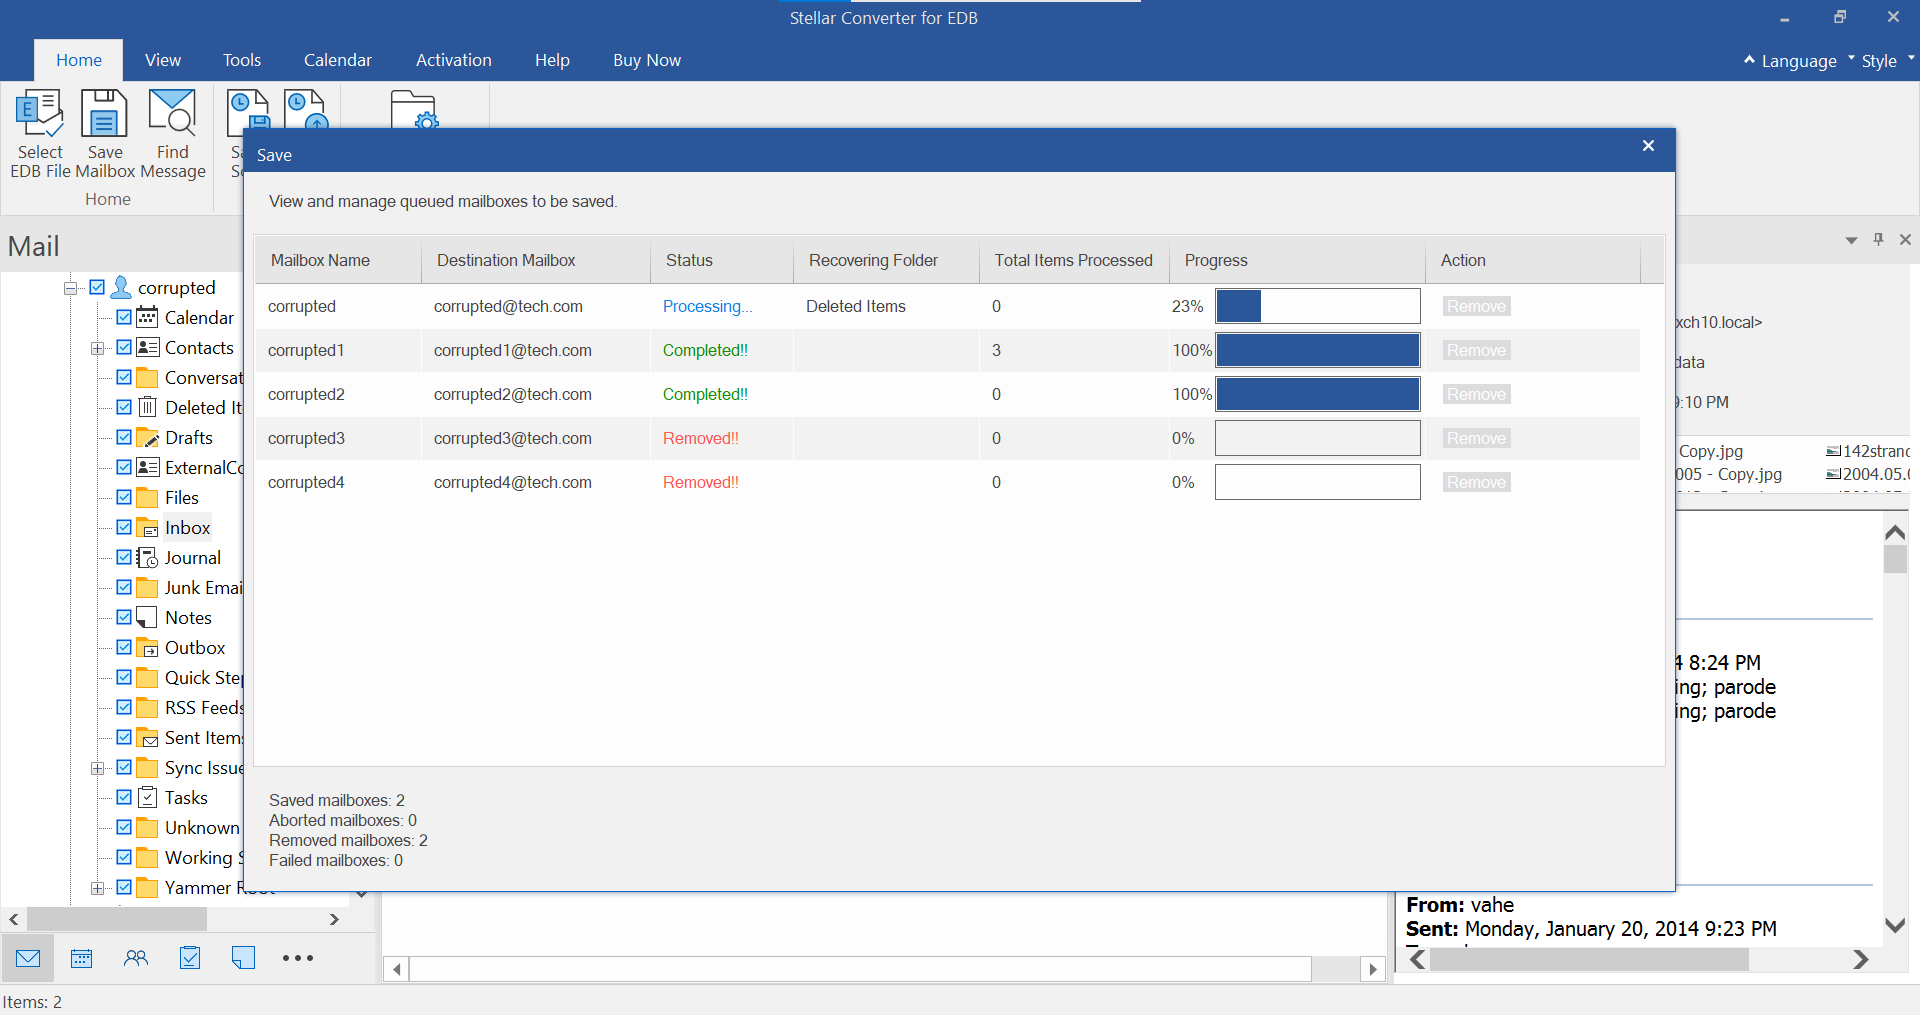
- Once the process of exporting the EDB file to the live Exchange server completes, the software displays a Saving Complete message box. Click ‘OK’ to close it.
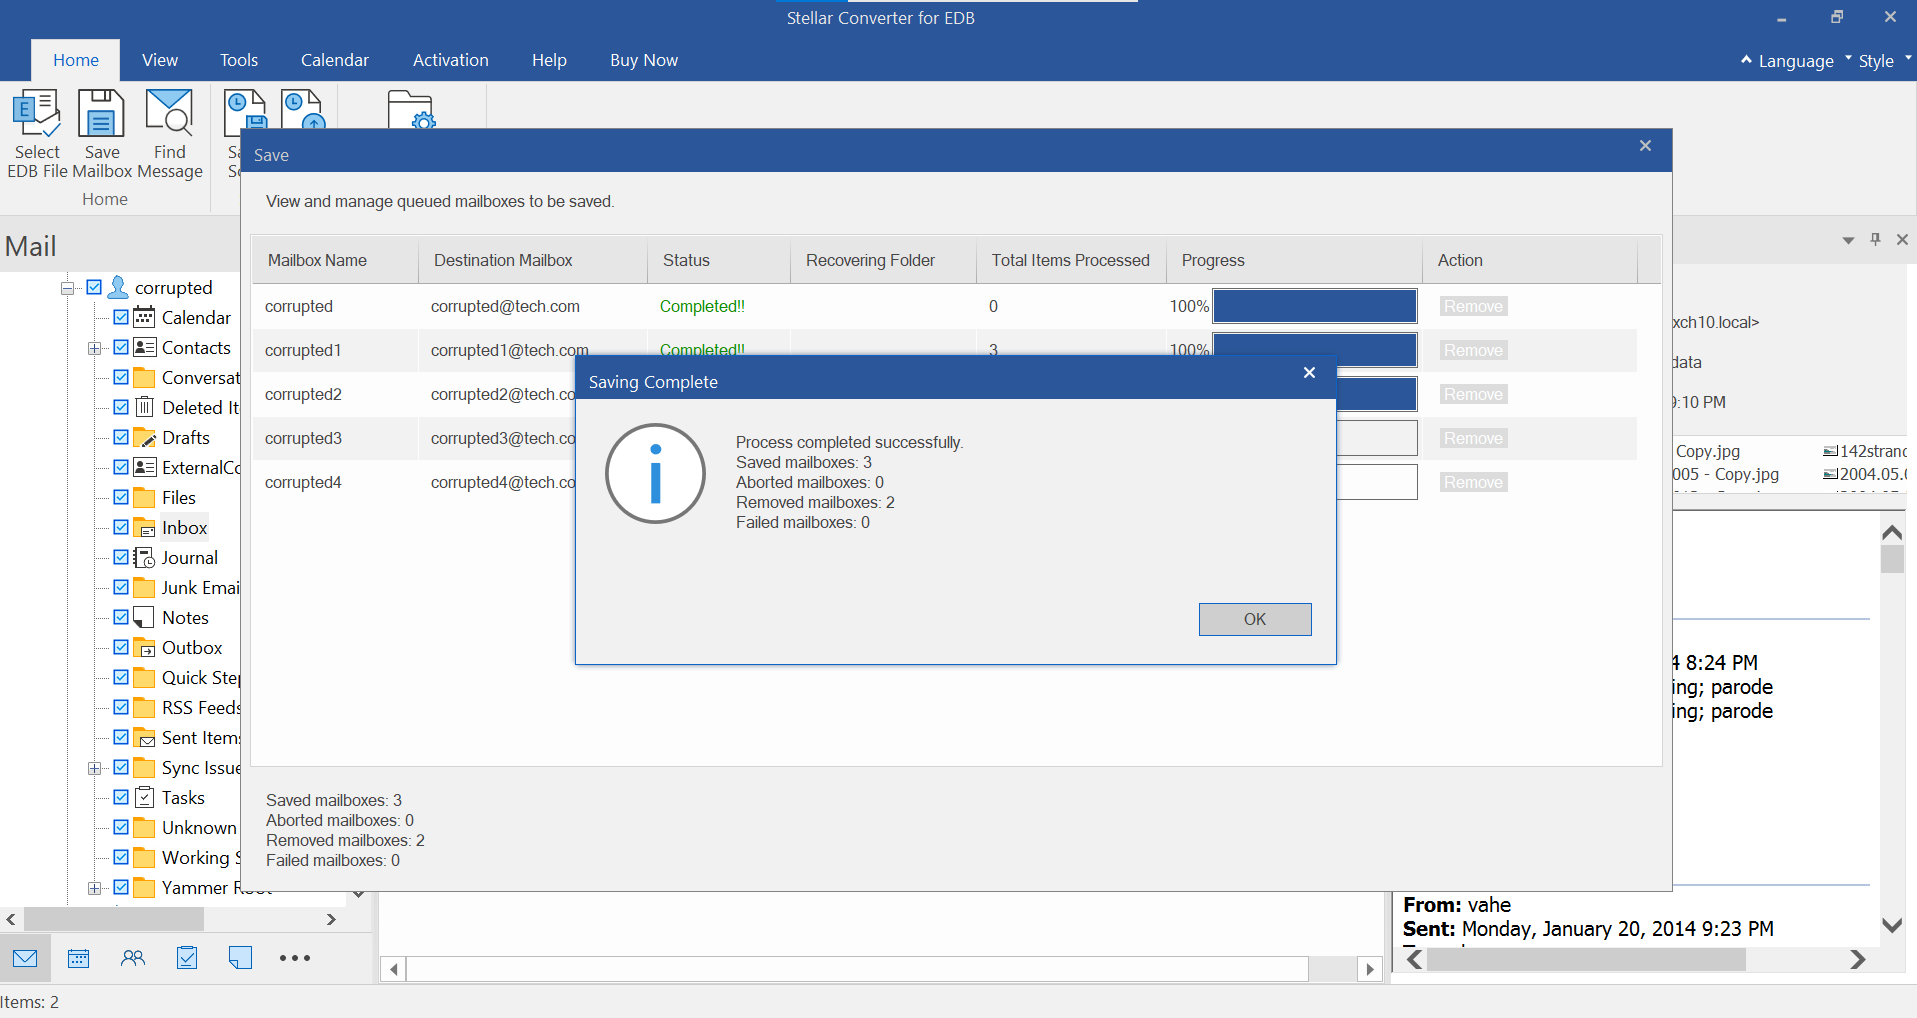
Now you can verify the exported mailboxes on the destination Exchange server.
Case 2: Export Single Mailbox to Live Exchange Server
To export individual mailboxes to live Exchange, right-click on the mailbox or mail items and choose Export to Exchange Server.

- Enter Login Credentials dialog box opens, select Autodiscover or Manually enter details to connect to the Live Exchange server. Click OK.

The process screen will appear, displaying the status of mailbox processing, mails of folder processing, and the number of mails processed.

- The Process Complete dialog box will appear, displaying the message Data exported successfully.


