Stellar Photo Recovery
- 1. About Stellar Photo Recovery
- 2. About the Guide
 3. Getting Started
 4. Working with the Software
- 4.1. Recovering Data from Existing Volume
- 4.2. Recovering Data from Lost Drive/Unallocated Partition
- 4.3. Recovering Data from CD/DVD
 4.4. Working with Disk Images
- 4.5. Previewing Scan Results
 4.6. Saving the Recovered Files
- 4.7. Performing a Deep Scan
- 4.8. Saving the Scan Information
 4.9. Configuring Advanced Settings
- 5. Supported File Formats
- 6. Frequently Asked Questions (FAQs)
- 7. About Stellar

4.9.4. Resuming Recovery from Saved Scan Information
Scan Information file contains information of a scan and is saved as a DAT file. You can save scan information file during any complete or incomplete recovery process. DAT file can be used to restart recovery later. For example, you saved DAT file of a scanning process and recovered only some files from that scan result. Later, you want to recover some more files from the same drive. You can use the saved DAT file to restart recovery.
Using a scan information file saves time, since scanning of each file does not take place. All files and folders shown after scan process will be shown on loading the DAT file created for that scan. In addition, if you have performed scanning process but not saved any files then you can use the DAT file to restart recovery at some other time.
To resume recovery by using scan information file:
1. Run Stellar Photo Recovery.
2. From the menu bar, click Menu  icon and select Resume Scan.
Note: Alternatively, click Menu  icon and select Settings option. The Advanced Settings window appears, click Resume Recovery
  .
.
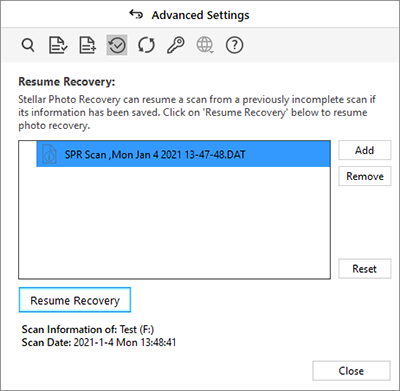
3. All the saved scan information files (.DAT) are listed on the Resume Recovery window. If the file is not listed, click on Add to browse and select the file.
4. To remove a file from the list, select that file and click Remove. Click Reset, to restore the list to default.
5. Select the desired file and click Resume Recovery to resume the recovery process.
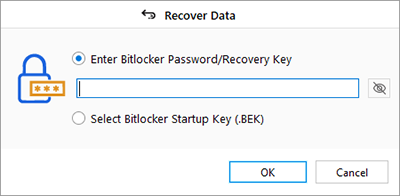
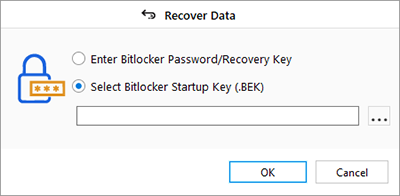
Note: If you are scanning a drive that is encrypted using BitLocker, you will be prompted to either enter the Bitlocker password/Recovery Key or Select a Bitlocker Startup Key (.BEK file). Use any one of the following steps, to initiate the scan process:
- Enter the Bitlocker password/Recovery Key in the text box given and click OK.
- Alternatively, choose Select Bitlocker Startup Key (.BEK) radio button. Click to browse and select the .BEK file and click OK.
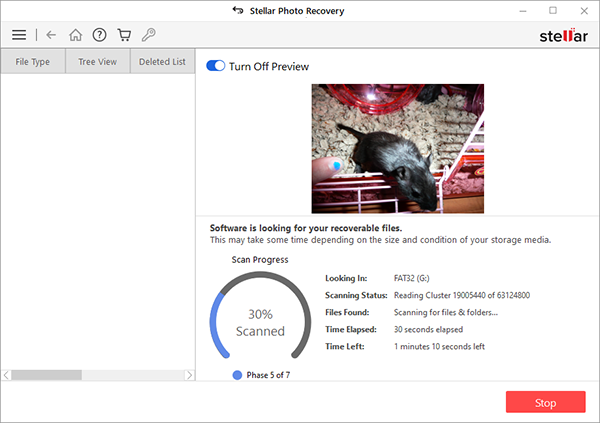
6. A screen showing the scanning process is displayed. Click Stop to stop the scan at any point.
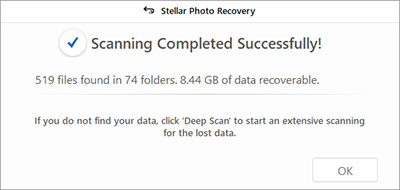
7. Once the scanning process is completed, details of the files and folder found are displayed in a dialog box as shown below:
8. For information on how to preview and recover the scanned data, see Previewing Scan Results and Saving the Recovered Files.