BitRaser Mobile Eraser & Diagnostics

4.2.1. Erasure Stages
Before the completion of the erasure process, a series of steps take place while we erase a device. The erasure stages are as follows:
Caution: Make sure you do not interrupt the process by disconnecting the device or pressing the power button at any stage. Doing so might fail the process and harm your device.
1. Device Connection: In this stage, the connection of the iOS/Android device which you want to erase is established.
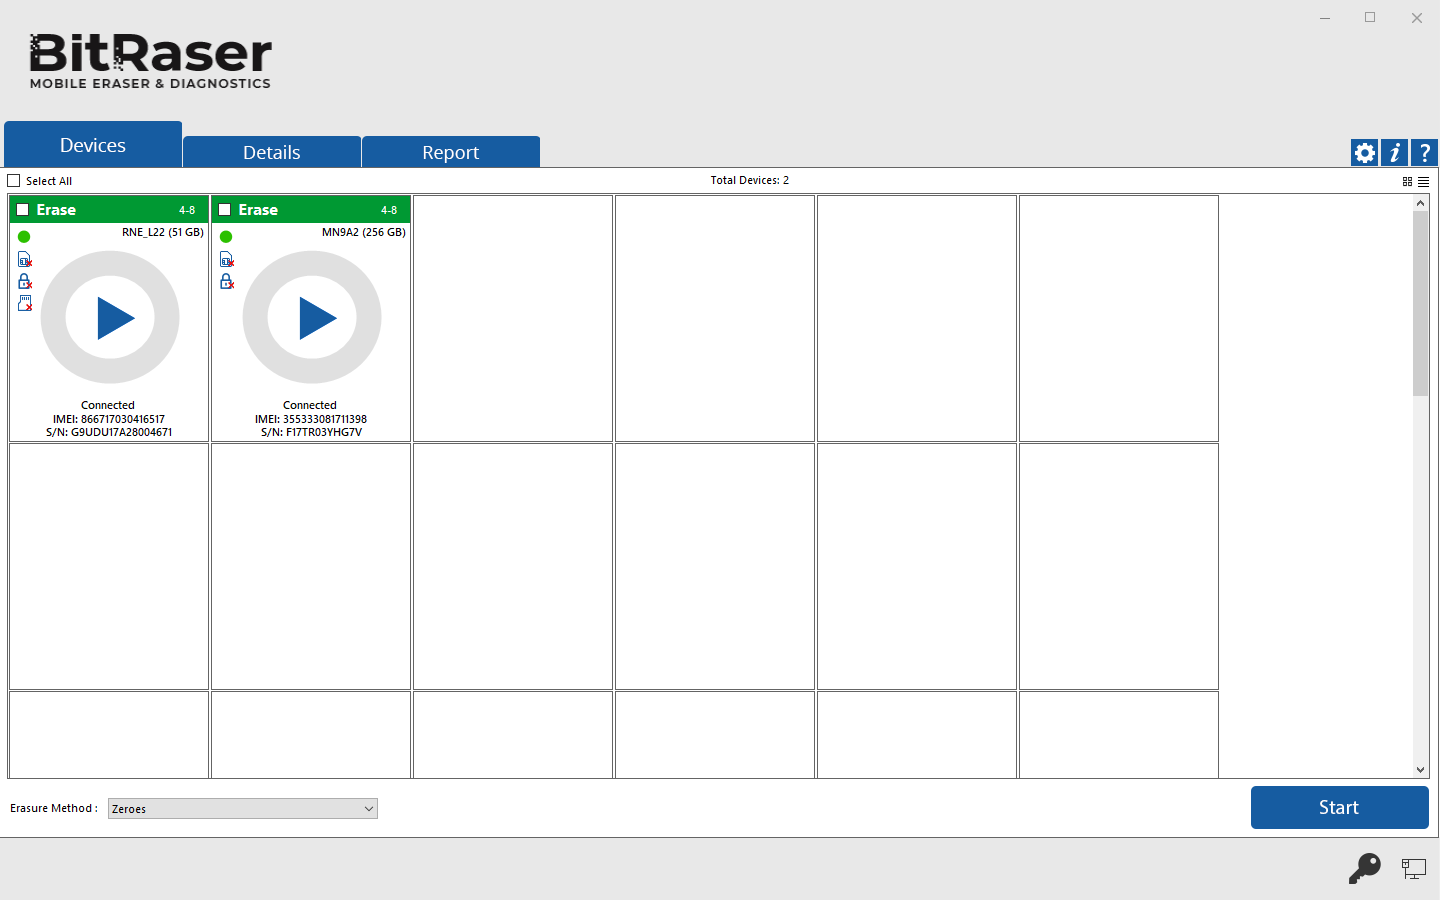
2. Initialization: In the initialization phase, the application starts analyzing the device you have connected. In case you have connected multiple devices, the application lists Device Status, Device Type, ECID/IMEI, and Serial Number of the connected devices.
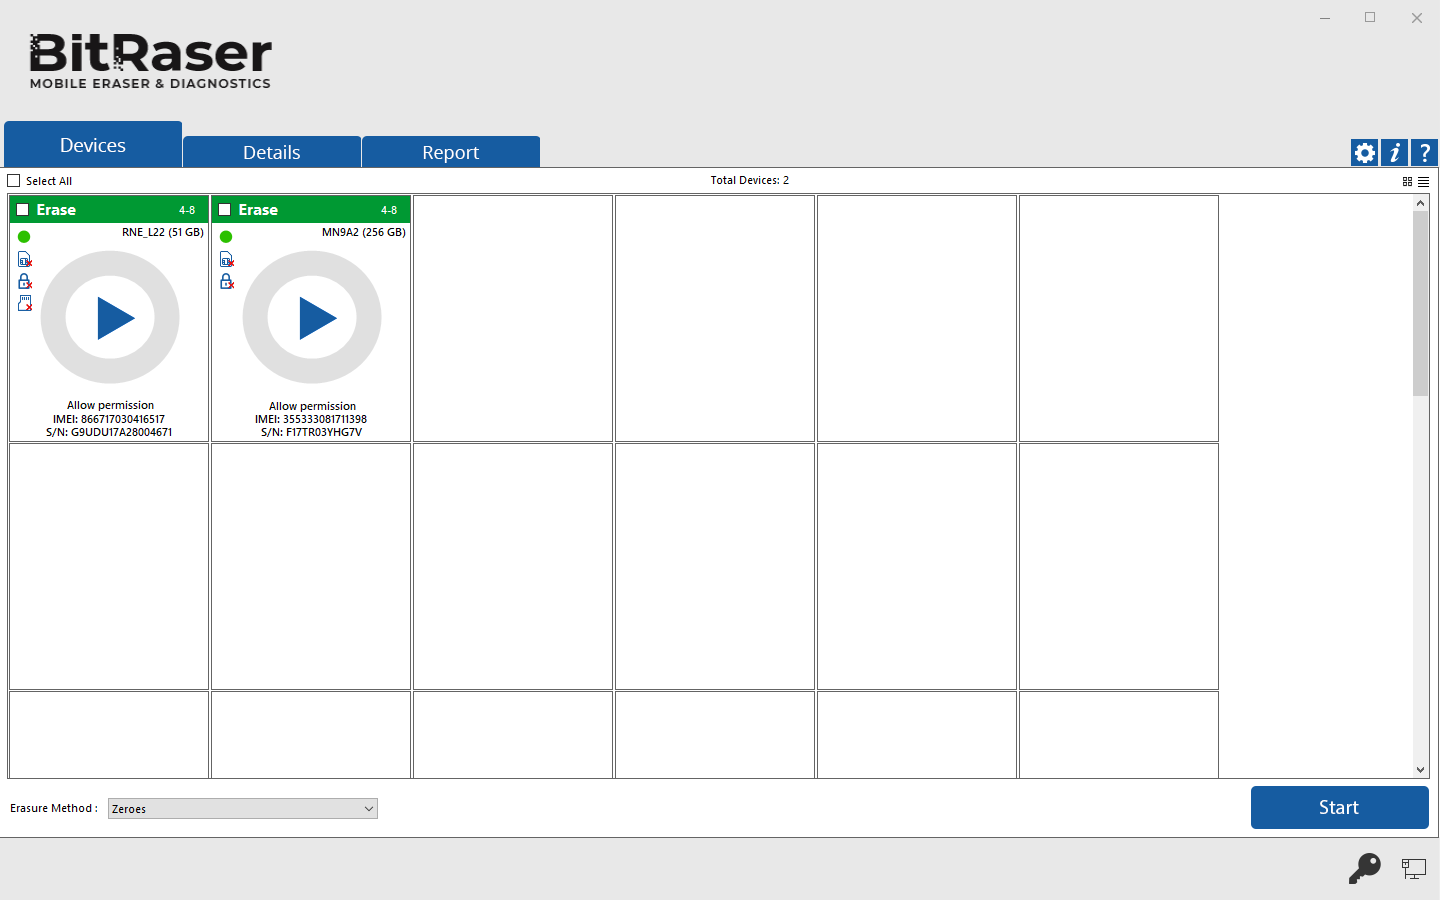
The application prompts the user to Install App from device for Redmi devices and Allow Permissions on other android devices. Proceed to this process on the device as required by the application.
Note: For Redmi devices, you need to install a BitRaserAndroidErasure.apk on your phone. See Procedure to install BitRaserAndroidErasure.apk on Redmi Phone to know the required steps.
3. Restoration: Restoring your iOS device puts it into an almost completely factory-reset state that includes the erasure of all data. A 'Restoring Completed' text appears after its successful completion.
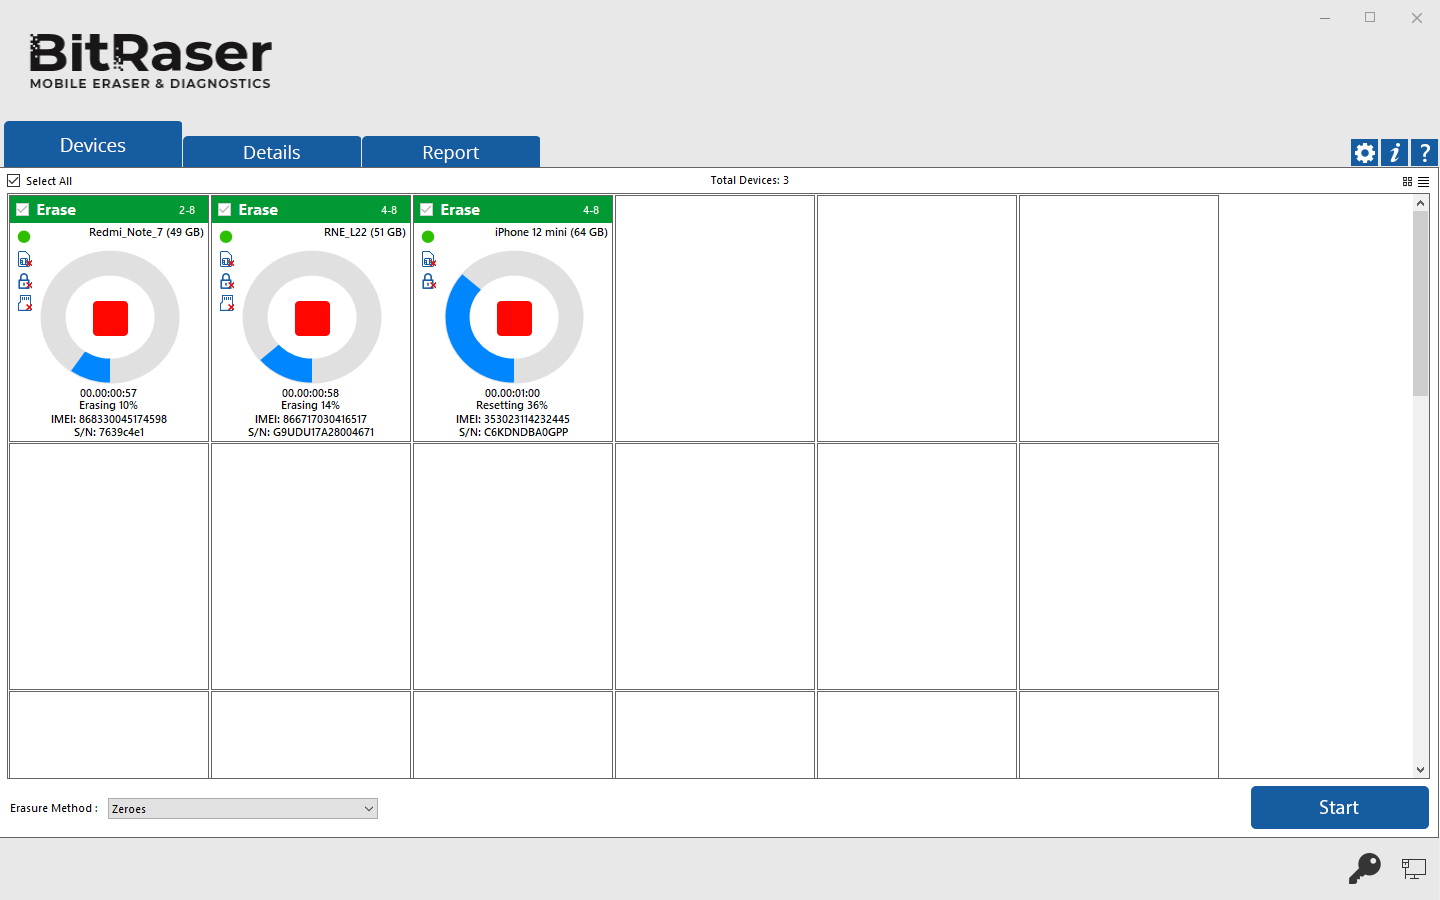
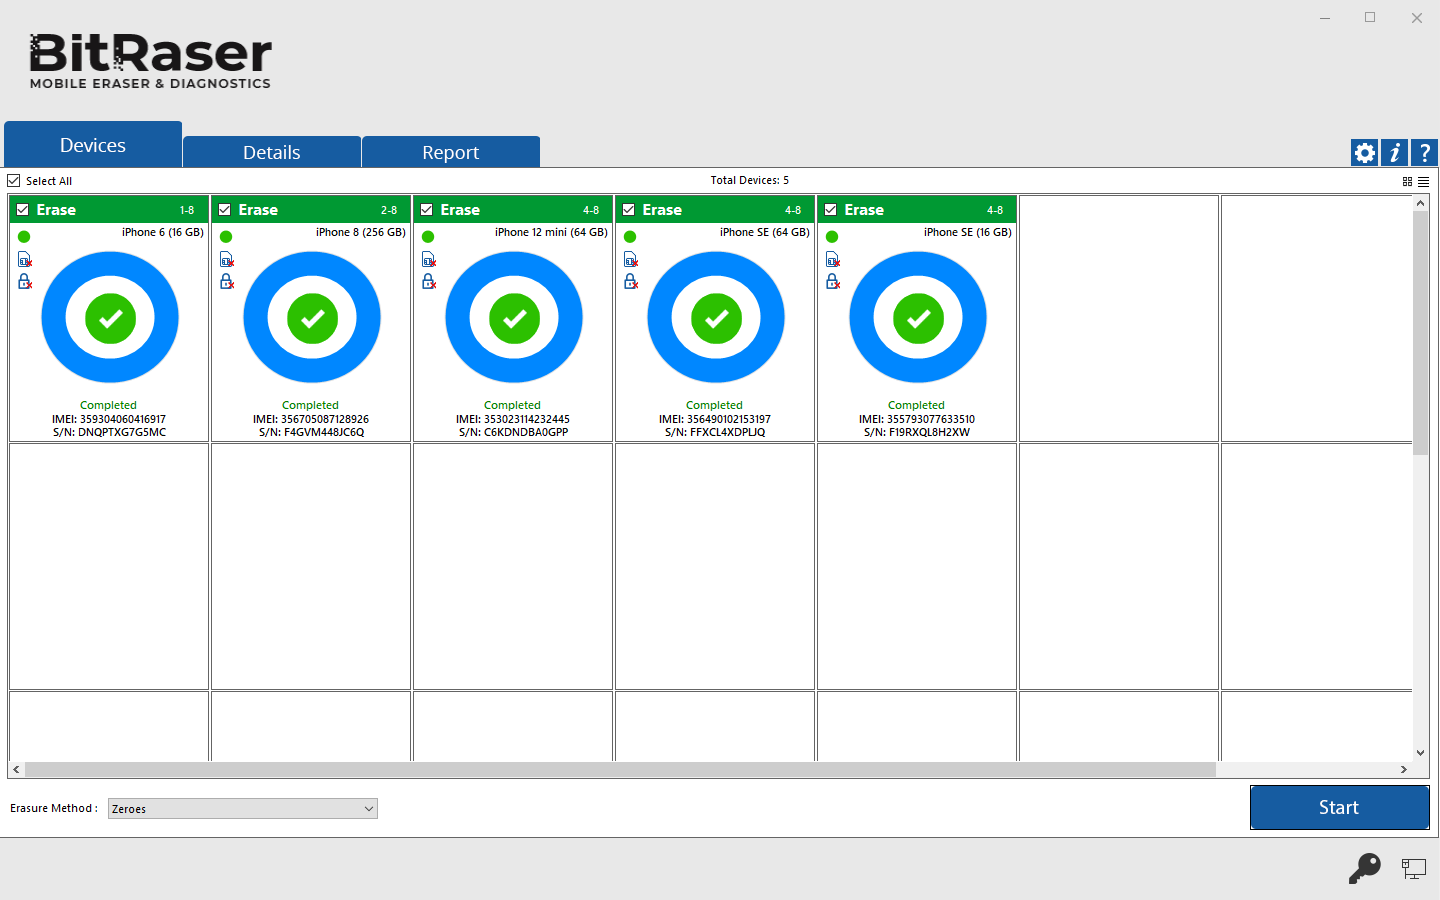
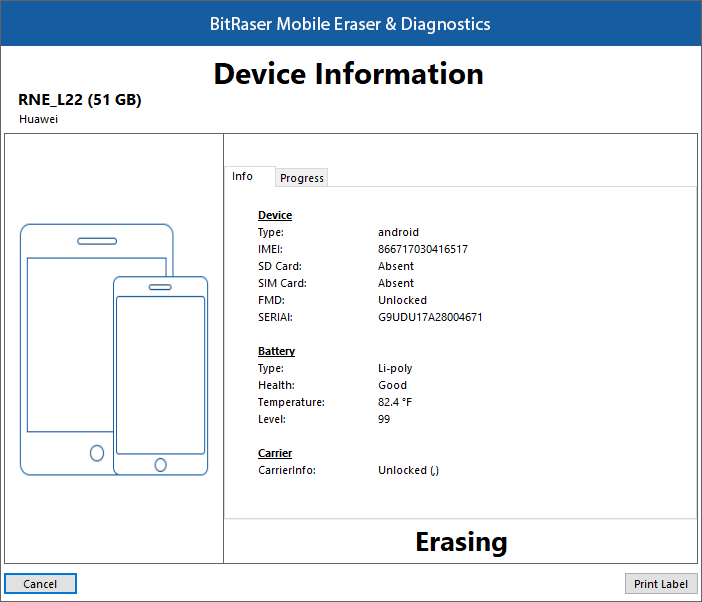
4. Erasure: The erasure process starts immediately after the completion of the restoring procedure. When the erasure is successfully completed, the icon displays a green color with the text 'Completed'. The icon displays a red color with the text 'Failed' in case of erasure failure.
You can view the progress of the erasure process at any time during the process by double-clicking on the device and clicking on the Progress tab from the Device Information dialog that opens:
Things to Note:
- Before the onset of the erasure process on an android device, the USB Debugging must be in ENABLE mode for the device you are connecting.
- When you install BitRaser Mobile Eraser & Diagnostics on a device running Android OS, you control which capabilities or information BitRaser Mobile Eraser & Diagnostics can access-known as Permissions. For example, an application might want permission to see your device contacts or location. You can control which permissions an application can access after the application installs on your device.
The application prompts the user to Allow Permissions on an Android device. Proceed to this process to further permit the access of photos, media, files, and phone calls.
|
|
|
|
|
 |
 |
 |
|||
Note: Keep in mind turning off permissions may cause BitRaser Mobile Eraser & Diagnostics on your device to lose functionality.
How to Enable the USB Debugging Mode on Your Phone?
-
Go to settings in your android device and click “About device” option.
-
Select “Software info” from the about device page.
-
Tap the Build number eight times to make Settings > Developer Options available.
-
Go back to the setting page and scroll down until you see “Developer Options”. Select Developer Options.
-
On the Developer Options page scroll down and enable USB Debugging.
Procedure to Install BitRaserAndroidErasure.apk on Redmi Devices:
| 1. Open File Manager on your Redmi phone | 2. Locate and open Bitraser folder | 3. Select and open BitRaserAndroidErasure.apk | |||
 |
 |
 |
 |
 |
 |
| 4. Click Install to begin the installation process | 5. Wait while the device installs the .apk file | 6. BitRaserMobileErasure is installed successfully | |||
 |
 |
 |
 |
 |
 3. Getting Started
