BitRaser File Eraser

4.3. Erase Traces
This option allows you to erase unwanted information from your system. Erase Traces is capable of cleaning Application Traces, Internet Traces, instant messengers, recent file history and Systems Traces on your hard drive.
List of supported Applications:
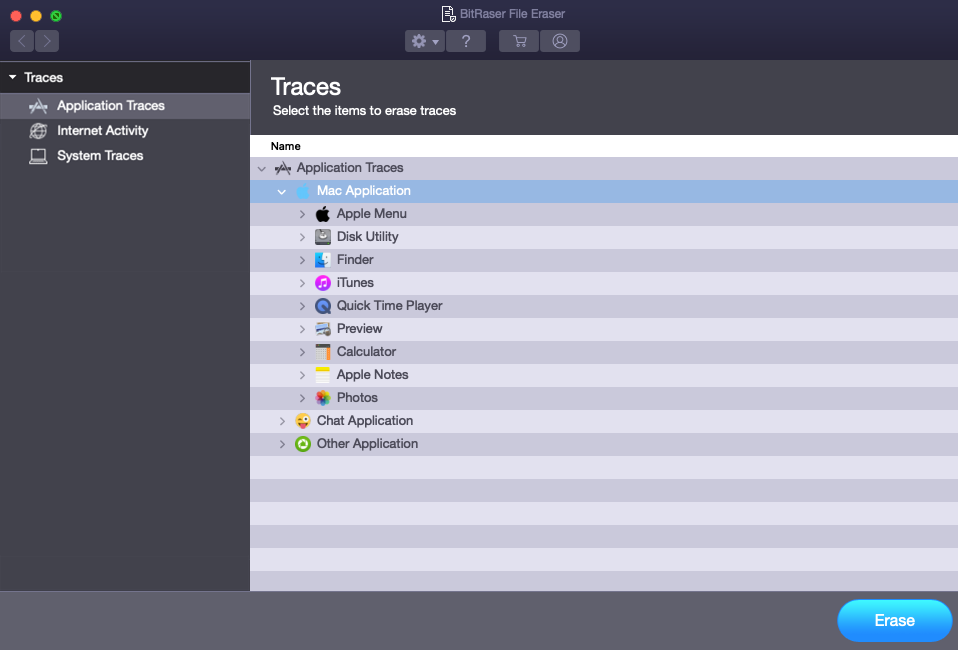
Erase utility provides support for application categories like All Applications, Apple Menu, Disk Utility, Finder, iTunes, Quick Time Player, Preview, Calculator, Apple Notes, and Photos.
List of other supported applications:
VLC Player, Adobe Flash Player.
List of supported Web Browsers:
Erase utility provides support for Google Chrome, Mozilla Firefox, Opera, Safari, Camino, OmniWeb, iCab, Netscape Navigator, and Flock web browsers.
List of supported Instant Messengers:
Erase utility provides support for Messages, Adium, ICQ, and Skype.
List of supported System Logs:
Cups Access Logs, Install Logs, Mail Logs, PPP Logs, Samba Logs, All System Cache, Web Sharing Access Logs, Diagnostic Messages (syslod), FSCK Logs, Bash History, Disk Utility Logs, Saved Application State, Diagnostic Report, Apple System Logs, Google Drive Log, Flash Player Install Manager Log, Sync Service Log, LKDC Setup Log, iOS Simulator Logs.
To erase system history and web logs:
1. Run BitRaser File Eraser.
2. The Traces option is turned ON by default. Click Unused Space and Files and Folders options to turn OFF (unselect the options that you do not want to erase). Click Next.
3. The left pane of the window displays all the volumes on the computer and the right pane list shows the files / folders of the volume selected.
Note: Before you click the Erase button make sure that settings details are filled correctly. Refer Set Preferences for BitRaser File Eraser to update the setting preferences
4. A window displays with a list of supported web browsers, instant messengers, recent file history, application traces, and system logs available on the computer is displayed as shown below:

5. Select the item from the list that has to be erased.
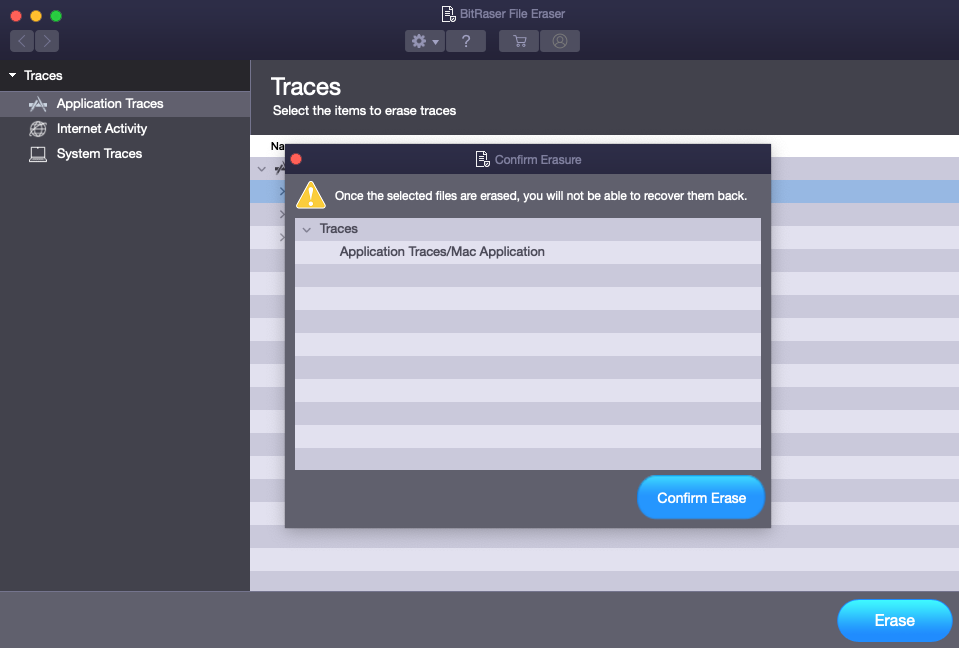
6. A Confirm Erasure dialog box appears with a warning message "Once the selected files are erased, you will not able to recover them back". Click Confirm Erase to start the erasing process.

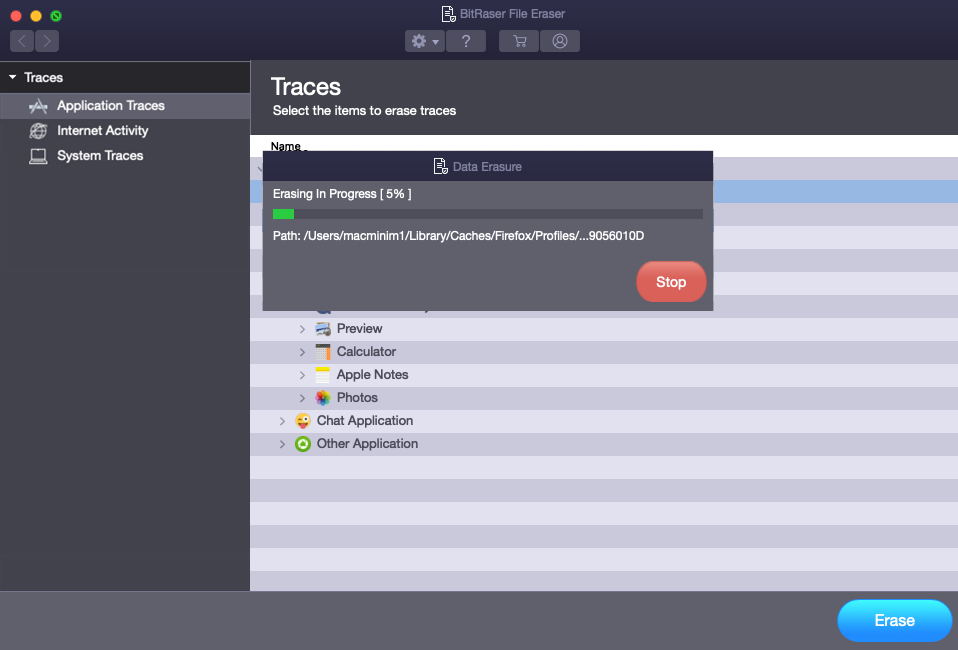
Note: If you wish to cancel the erasing process, click Stop to abort the operation.

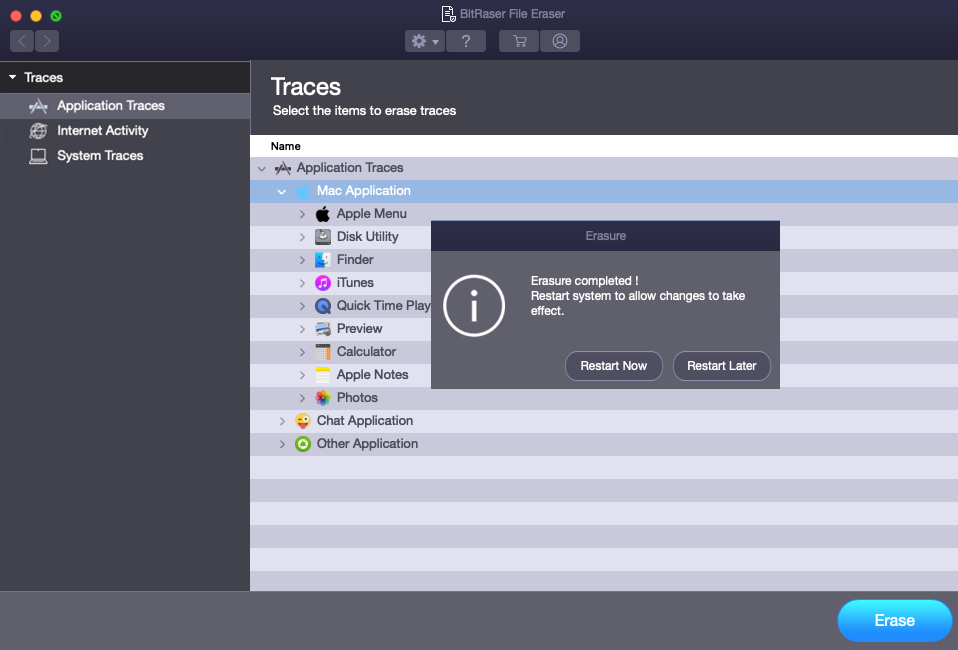
7. After the erasing process is completed, a dialog box appears with the message "Erasure Completed".
8. Click Restart Now to restart the system and let the changes take effect.

Note:
-
For restarting the system later, click Restart Later.
-
After the successful erasure, it is mandatory to restart the system.
 3. Getting Started