Stellar Repair for Access software allows the users to repair a corrupted split Access database and linked tables. The steps to repair a split database using the software are as follows:
- Download and install the Access repair tool from Stellar®
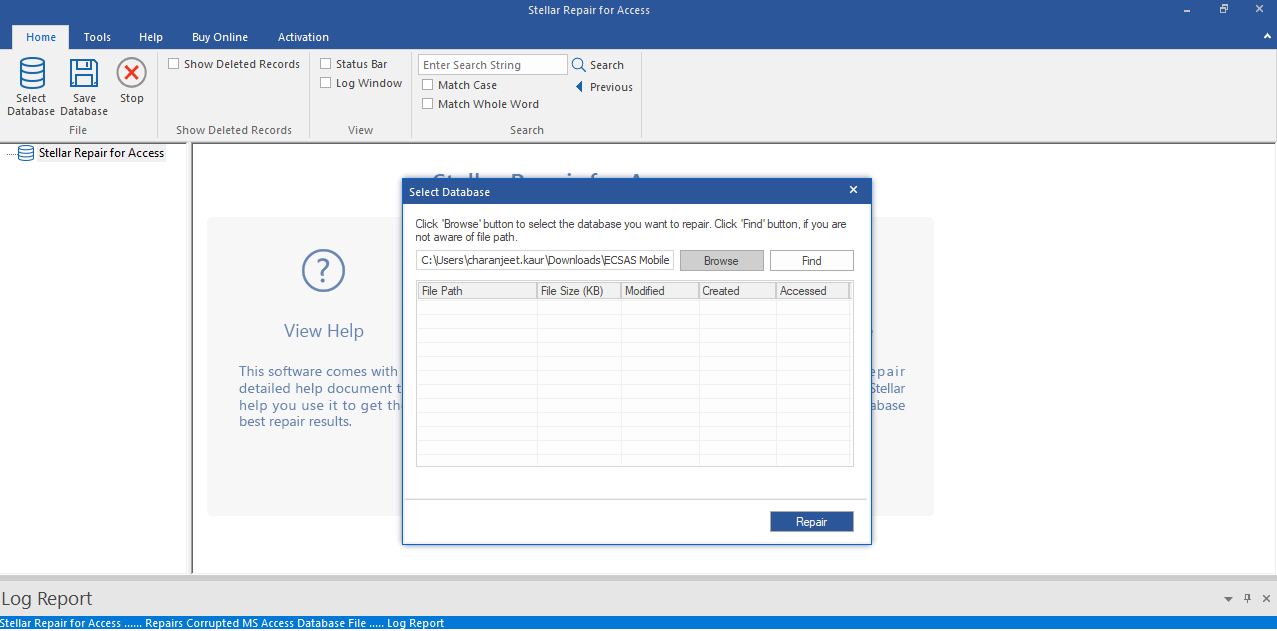
- In the ‘Select Database’ dialog box, click Browse to choose the split Access database you want to repair. If you’re not aware of the split database location, use the Find option to search and select it.
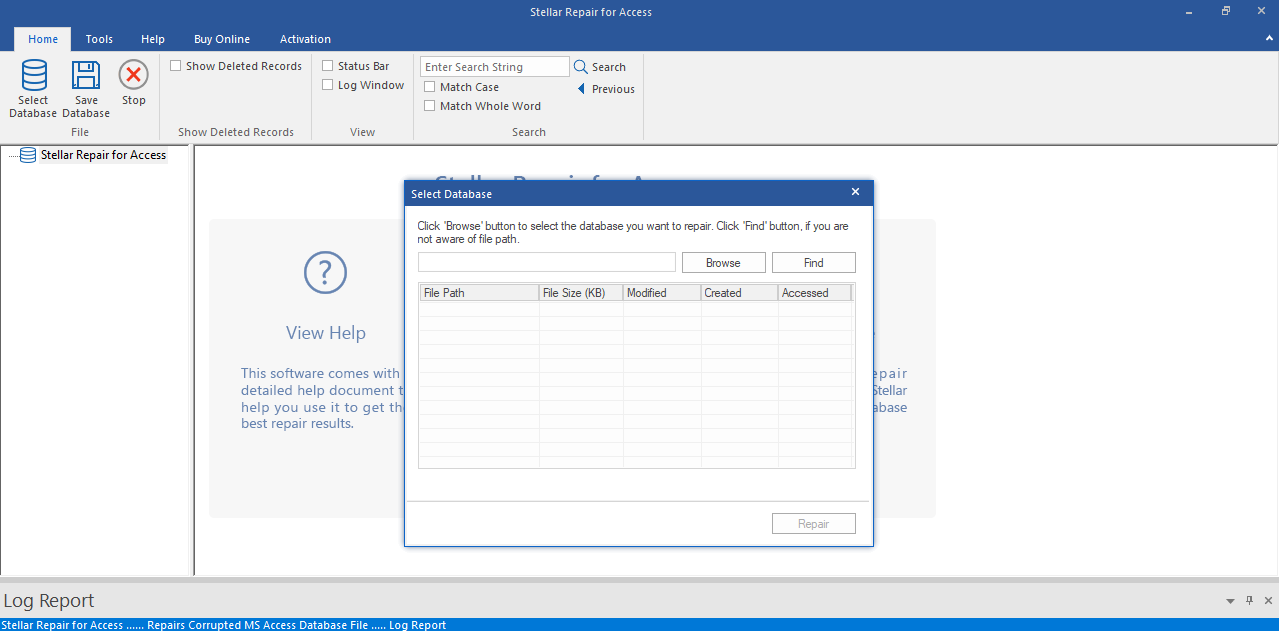
- After selecting the split db, press the Repair button.
- A screen showing progress of the repair process appears. Wait for the process to complete.
Note: The completion time of the split Access database repair operation can exceed depending on the database size.
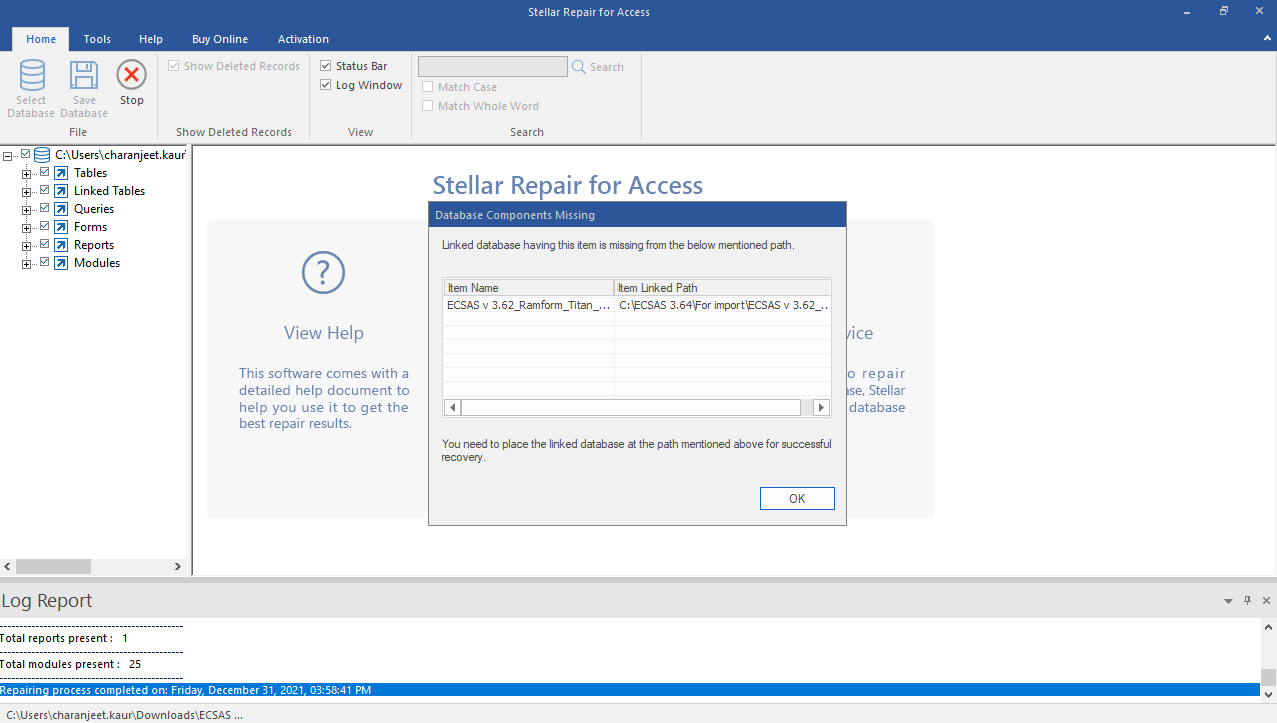
- On completion of the repair process, a ‘Database Component Missing’ window will open with information about any item that is missing in the linked database. Click OK to exit the window.
Note: For successful recovery of the split db, add the linked database at the path mentioned in the ‘Database Components Missing’ window.
- Expand the items on the left pane of the preview window; click on any item to view its contents on the right pane.
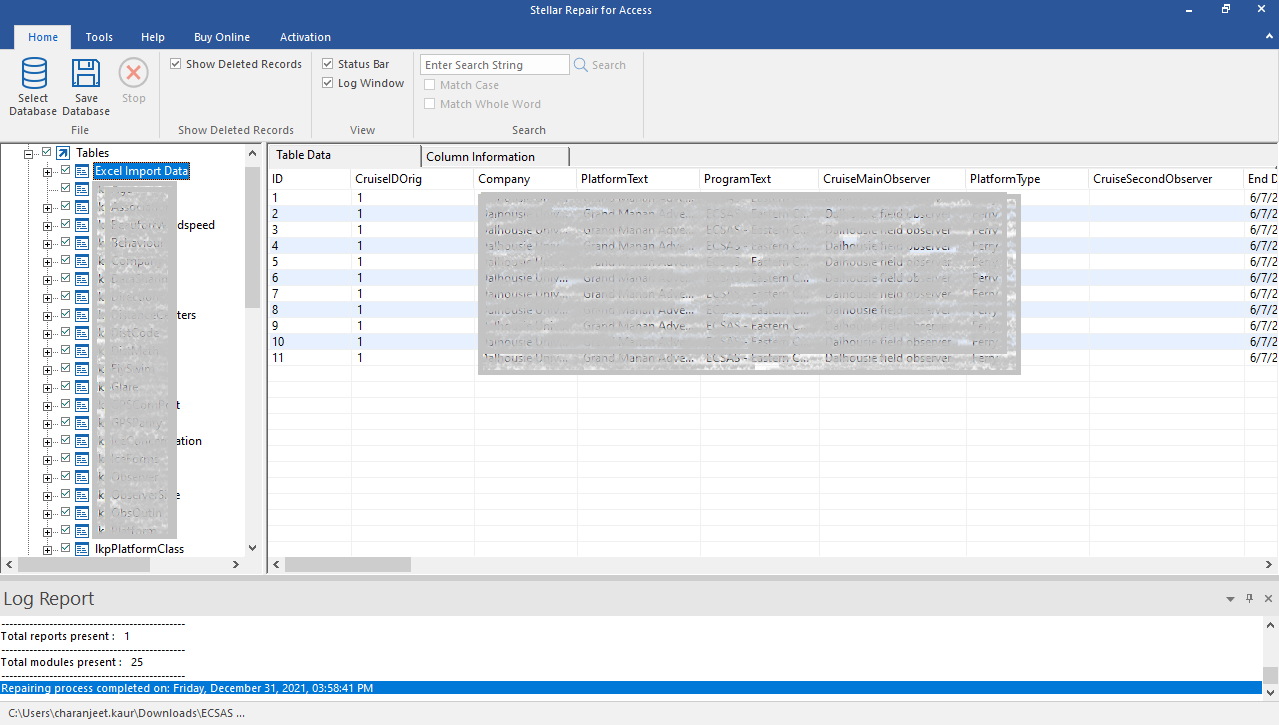
- Select the database components you want to save, then click on Save Database in the File menu.
- Do the following:
- Choose Default Location to save the repaired split db and components in the location where the original db is located.
- Choose New Location to save the items in a new folder.
Note: Uncheck the ‘Save Deleted Records’ option if you do not want to recover deleted records.
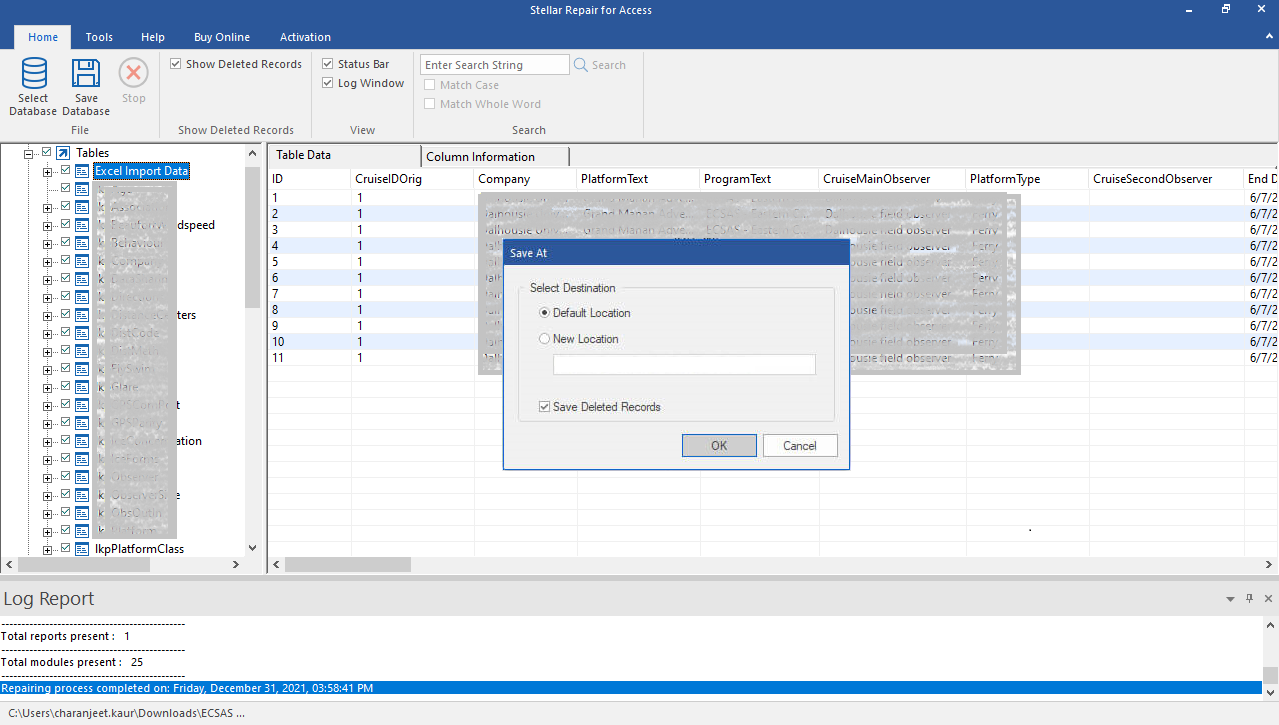
- Click OK.
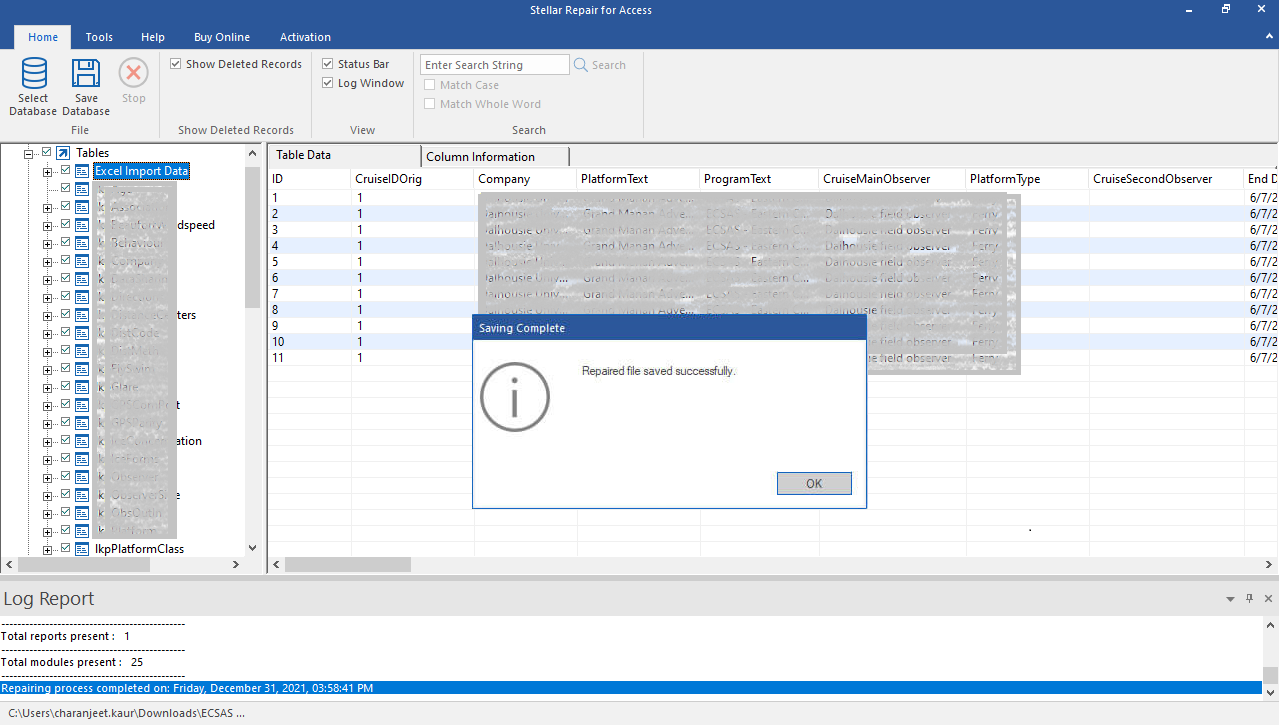
- A ‘Saving Complete’ message box will appear once the database is saved.
Navigate to the location where the selected split Access database and objects are saved.


