Stellar File Eraser is one the most effective file eraser software equipped with 17 international data erasure standards. It ensures that the data you want to erase is destroyed beyond the scope of recovery. To erase files, you can choose from two verification methods, viz. Random and Total Verification.
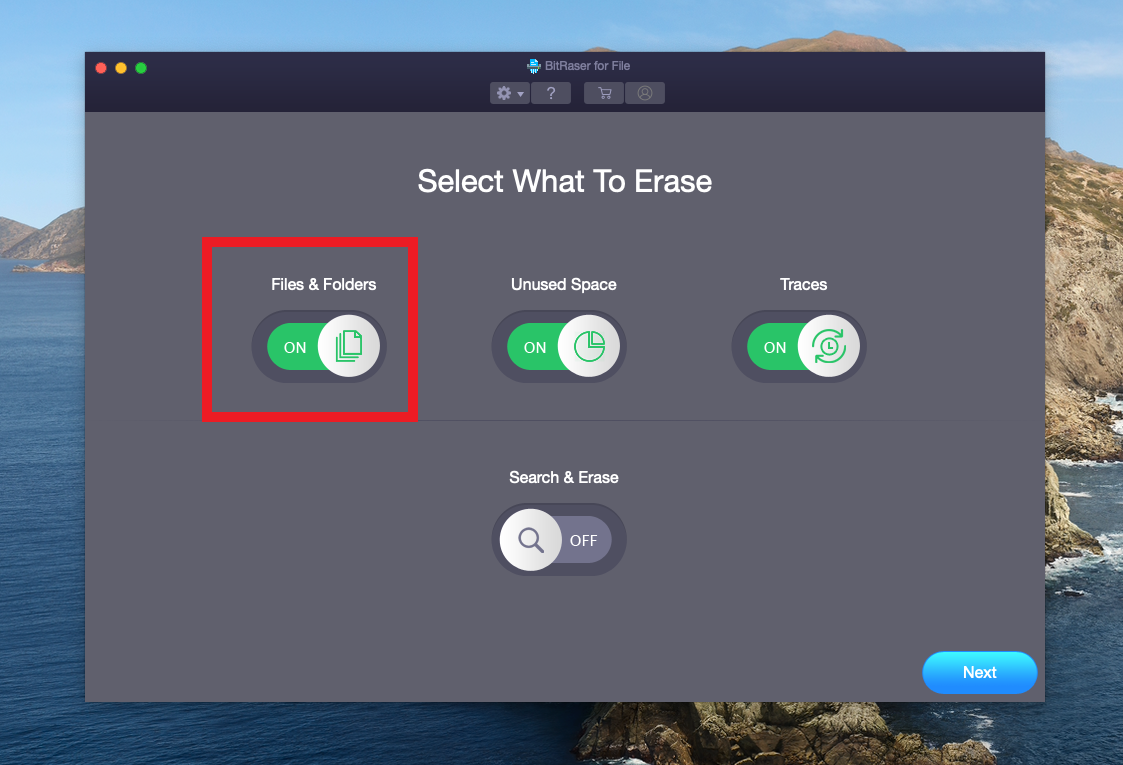
Stellar File Eraser provides you with four options to choose what you want to erase on the main user interface. These are:
- Files & Folders: Select this option to erase any file or folder from the storage drive.
- Unused Space: To erase the data from the space marked unused or free space, you can select this option.
- Traces: Selecting this option will allow you to erase the traces of internet activity, recent file history, system traces, and traces left by uninstalled apps.
- Search & Erase: Use this option to search for multiple files in your hard drive, folders, and subfolders by their name and erase them.
Follow these steps to permanently erase the selected files from your Mac system:
Step 1: Download and install the Stellar File Eraser on your Mac.
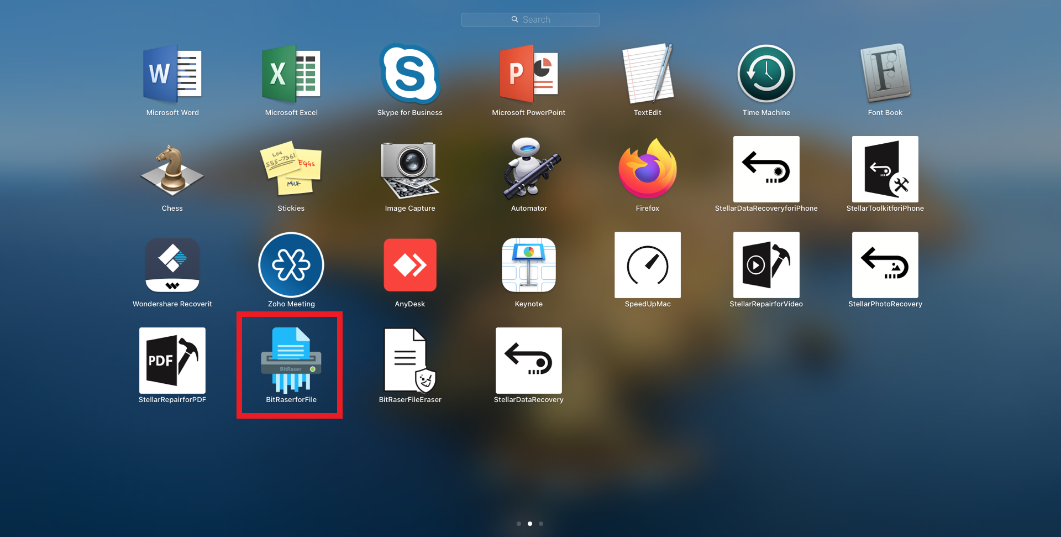
Step 2: In the Launchpad, locate the Stellar File Eraser and launch it.
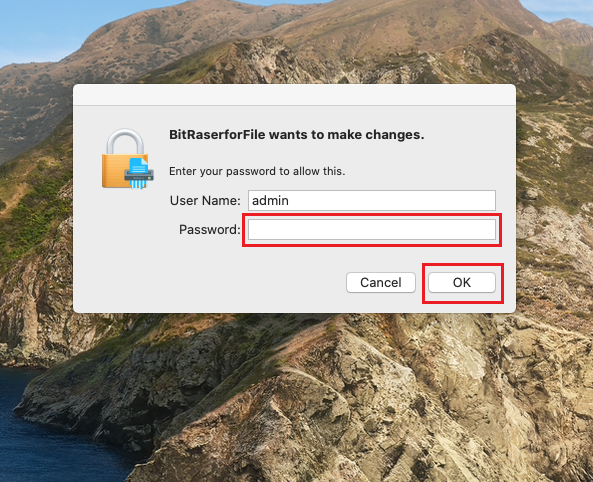
Step 3: When asked, enter the admin password to allow Stellar File Eraser to make changes.
Step 4: Select the option from What to Erase window and click Next.
Step 5: Select the desired volume from the volumes of your Mac displayed in the left pane of the Files and Folders window.
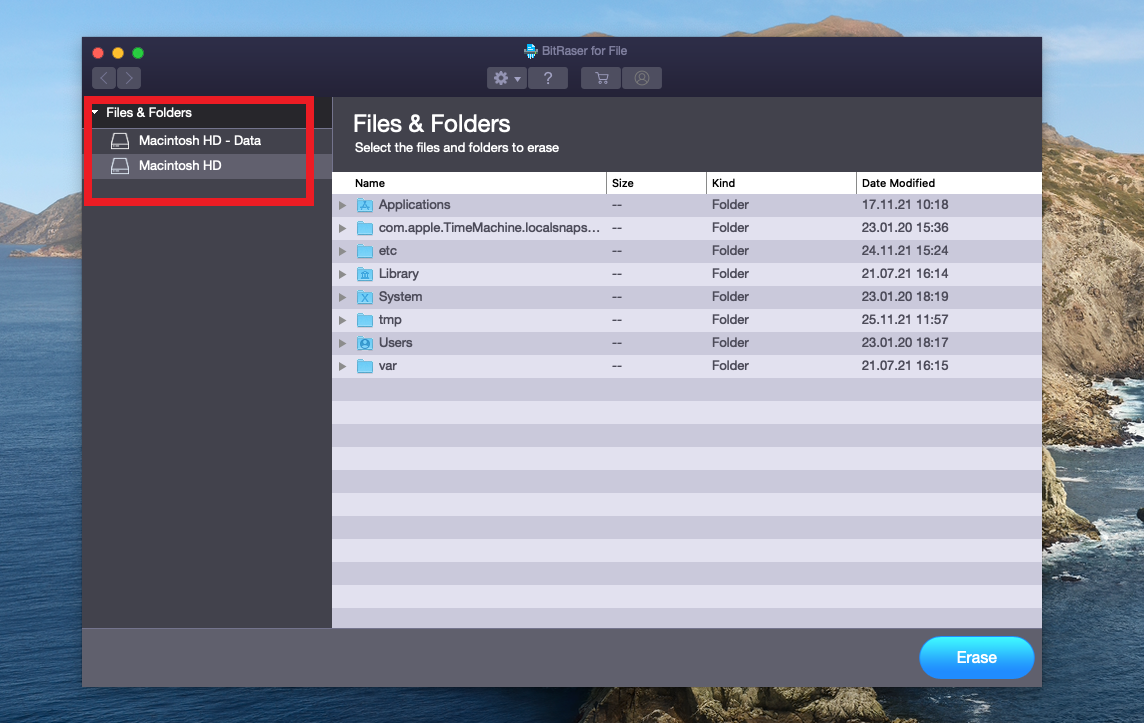
| Note: Here the Files and Folders option is chosen for illustrative purpose. |
Step 6: All files and folders contained in the selected volume will be displayed in the right pane. Select the files/folders that you have to erase.
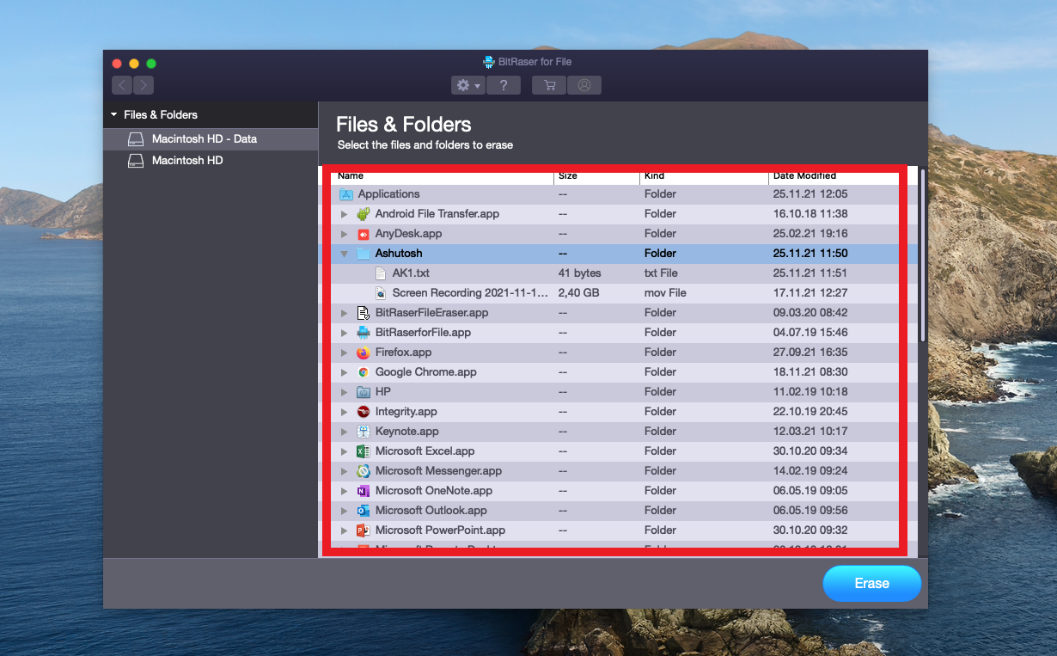
Step 7: Click on the Preferences icon (resembling a gear) at the top center to select the Erasing Algorithm. A new dialog box appears where you can choose the algorithm and verification method.
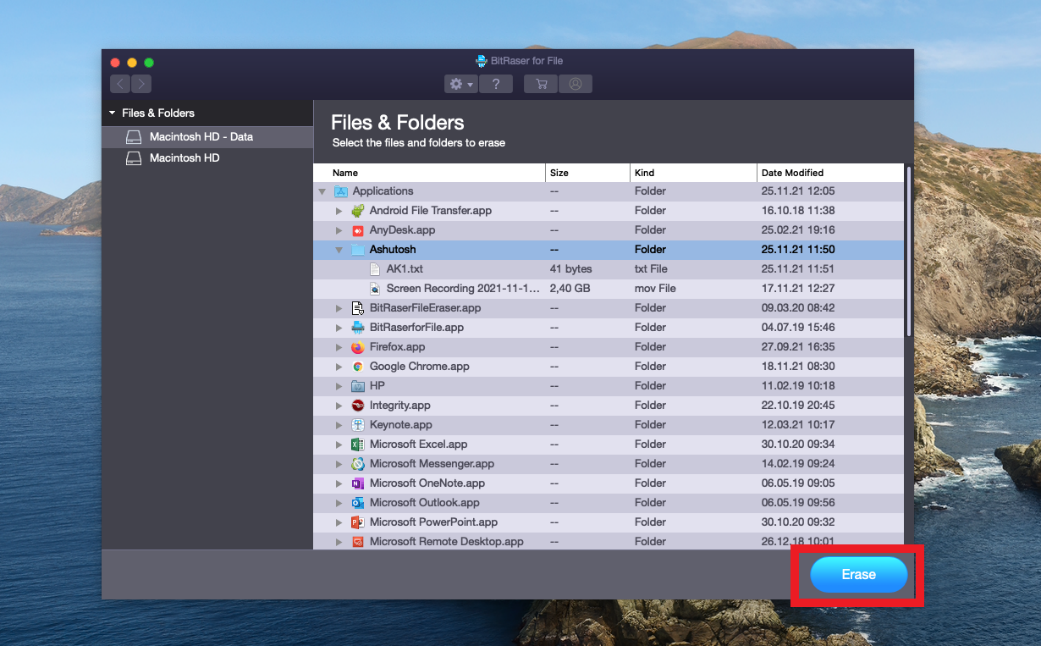
Step 8: Once you have selected the preferred algorithm, click the Erase button at the bottom right.
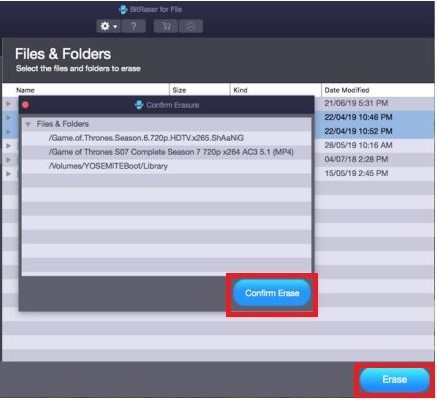
Step 9: A confirmation window appears with the list of files and folders selected for erasing. Click the Confirm Erase button.
|
Caution: Review the files and folders displayed in the confirmation window before hitting the Confirm Erase button, as files/folders once deleted cannot be recovered again. |
Step 10: The erasure process will commence. Once it is completed, you will see a message displaying confirmation of file erasure.
Step 11: Restart your Mac for the erasure to take effect.


