Stellar Data Recovery Professional is a trusted and reliable .iso file recovery software. This exceptionally powerful software supports recovery of more than 300 file types and lets users recover custom files too.
Check the video to add new file types:
With Stellar Data Recovery Professional, you can easily recover deleted.iso files by following the below steps:
- Download, install, and launch Stellar Data Recovery Professional software.
- On the side panel click Raw File Formats.

- Click ‘Add File Type’.
- Click the ‘Add File Type’ button, browse some ISO files (minimum 10 different ISO files) as sample files. Make sure they are identical to the one which you lost.
- Under ‘Select Group’ dropdown, choose ‘Archive’ and then put the approximate size of the ISO file (in KBs or MBs) under ‘Put Average File Size’.
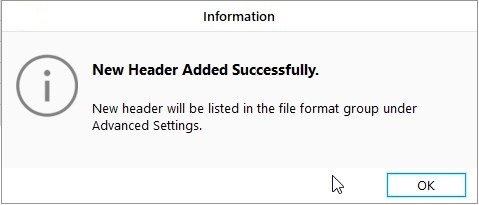
- Click ‘Add Header’. Based on the sample files provided, the software automatically detects the file signatures and displays the following message.

- Now click on the ‘File List’. Uncheck all listed file formats and then check the ISO format listed under ‘Archive Formats’ (that we just added).
- Select ‘Close’ and then click ‘Next’.
- Now click ‘Choose Location’ to browse the folder from where the ISO file was deleted. If it’s a volume, select it from the ‘Connected Drives’ list.
NOTE: You may also choose the ‘Can’t Find Drive’ option in case you lost the partition containing the ISO file. The software helps you recover data even from deleted and missing hard drive partitions.
- Turn on the ‘Deep Scan’ toggle switch that appears at the bottom-left corner of the software window, and then click ‘Scan’.
- Wait until the scan is finished. After scanning, deleted files are listed under the ‘Deleted List’ tab in the left pane.
- Expand the ‘Archive’ folder and then browse the ISO file. Use the search bar to quickly locate the file.
- After locating the file, select it and then click ‘Recover’.
- Click ‘Browse’ and then navigate to the location where you want to save the recovered ISO file.
- Click the ‘Start Saving’ button and wait until software saves your recovered ISO file at your desired location.
For more such guides, troubleshooting techniques, and tutorials, head back to our KB (Knowledge Base) section.


