Stellar Splitter for Outlook
- 1. About Stellar Splitter for Outlook
- 2. About the Guide
 3. Getting Started
 4. Working with the Software
- 5. Frequently Asked Questions (FAQ)
- 6. About Stellar

4.3.1. Split Single PST By Date
To split single PST file by date, please follow the procedure as described below:
-
Run Stellar Splitter for Outlook.
-
Add PST File which you want to split.
-
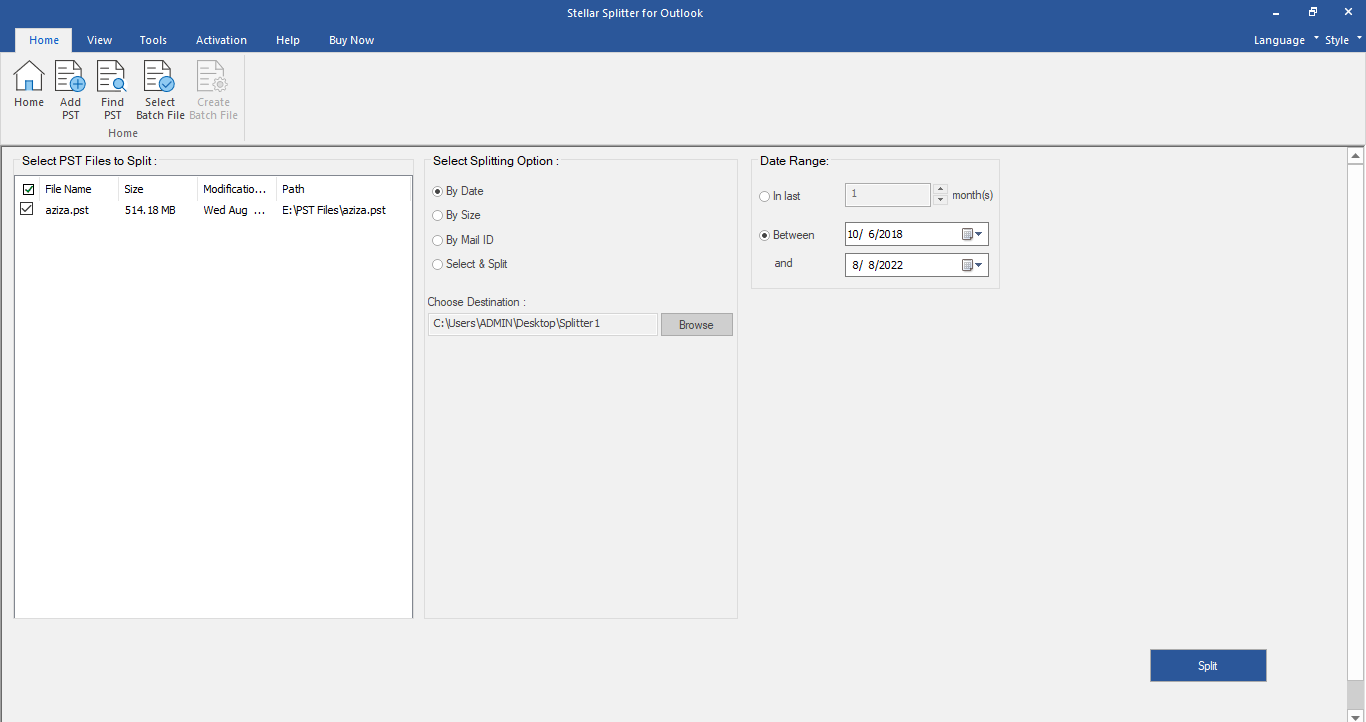
Stellar Splitter for Outlook displays a three-pane window. The PST File you added will be listed in the left pane.
-
Select By Date option from 'Select Splitting Option' section in the middle pane of the screen.
-
Click Browse and select the location where you want to save the PST File. Click OK.
-
From 'Date Range' section in the right pane of the screen,
-
Select In last radio option if you want to split the PST file according to months. All e-mails that are sent and received in the specified months will be stored in the split PST file.
-
Select Between radio option if you want to split the PST file according to a specific time period. All e-mails from the specific time period will be stored in the split PST file. Select the start and end date from the list boxes.
-
User can specify to create a new PST file of all mails sent or received in last 'x' number of months or mails sent or received in a specified date range.

-
Click 'Split' to start the process.
-
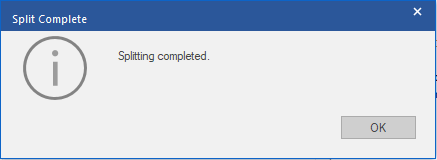
A Split Complete dialog box opens, displaying a message 'Splitting completed'. Click OK. The PST file will be saved at your specified location.

Note: Once the process is complete, you need to specify the path where a log can be saved for the split operation. This will help you to check the operation activities performed on your PST file.