Stellar Repair for Outlook
- 1. About Stellar Repair for Outlook
- 2. About the Guide
 3. Getting Started
 4. Working with the Software
- 4.1. Select and Repair File
- 4.2. Preview Repaired File
- 4.3. Find, View and Save a Single Message
 4.4. Save Repaired File
- 4.5. Relink Attachment Folder
- 4.6. Save Log Report
- 4.7. Save and Load Scan Information
- 4.8. Importing PST file in MS Outlook
- 4.9. Changing the Software Language
- 5. Frequently Asked Questions (FAQs)
- 6. About Stellar

4.1. Select and Repair File
If you know the location of the PST/OST file, then you can directly specify the location and start repairing e-mails of that file. If you do not know the location, then you can search the required PST/OST file by using the search functionality of Stellar Repair for Outlook.
Steps to select and repair file:
1. Run Stellar Repair for Outlook.
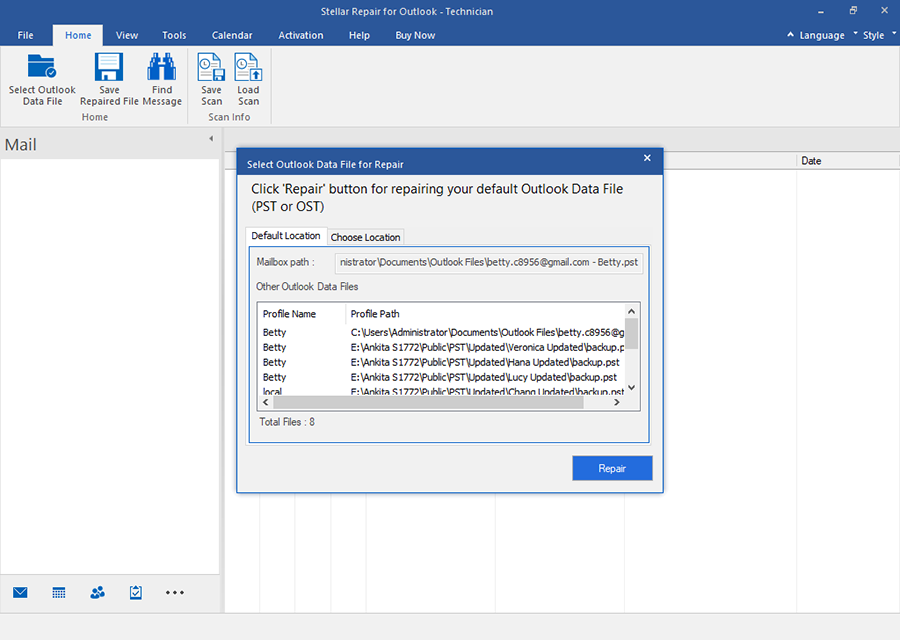
2. Select Outlook Data File for Repair window appears when the software launches. Alternatively, you can also open Select Outlook Data File for Repair window from File menu or Home ribbon.

3. There are two tabs available to select the PST and OST files: Default Location and Choose Location.
(I) Default Location: This is the default selected tab. It lists PST and OST files that are configured in Microsoft Outlook.
a) From the list, select the required PST/OST file.
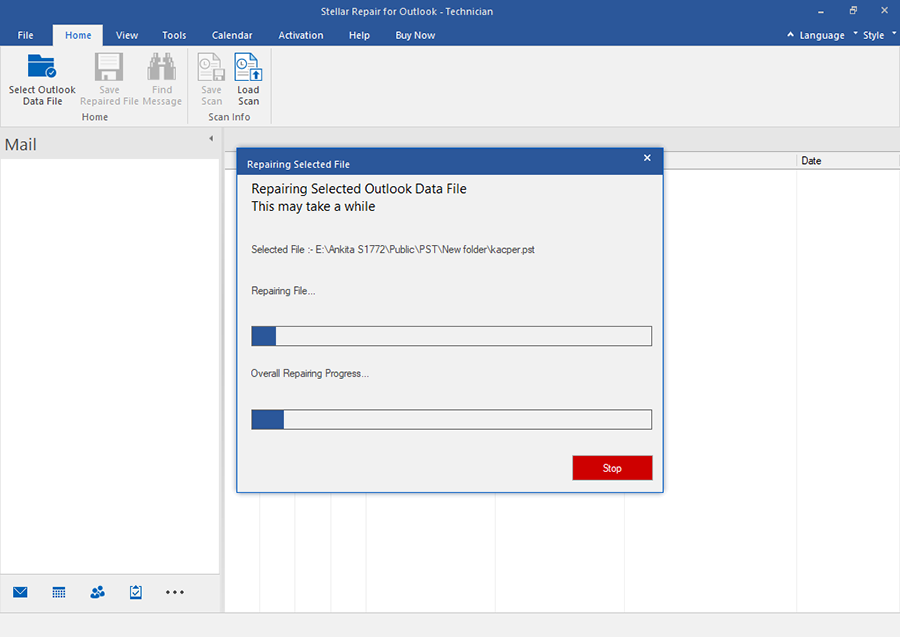
b) Click Repair to start the repairing process.

c) After the process is completed a Repair Complete dialog box appears with a message, "Selected file repaired".
d) Click OK.
(II) Choose Location: Use this tab when the file location is known.
There are two options to select PST/OST files: Browse and Find.
(i) Browse: Use Browse button if you exactly know the location of the file on your system.
a) Click Browse. Locate and select the PST/OST file and click Open.
b) After the file is selected, click Repair to start the repairing process.

c) After the process is completed a Repair Complete dialog box appears with a message, "Selected file repaired".
d) Click OK.
(ii) Find: Find button search for files on your system's drives, folders, and subfolders.

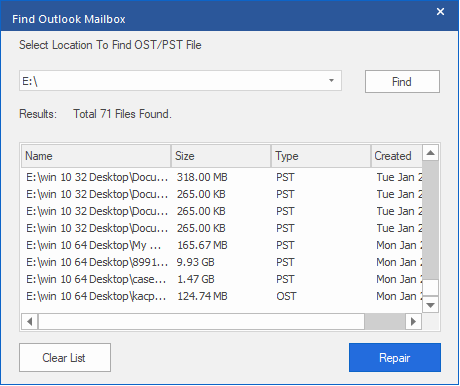
a) Click Find, Find Outlook Mailbox window appears.
b) Select the drive from the drop-down list. However, you can only select one drive at a time.
c) Click Find button to start the search process.
d) If you wish to stop the search process, click Stop.
e) After the search is finished, Find Complete dialog box appears with the number of files found. Click OK.
f) The list of files found in the selected drive is displayed in the Results section. Select the file you want to repair, only one file can be selected at a time.
Note: If you want to clear the search result, click Clear List.
g) Click Repair button to start the repairing process.
h) After the process is completed a Repair Complete dialog box appears with a message, "Selected file repaired".
i) Click OK.
After the repair process is completed, the software provides a preview of the repaired files. See Preview Repaired FilesPreview Repaired File, for more details.