Stellar Data Recovery for iPhone

4.3. Recover Data from iCloud Backup
You can scan an iCloud backup file for data if you have synchronized your iOS device with iCloud earlier. To restore or recover your lost files from iCloud backup, you need Stellar Data Recovery for iPhone to help you.
To use the iCloud Backup option of the software, follow the steps given below:
1. Run Stellar Data Recovery for iPhone. (Note: You do not need to connect your iOS device for recovering data from iCloud backup files).
2. On the Stellar Data Recovery for iPhone main screen, select the Recover from iCloud Backup option.

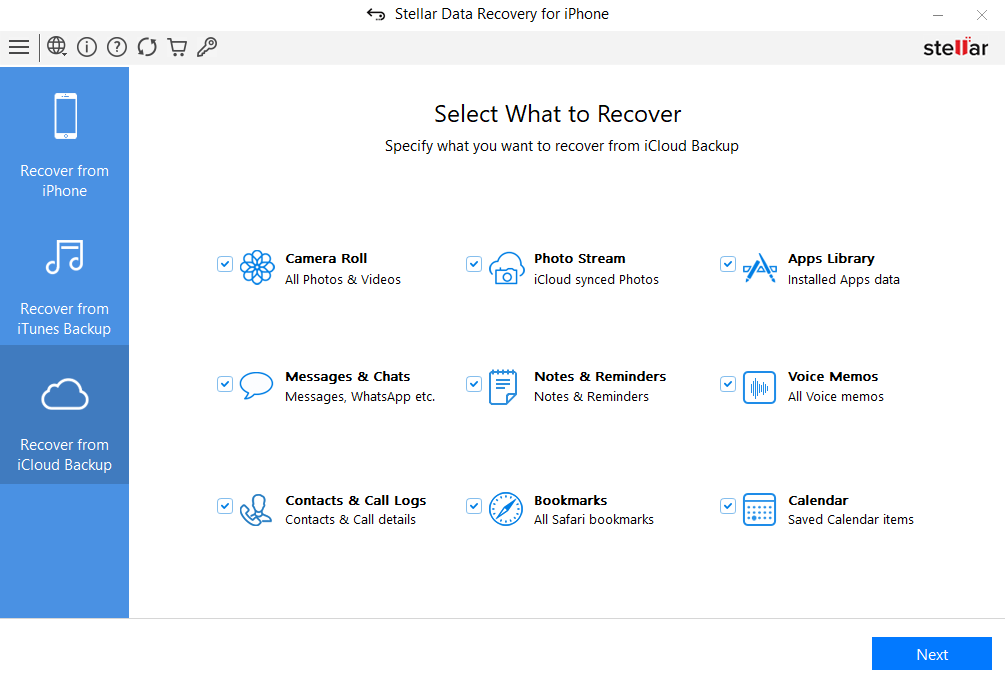
3. Select the type of data such as Camera Roll, Photos Stream, Apps Library, Messages & Chats, Notes & Reminders, Voice Memos, Contacts & Call Logs, Bookmarks, Calender that you want to recover and click Next.
4. Enter the Apple ID and Password to get a list of all available backup files from iCloud.

5. Enter the authentication code received on your iOS device and click Verify.
Note: The software asks for authentication code only if the user has enabled the Two-Factor Authentication in the iCloud ID.

6. Scan and Download the iCloud backup files.

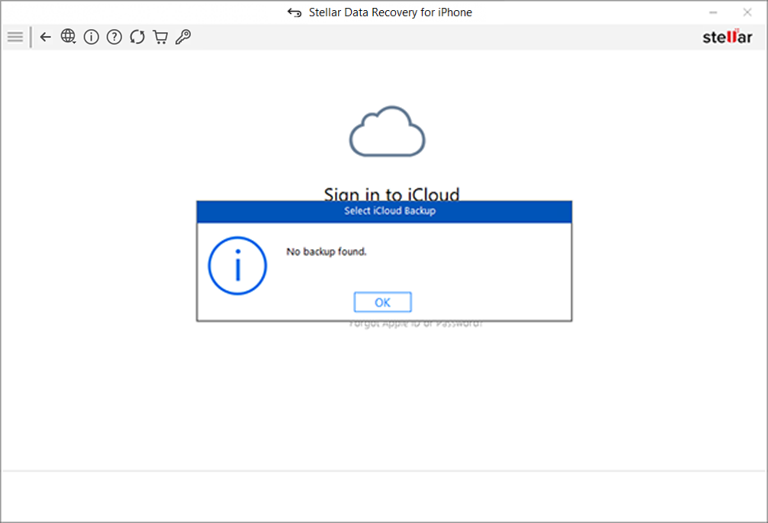
Note: In case you do not have any backup with the account entered, the dialog box shown below appears.

7. Select an iCloud backup from which you want to preview and save data. You can save data from following: Camera Roll, Photo Stream, Contacts, Messages, Message Attachments, Call History, Calendar, Notes, Notes Attachments, Reminders, Voice Memos, Safari Bookmarks, WhatsApp, WhatsApp Attachments, Viber, Tango, WeChat, Line, Kik and Apps Library.

8. From the tree view, click on the supported file categories under the listed iCloud backup file which lists all items under the selected category heading.

9. You can either select all or a few items (by selecting the checkboxes in front of them).
Note:
-
You can preview the existing and deleted items, and you can also search for a specific item by typing a keyword in the search box.
-
Click Deep Scan if your desired data is not included in the list.
10. Click Save to confirm your selection. Save Files dialog appears as shown below.

11. Select the Save to Computer option if you want to save the recovered files to your computer. Click Browse and select a destination for saving the recovered files and click OK.
 3. Getting Started