Stellar Data Recovery for Android
- 1. About Stellar Data Recovery for Android
- 2. About the Guide
 3. Getting Started
 4. How to
- 5. Supported File Formats
- 6. Frequently Asked Questions (FAQs)
- 7. About Stellar

4.4. Preview and Save the Scan Results
Stellar Data Recovery for Android shows the preview of the files and folders present in the scanned Android device. All files and folders that are found in the scanned android device are shown in a two pane structure. The two panes are the left and the right pane.
-
In the left-pane, a tree structure according to the type of files is created.
-
The right-pane shows preview of files that are supported by the software.
-
Thumbnails of all files that are present in the selected folder in the tree view are listed.
Steps to preview a file:
-
Click Item to Preview window appears with the device's model and name once the scanning process is completed. In the left pane, all the scanned files are listed in a tree structure as shown below:

-
After the scanning process is completed, all the files are listed in a Preview window as shown below:

-
Click a tab in the left pane to preview the thumbnails of the scanned files of that category.
-
Only supported files can be previewed.
Note: The files that have a  icon in the bottom right corner of the thumbnail are deleted files that can be recovered using Stellar Data Recovery for Android. You can use the Deleted radio button on the preview screen to view only deleted data.
Steps to save a file:
-
Use the check box to select/unselect files that you want to save/recover from your Android device.
-
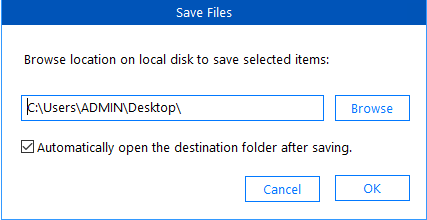
Click Save. Save Files dialoge box appears.

Note: The check box to automatically open the destination folder after saving is selected by default. Uncheck it if you do not want to open the destination folder after saving.
-
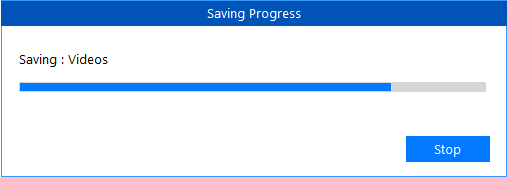
Browse the location on the local disk where you want to save the scanned files and Click OK. A progress bar showing the Saving Progress appears as shown below. Click Stop to stop the saving process at any time.

-
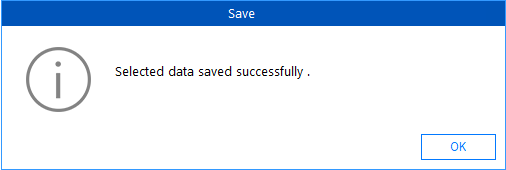
After the saving process is completed, a dialog box saying "Selected data saved successfully" appears. Click OK to close it.
