Stellar Data Recovery for Android

4.3. Recover Data from an Android Device
In order to completely recover the data from your Android device, you have to first successfully connect and select your device. It is important to make sure that the android device you want to select has ample battery backup and does not shut down before or during the recovery process for the software to work efficiently.
Steps to recover data from your Android device:
-
Run Stellar Data Recovery for Android.
-
On the Stellar Data Recovery for Android main screen, Select the type of data i.e. Everything, Documents, Images, Messages, Contacts, Call Logs or Audio Files, you want to recover and click next.
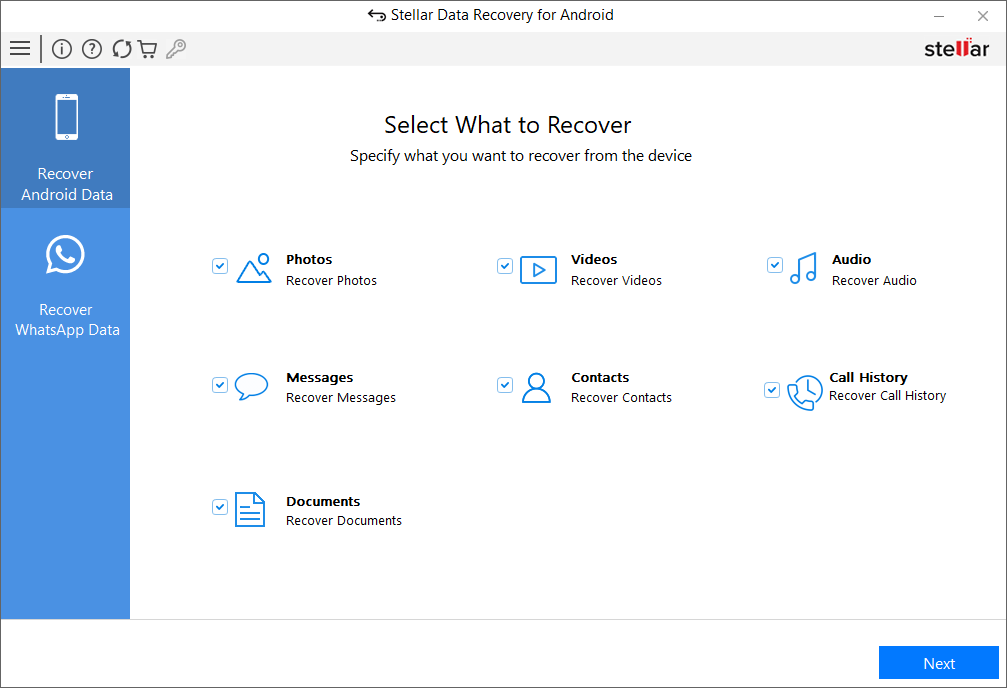
Note: Recover Android Data option and all the data is selected by default; therefore, customize your scan by unselecting the data you don't wish to recover.
-
Connect your Device screen appears. Plug your Android device into your computer to proceed further with the recovery process.
Note: To know more about connecting your android device to your PC, please refer to Connect an Android device.
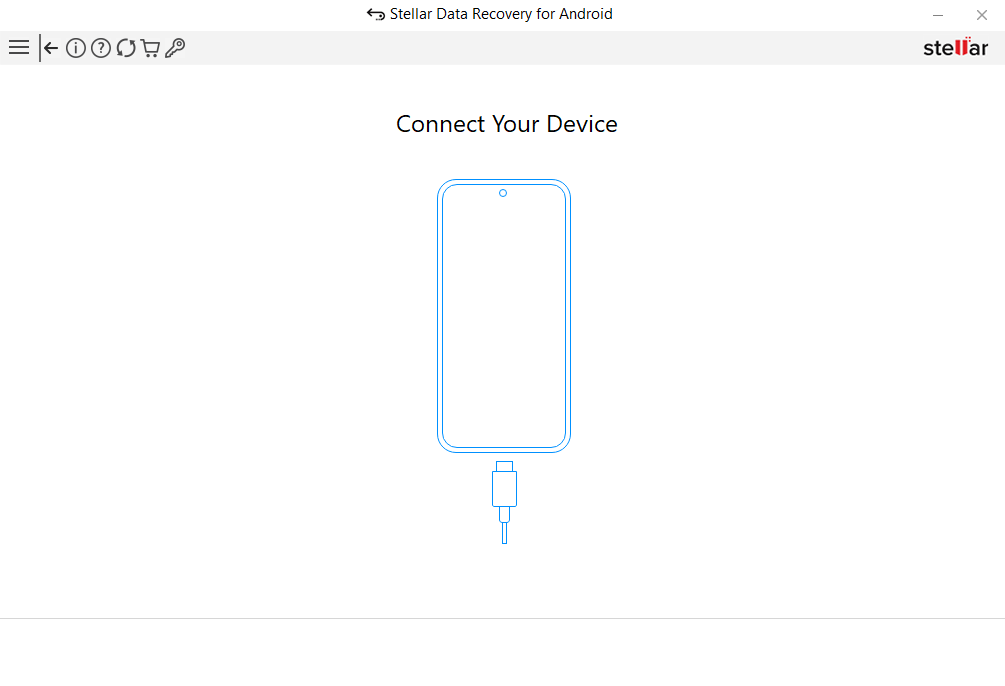
Note: The software will display only one connected android device at a time. If you wish to perform recovery from more than one android devices you have to connect the devices one by one and perform recovery on each of them separately.
-
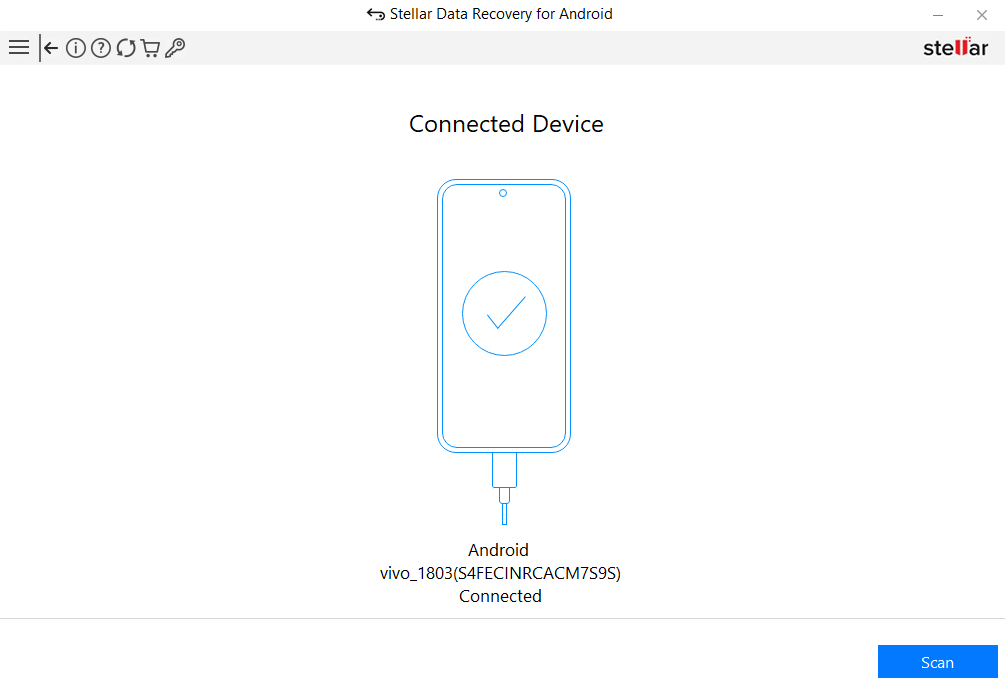
Your connected android device is listed with its name, model and serial number by Stellar Data Recovery for Android.
-
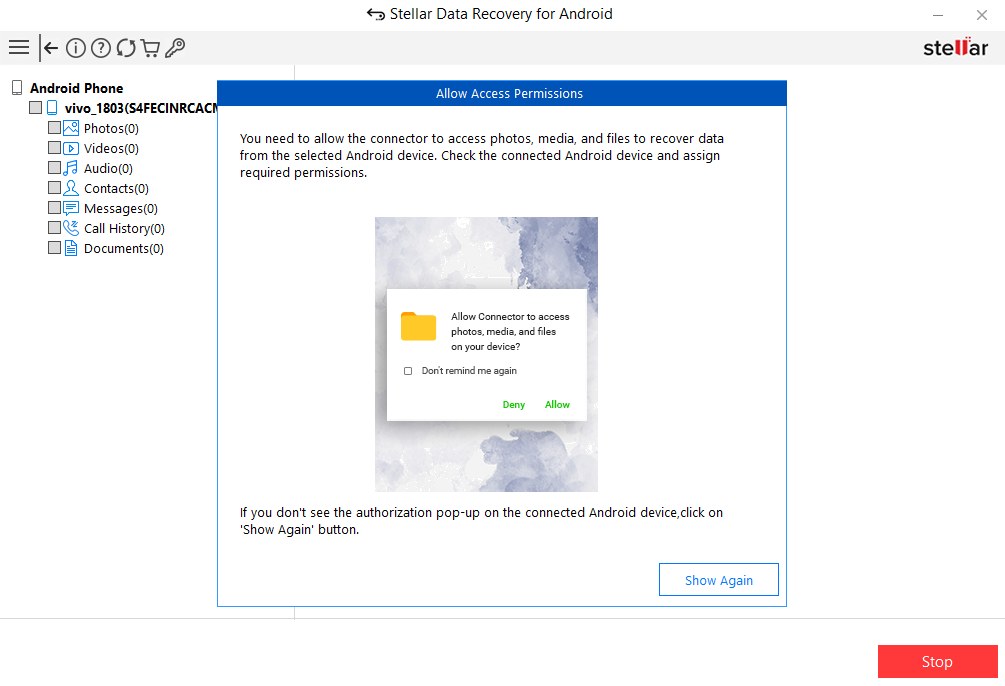
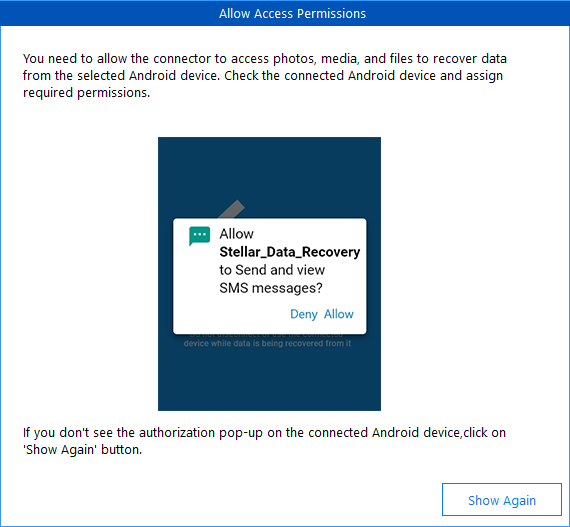
Click Scan. Allow Access Permissions dialog appears.
-
Allow Access Permissions dialog box appears. You need to Allow the connector to access SMS messages, contacts, call logs, photos, media, and files to recover data from the selected Android device. Check the connected Android device and assign required permissions when the authorization screen pops up as shown below:
-
After successfully granting permissions, the scanning process starts. A screen showing the scanning process is displayed.
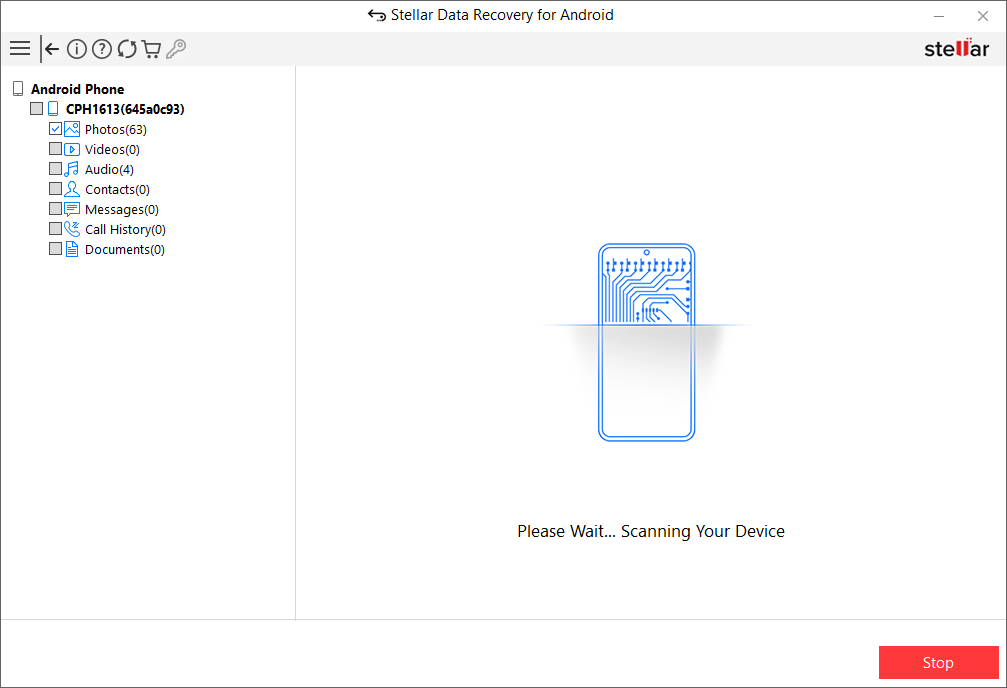
Note: Click Stop to stop the scan at any point.
-
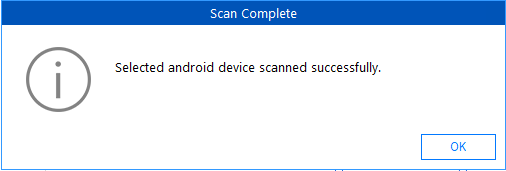
After successfully scanning the android device, Scan Complete diaog box appears. Click OK to close it.
-
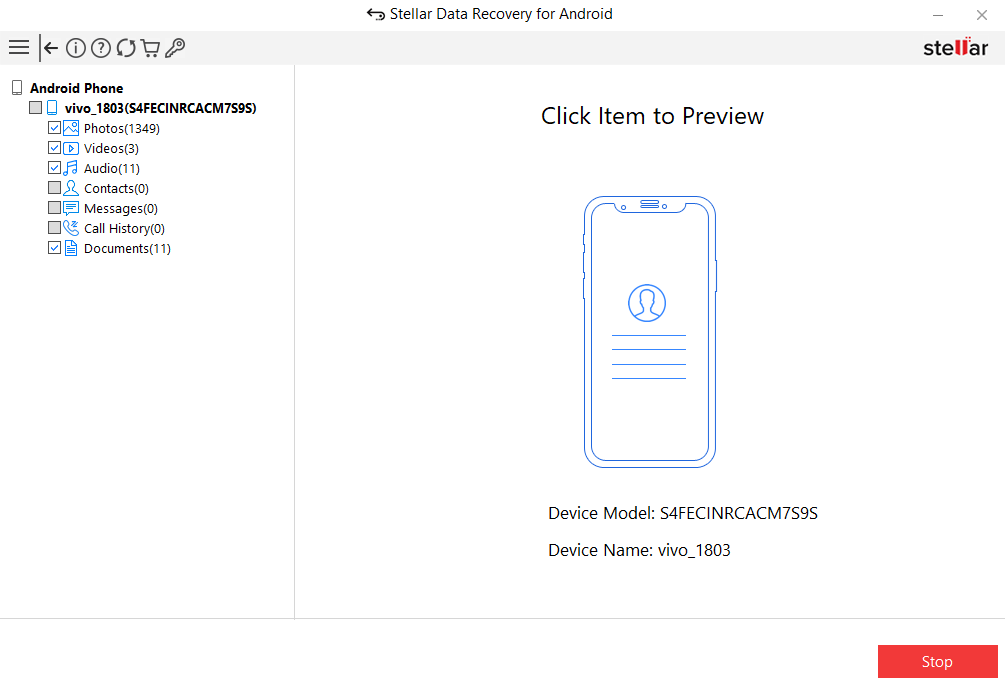
Once the scanning process is completed, details of the files found are displayed. You can now preview and save the displayed data. To know more about previewing and saving the scanned data click here.
 3. Getting Started