Stellar Data Recovery
- 1. About Stellar Data Recovery
- 2. About the Guide
 3. Getting Started
 4. Working with the Software
- 4.1. Recovering Data from Existing Volume
- 4.2. Recovering Data from Lost Drive/Unallocated Partition
- 4.3. Recovering Data from CD/DVD
- 4.4. Recovering a Lost Partition
- 4.5. Recovering Data from a Non-Booting Mac/Crashed Computer
 4.6. Working with Disk Images
- 4.7. Previewing the Scan Result
- 4.8. Saving the Recovered Files
 4.9. Performing a Deep Scan
- 4.10. Save and Load Scan Information
 4.11. Changing Preferences
- 5. Supported File Types
- 6. Frequently Asked Questions (FAQs)
- 7. About Stellar

4.4. Recovering a Lost Partition
Applicability: This topic on “Recovering a Lost Partition” is only for the Free, Professional, Premium, and Technician edition of Stellar Data Recovery.
Stellar Data Recovery software allows you to search for lost or deleted volumes of a hard drive and recover data from it. Use this option to recover data from an accidentally deleted volume or from a volume lost due to corruption in the hard drive. This option searches and lists all the deleted and lost volumes in the hard disk along with the existing volumes.
To search a lost volume:
1. Run Stellar Data Recovery.
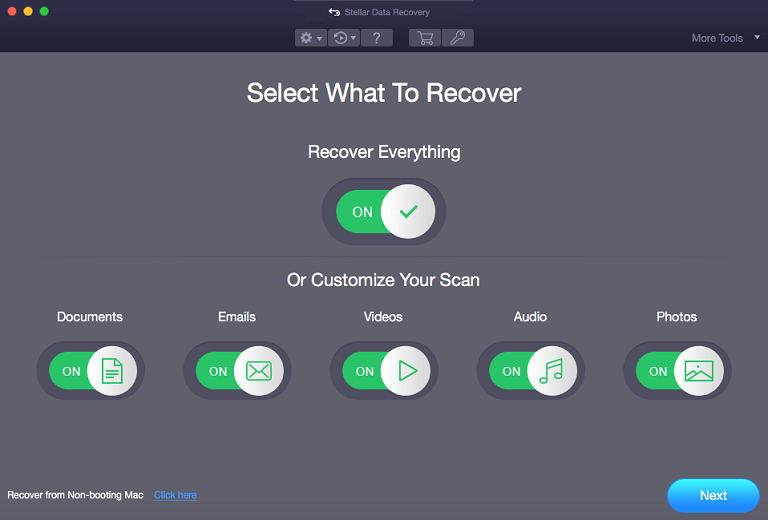
2. From Select What To Recover screen, click Next.

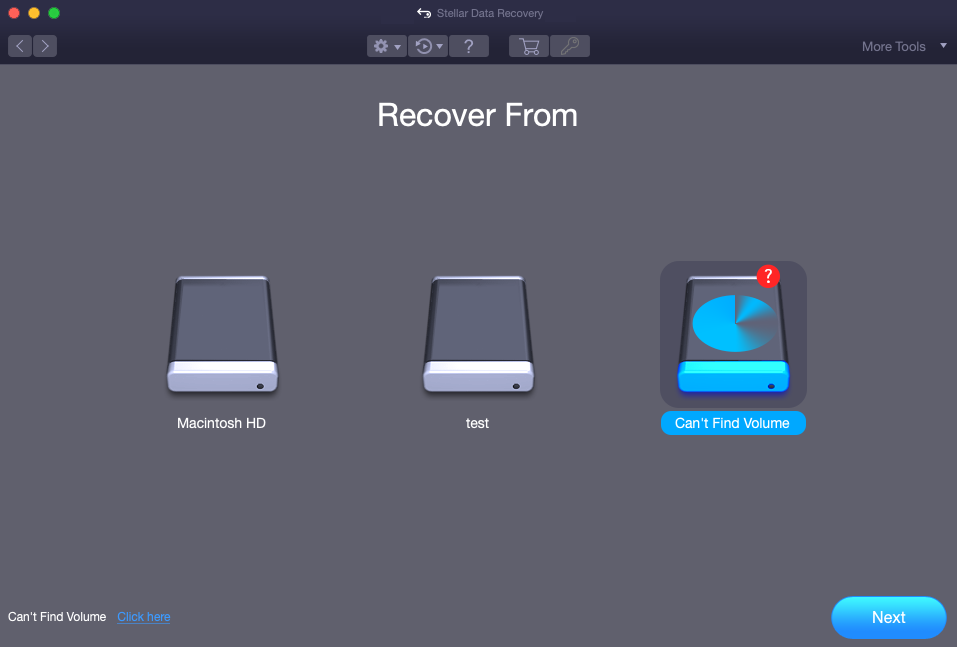
3. On the Recover From screen, select Can’t Find Volume.

4. Click Next. The following screen is displayed:

5. In the Select Disk to Search Lost Volume section, all the hard drives connected to the system are listed with their details. From this section, choose a hard drive you want to scan for lost volumes and click Search. A scan for lost or deleted volumes will be performed in the selected disk or drive.
Note: If you are scanning a system drive having Catalina, Mojave, High Sierra, or Big Sur for the first time using Stellar Data Recovery, you need to allow macOS to load an extension signed by “Stellar Data Recovery”. To know the procedure refer to Recover Data from System Disk with High Sierra and Above.
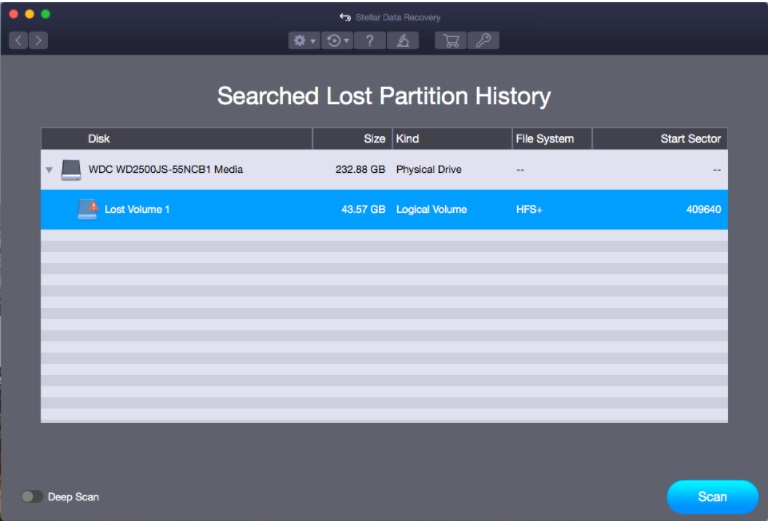
6. Any ‘lost volume’ detected by the software, is listed in the window as shown below:
7. You can select/ opt for Deep Scan if you want to perform a comprehensive scan of the selected volume.
8. From the list of found volumes, select the desired volume and click Scan to continue with the recovery process.
9. A screen appears showing the scan process. Click Stop, to stop the process.

10. After the scan process is completed, details of the files and folder found are displayed in a dialog box as shown below:

11. Click OK. For information on how to preview and recover the scanned data, see Previewing Scan Results and Saving the Recovered Files.
You can save the scan results of a process to resume the recovery at a later stage. This helps you resume the recovery process without scanning the drive again. It is advisable to let the scan complete before saving the scan as you can recover data that is listed in the saved scan.
To save the scan information for Lost/Deleted volumes:
1. In the ‘Select Lost Volume to Recover Data‘ window, click Back  button or close the software. Or, click
  icon and select the Save Scan option.
2. You will be prompted to save the scan information.

3. Click Yes.
4. In the ‘Save scan information for Lost Volumes‘ dialog box, specify the location where you want to save the image file. Type the name of the image file in the Save As text box. Click Save.
To load the previously saved scan information for Lost Volumes:
This option is used to resume the recovery process from a saved scan information file.
1. Run Stellar Data Recovery software.
2. Click  icon and select the Load Scan option.
3. A Load Scan window will appear which displays a list of saved scan information files existing in the system.
4. In case the file you desire is not in the list, click Add button and select the desired file.
5. Click Open.
6. The file you added gets displayed in the load scan window. Click Remove button if you want to remove the save scan file.
7. Click Reset button to reset the load scanned list.
8. Click Recover button. A ‘Searched Lost Partition History’ window is displayed.

9. A screen showing a list of the lost volumes is displayed. Select the required Lost Volume and click Scan.
Note: If you are scanning a system drive having Catalina, Mojave, High Sierra, or Big Sur for the first time using Stellar Data Recovery, you need to allow macOS to load an extension signed by “Stellar Data Recovery”. To know the procedure refer to Recover Data from System Disk with High Sierra and Above.
10. After the scan process is completed, details of the files and folders found are displayed.