Stellar Repair for SQL Anywhere

4.1. Select the Database File
This section describes how to select and repair database file. For selecting a database file, there are two easy options Browse and Find. If you know the location, then you can directly use the Browse option to select and repair database file. If you do not know the location, then you can search the required database file by using Find functionality of Stellar Repair for SQL Anywhere.
Steps to Browse database (.db) file:
-
Run Stellar Repair for SQL Anywhere Application.
-
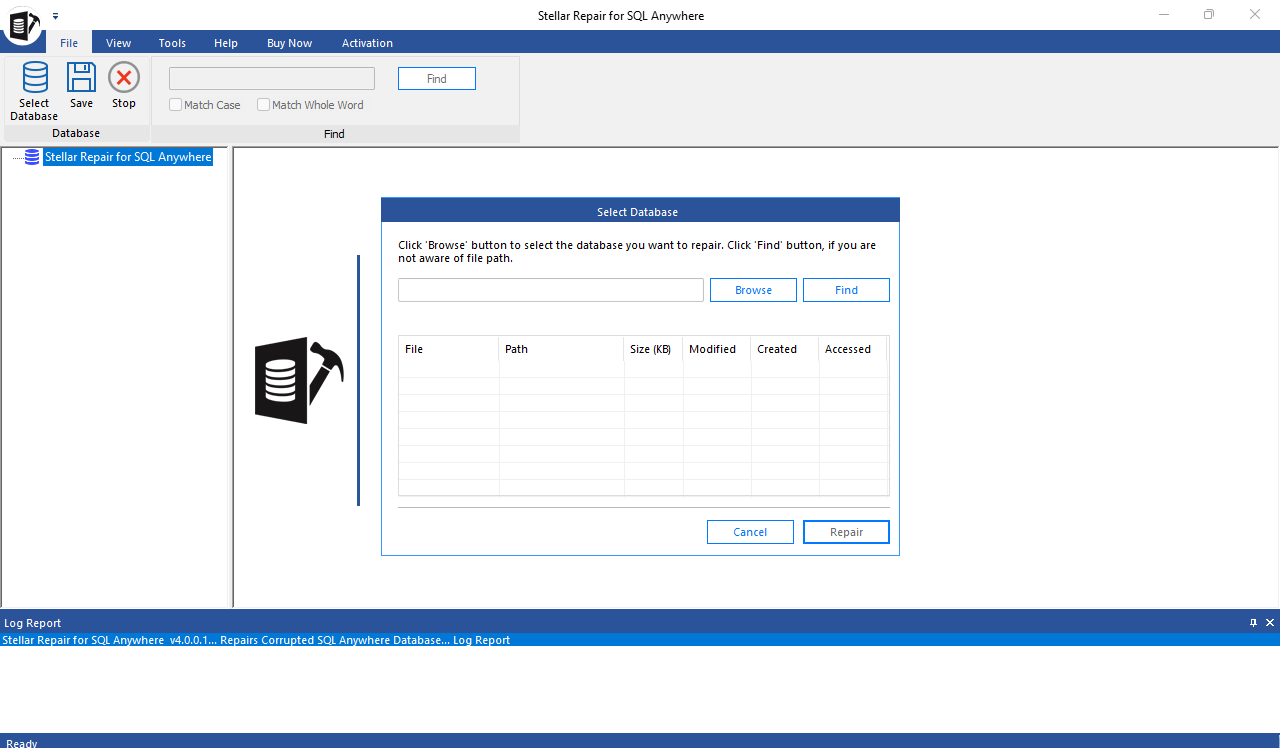
Select Database window appears when the software launches. Alternatively, you can also open Select Database window from File Ribbon.

-
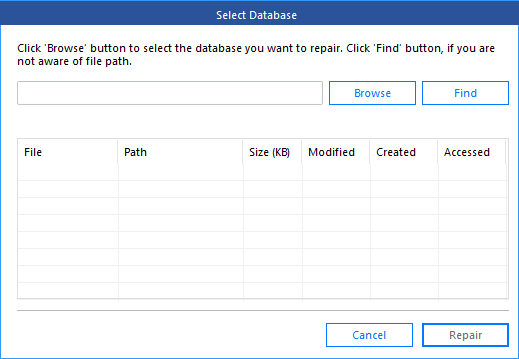
In Select Database dialog box, click Browse.
-
In the Open dialog box, browse and select the corrupt SQL Anywhere (.db) file and then click Open.
-
Click Repair button to start the repairing process.
-
After the process is completed a Repair Complete dialog box appears with a message, "Selected SQL Anywhere database repaired successfully".
-
Click OK to complete the process.
After the repair process is completed, See Preview and Save the Repaired Files sections, for more details.
Steps to Find database (.db) file:
-
Run Stellar Repair for SQL Anywhere Application.
-
Select Database window appears when the software launches. Alternatively, you can also open Select Database window from File Ribbon.

-
In Select Database dialog box, click on Find.
-
Browse for Folder dialog box opens. Select the drive or folder to search for the corrupt SQL Anywhere (.db) file.
-
Click OK to start the search process.
-
After the search is completed, Search completed dialog box appears with number of SQL Anywhere database files found.
-
Click OK to close the window.
-
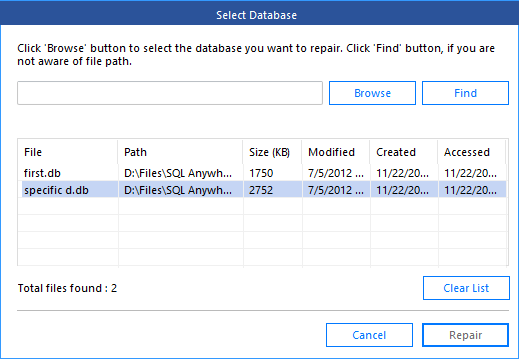
The list of files found in the selected drive is displayed in Select Database window with File name, Path, Size, Modified date, Created date, last Accessed date details. Select the file you want to repair, only one file can be selected at a time.

Note: If you want to clear the search result, click Clear List.
-
Click Repair button to start the repairing process.
-
After the process is completed a Repair Complete dialog box appears with a message, "Selected SQL Anywhere database repaired successfully".
-
Click OK to complete the process.
After the repair process is completed, See Preview and Save the Repaired Files sections, for more details.
 3. Getting Started