BitRaser File Eraser
- 1. About BitRaser File Eraser
- 2. About the Guide
 3. Getting Started
 4. Working with the Software
- 5. Frequently Asked Questions (FAQs)
- 6. About Stellar

4.3. Erasing Traces of Internet Activity, Applications or System
BitRaser File Eraser provides the option to erase all the data traces that are found in the system. Data traces include, the traces created during the usage of the system, the internet traces created by the web browsers, the system traces created by the operating system, and the application traces created by the apps. This option scans your system for the traces and lists them.
To Erase Traces:
-
Run BitRaser File Eraser.
.png)
-
Select Erase Traces from the Select Option tabs displayed on the left pane of the screen.
).png)
-
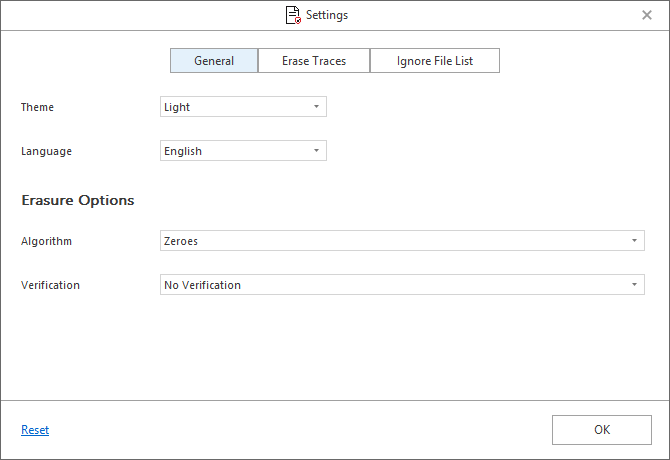
For Erasing Traces, the application uses a default set of scan settings. To change the saved scan settings, click Settings
 from the menu bar and follow the given steps:

-
-
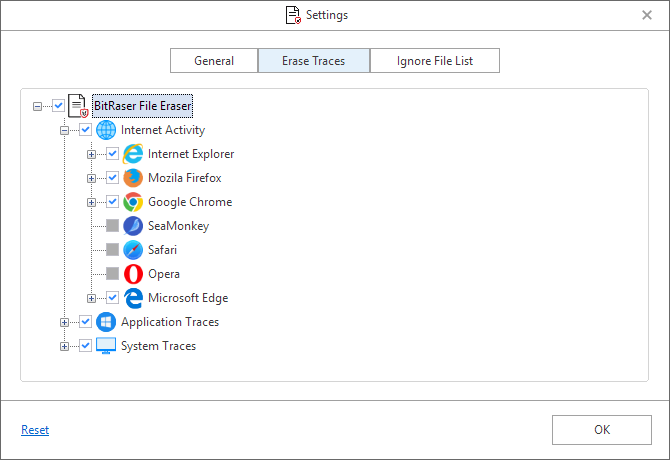
Click on Erase Traces tab in the center.
-
-
-
BitRaser File Eraser provides three different options to erase the traces:
-
Erase Traces of Internet Activity
-
Erase Application Traces
-
Erase System Traces
-
-
Refer to Settings to Erase Traces section of this user manual to know more about these options.
-
- Either click (+) or double click on the option to expand.

-
-
Check against the respective sub-categories that you want to scan for traces. Select the checkbox of the required option to select all the sub-categories of that option.
-
Note: Click on Reset to set all the settings to default.
-
-
Click OK. The software takes you back to Erase Traces screen.
-
).png)
-
Click Scan to initiate the scan process.
Note: Make sure that you have closed all the running applications, before initiating the scan process.
.png)
-
Scan Completed dialog box is displayed showing the results of the data scanned.
Note: Click 'click here', if you want to change the scan settings.
.png)
- Click OK. The screen displays the list of scanned items that can be erased.
.png)
-
Either click (+) or double click on the option to expand.
-
Check/Uncheck against the respective sub-categories that you want to erase. Select the checkbox of the required option to select all the sub-categories of that option.
-
Click on Erase Now from the bottom right of the screen to start the erasure process.
-
Confirm Erasure dialog box appears to confirm whether you want to erase the selected data permanently. Click Proceed to continue.
.png)
- After successful erasure completion, Process Completed window appears with the Erasure Summary of deleted files.
.png)
- Click OK to finish the process.