Having a Mac that also runs Windows is like getting the best of both worlds. Its real advantage lies in the flexibility of such a setup, enabling you to access Windows-specific software without giving up the Mac experience.
For instance, a graphic designer who might prefer macOS for its great design apps can also use Windows-based design software like AutoCAD or SolidWorks. You can run everything on one machine, allowing you to streamline workflows, save desk space, and eliminate the need to purchase a separate PC for specific tasks.
However, managing two operating systems can become a hassle as maintenance tasks double up, such as downloading updates or security patches twice. Additionally, running multiple OS on your Mac can take up disk space and overburden your system resources.
If you are a Macintosh user who dabbled with Windows but realized it’s not useful to you anymore, you are at the right place. In this blog, we’ll guide you through some simple methods to uninstall Windows and reinstate your Mac back to its original state.
Is it Possible to Remove Windows on Mac?
The short answer is, yes. You can remove Windows from your Mac but the uninstallation largely depends on how you initially installed it.
Apple allows you to install Windows on Mac using – Boot Camp or a virtualization tool, such as Parallels Desktop. Here, we’ll discuss how to remove Windows from Mac for both of these methods.
Note: Remember to back up your data before proceeding with the following methods; otherwise, you might incur data loss on your Mac.
Method 1: Remove Windows from Mac Using Boot Camp Assistant (Intel-Based Macs)
If you have used Boot Camp to install the Windows OS on your intel-based Mac, we recommend using Boot Camp Assistant to uninstall it easily. Follow the steps below to remove Windows from your Mac using Boot Camp Assistant.
Note: Do not use any other method or utility to remove Windows or a partition created with Boot Camp.
Step 1: Boot your Mac in macOS.
Step 2: Before you begin, quit all the active apps and log out other users.
Step 3: Navigate to Applications > Utilities > Boot Camp Assistant.
Step 4: Launch Boot Camp Assistant and click Continue.
Step 5: When the Select Task step appears, choose Remove Windows 10 or later version and click Continue.
Step 6: If your Mac has a single internal disk, click Restore.
Step 7: For Macs with multiple disks, choose the disk with Windows on it, select Restore disk to a single macOS partition, and click Continue.
Once the process is completed, Windows, along with all its installed apps, will be removed from your Mac.
Method 2: Remove Windows from Mac Using Parallels Desktop (Apple Silicon-Based Macs)
Using a virtualization machine, such as Parallels Desktop, allows you to run Windows on Mac. If you’ve opted this method, there are two ways to uninstall Windows from your Mac. You can either remove the Windows virtual machine from within Parallels or uninstall Parallels Desktop itself.
Here’s how to remove Windows by uninstalling the virtual machine:
Step 1: Launch Parallels Desktop, but do not launch the virtual machine.
Step 2: Click the Parallels icon in the menu bar of your Mac and select Control Center.
Step 3: Right-click on the Windows virtual machine and select Remove Windows.
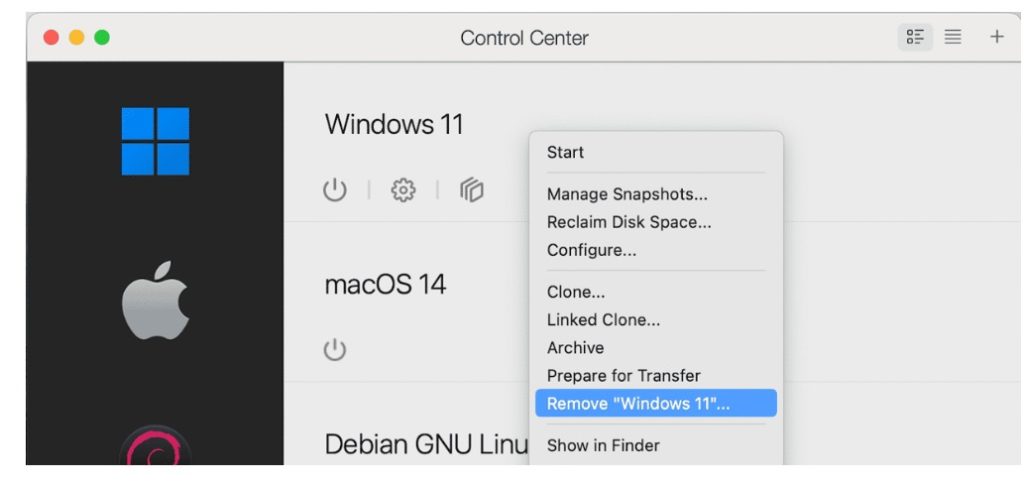
Step 4: If you want to save virtual machine files on your Mac, choose Keep Files.
Step 5: To fully uninstall Windows, select Move to Trash.
Method 3: Remove Windows from Mac Using Disk Utility
There are instances in which the Boot Camp Assistant fails to uninstall Windows. This might happen if the Windows partition is corrupted, or when you’re not logged in as the administrator and lack the necessary permissions to perform the uninstall. In such cases, you can use Disk Utility to delete Windows partitions on your Mac. Here’s the rundown:
Step 1: Boot your Mac into macOS and quit any unnecessary apps.
Step 2: Press Command + Spacebar to open Spotlight and launch Disk Utility.
Step 3: Locate the Windows Boot Camp drive, select it, and click the Erase button.
Step 4: Now choose the partition format as APFS or Mac OS Extended (Journaled) and let the process complete.
Method 4: Remove Windows from Mac Using Terminal
Using Terminal is another way to delete Windows partitions on your Mac if the Boot Camp Assistant or Disk Utility method fails. Follow the steps below to remove Windows on your Mac using Terminal:
Step 1: Press Command + Spacebar to open Spotlight and launch Terminal.
Step 2: Now execute the following command to view all drives and partitions on your Mac: diskutil list
Step 3: To locate the Windows partition, look for the Boot Camp partition name below the IDENTIFIER column, like disk0s3 in the list.
Step 4: Next, replace disk0s3 with the Boot Camp partition identifier in the following command: sudo diskutil eraseVolume JHFS+ deleteme /dev/disk0s3
Step 5: Enter admin password to confirm. Terminal will now delete the specified Windows partition.
Recover Lost Data After Removing Windows from Mac
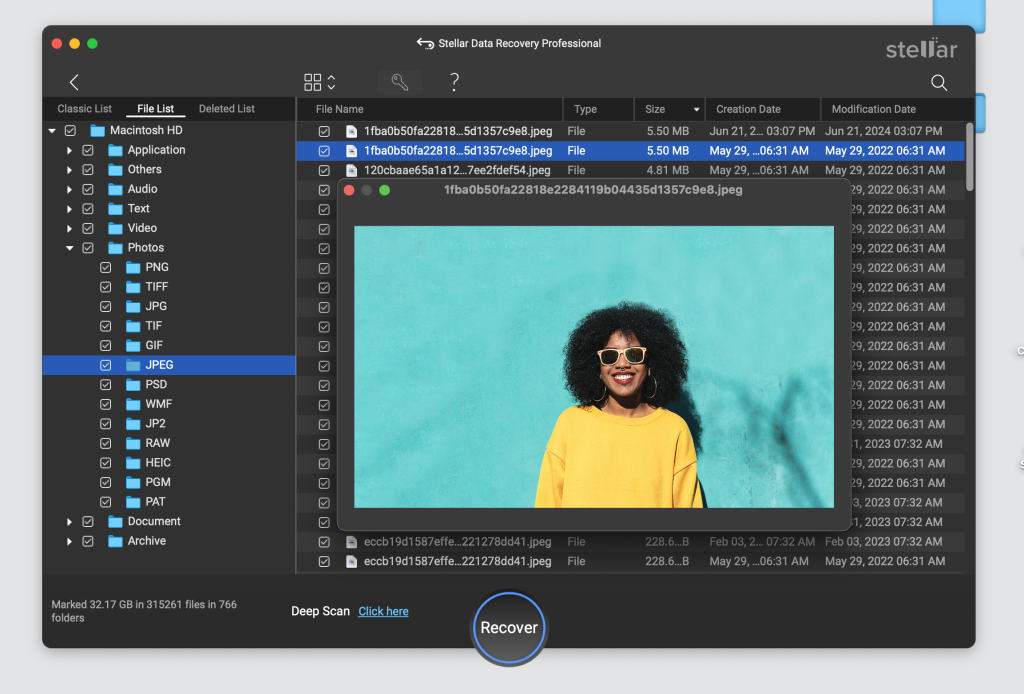
Removing Windows partition from Mac without a backup can cause data loss on your system as all the files stored on the partition get deleted. However, it’s not the end of the road, and you can still recover your files using a professional Mac data recovery software.
Stellar Data Recovery Professional for Mac is one such DIY tool that can recover files lost due to partition deletion, disk modification, disk formatting, system errors, and more. It lets you deep scan formatted APFS, HFS+, NTFS & exFAT volumes to restore files using a signature-based search.
Bottom Line
When you install Windows on your Mac using Boot Camp, a separate partition for Windows is created. But if you’ve already modified your disk partitions by adding extra partitions for data storage or for using third-party utilities, the Boot Camp Assistant might fail to recognize the Windows partitions. This can cause the uninstallation process to fail and can even lead to data loss on your macOS partitions, so proceed with caution.
Was this article helpful?