Office 365 offers a range of maintenance and hassle-free business email accounts. For this reason, organizations prefer migrating from on-premises Exchange to Cloud Office 365. During the Exchange to Office 365 migration, user mailboxes and Public Folders stored in the Exchange database are moved to Office 365.
Public Folders vs Office 365 Groups – What’s the Difference?
Public Folders in Exchange contain important information and data related to the organization and workgroup. In on-premises Exchange, Public Folder is the native mailbox and thus, a user is required to migrate Public Folders separately to Office 365.
Like Public Folders in Exchange, Office 365 has Groups where a set of selected Microsoft 365 users can collaborate and share through common resources, such as Outlook Inbox, Calendar, etc. Following are a few differences between Office 365 Groups and Public Folders:
| Properties | Office 365 Groups | Public Folders |
| Provides better collaboration for emails | Dedicated conversation space in Groups to let users collaborate with others in the Group and maintain a dedicated space. Users can broadcast information in the Group | Mail-enabled Public Folders store all project-related information communication, to be viewed by the team |
| Provides better collaboration for documents | Dedicated Files tab in Outlook displays all files and mail attachments from the Group’s SharePoint team site | Files not available in one view. Users have to search for a particular file in the folder |
| Option of shared calendar | On creation of Group, every user gets a shared calendar, by default. Users have the opportunity to update this calendar | Though Public Folders are also used to share schedules and timetables, Groups are a better option |
| Permissions are simplified | Assigned users in the Group immediately derive permissions they need | Manual assignment of all licenses to all users |
| Mobile and Web presence | Accessible through Outlook Mobile app and users enjoy a richer set of features on the Web interface | Public Folders are not accessible through Mobile apps and have limited functionality on the Web |
In this blog, we’ll explain different methods to migrate Public Folders to Microsoft 365 groups from Exchange 2019, 2016, 2013, and 2010. You may follow the method based on your requirement.
Methods to Migrate Public Folders to Office 365 Groups
Despite proper planning, users and admins may get stuck with Public Folder migration due to its large size. Thus, migrating Public Folders to Microsoft 365 via manual methods takes time and may lead to longer than expected downtime. In contrast, a specialized Exchange migration software ensures quick and easy migration of Public Folders with practically nil downtime.
Method 1: Use Microsoft Public Folder Migration Script
You can use the Public Folders Migration Scripts from Microsoft to migrate Public Folders to Office 365. The steps are as follows:
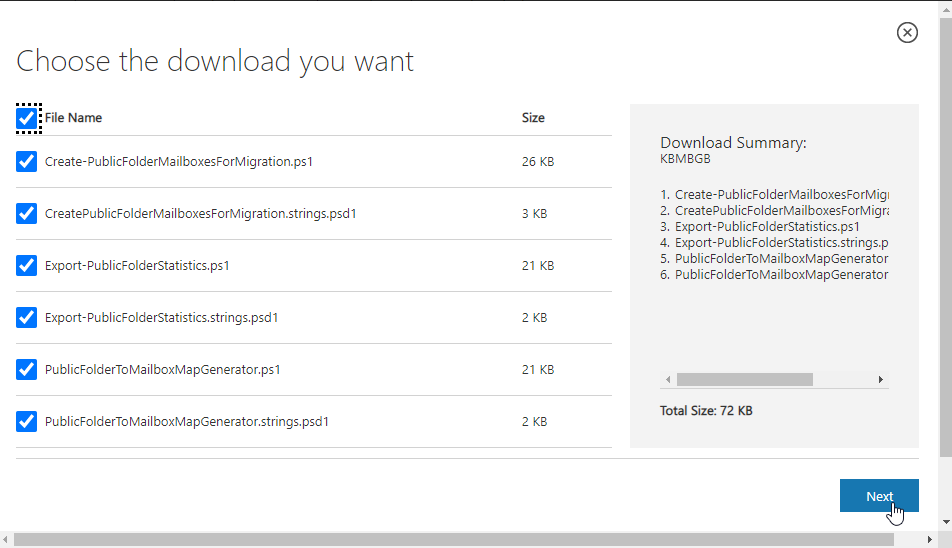
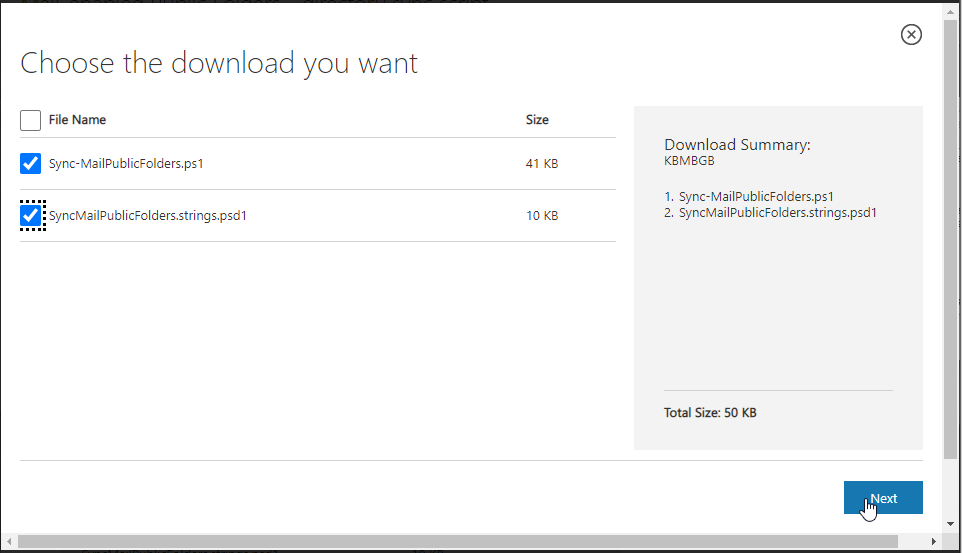
- Also, download SourceSideValidations.ps1 PowerShell script. Save it at the same location where you saved earlier scripts.
- Run SourceSideValidation.ps1 script in PowerShell to scan the Exchange and check if there is any issue. Fix the issue with the recommended method, if it shows any.
.\SourceSideValidations.ps1
- Make sure that there are no orphaned Public Folder mail objects.
- Make sure that there are no duplicate Public Folder objects.
- Confirm the SMTP email address for Public Folders on Active Directory.
Then follow this detailed guide at Microsoft suggested reference library to complete the Public Folders migration from Exchange to Office 365.
Method 2: Export Public Folders as PST via Outlook
You may also export the Public Folders from Outlook to PST by using the Outlook Import Export wizard. However, it is not recommended for Public Folders with size 30 GB or more. The steps are as follows:
- In Outlook 2010, navigate to File > Open > Import.

- In Outlook 2013, 2016, or 2019, navigate to File > Open & Export > Import/Export.
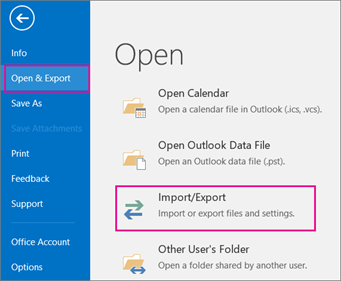
- Select Export to a file and then click Next.
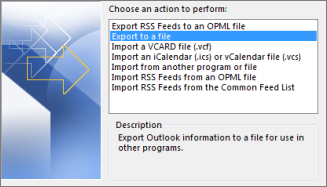
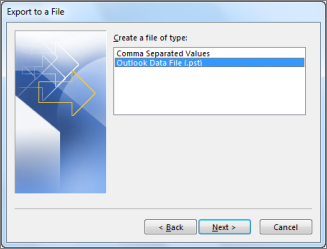
- Select Outlook Data File (.pst) and click Next.
- Select the Public Folder from the list and click Next.
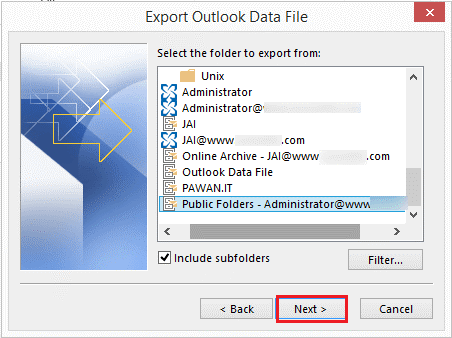
- Then click the checkbox to Include Subfolders of the selected Public Folder.
- Click ‘Browse’ to select a save location where you want to export PST file.
- Click Finish. This exports the Public Folder as PST file at the specified location.
Now, you can import this PST into Office 365 manually by following these steps:
- Download Public Folders Migration Scripts.
- Then run the following script to generate a CSV file:
.\Export-PublicFolderStatistics.ps1 MyServerName.csv
- Map source Public Folders to Office 365.
.\PublicFolderToMailboxMapGenerator.ps1 MailboxSize ImportFilePath ExportFilePath
- Create a Public Folder on Office 365 based on mapping file.
- Then by using New-PublicFolder cmdlet, create a topmost Public Folder in each Public Folder mailboxes.
- Then import PST files into Office 365 by using Outlook Import Export Wizard.
- Finally, assign Public Folder permissions by using the Exchange Administration Center (EAC).
Method 3: Migrate Public Folders to Office 365 Directly by Using a Third-Party Software
The easiest way to migrate Public Folders to Microsoft 365 is by using Stellar Converter for EDB software. The EDB to PST converter software helps you migrate mailboxes from Offline or Hosted Exchange database to Microsoft 365 directly. You can use the software to extract and migrate Public Folders to Microsoft 365 account directly. Its intuitive user interface design allows anyone to migrate mailboxes and Public Folders to Microsoft 365 in a few clicks.
Alternatively, you may also export Public Folders to PST format by using this software and then import the PST file manually into Office 365.
The steps are as follows:
- Download, install, and launch Stellar Converter for EDB software.
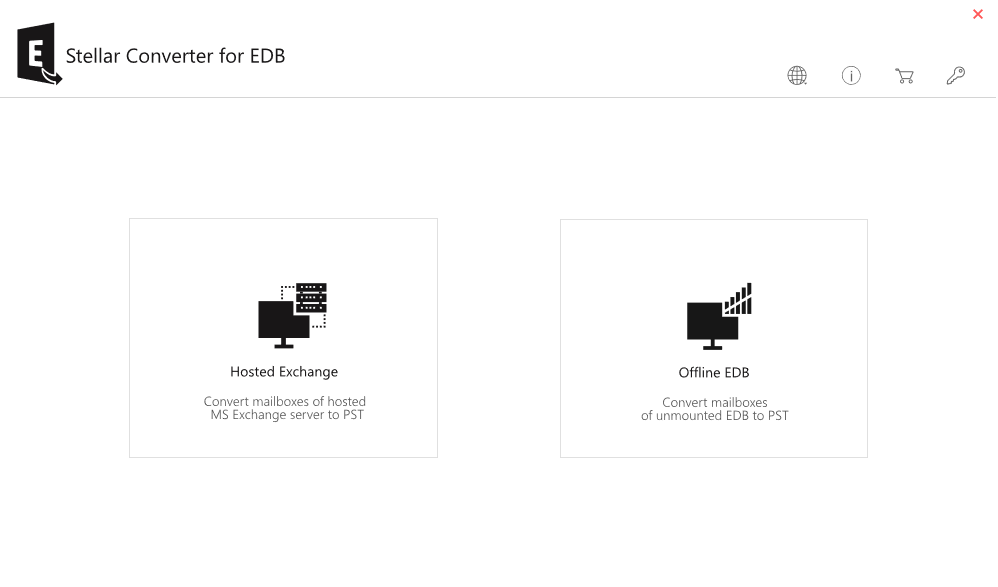
- Select EDB file that contains Public Folders you want to migrate to Office 365 and click Convert.
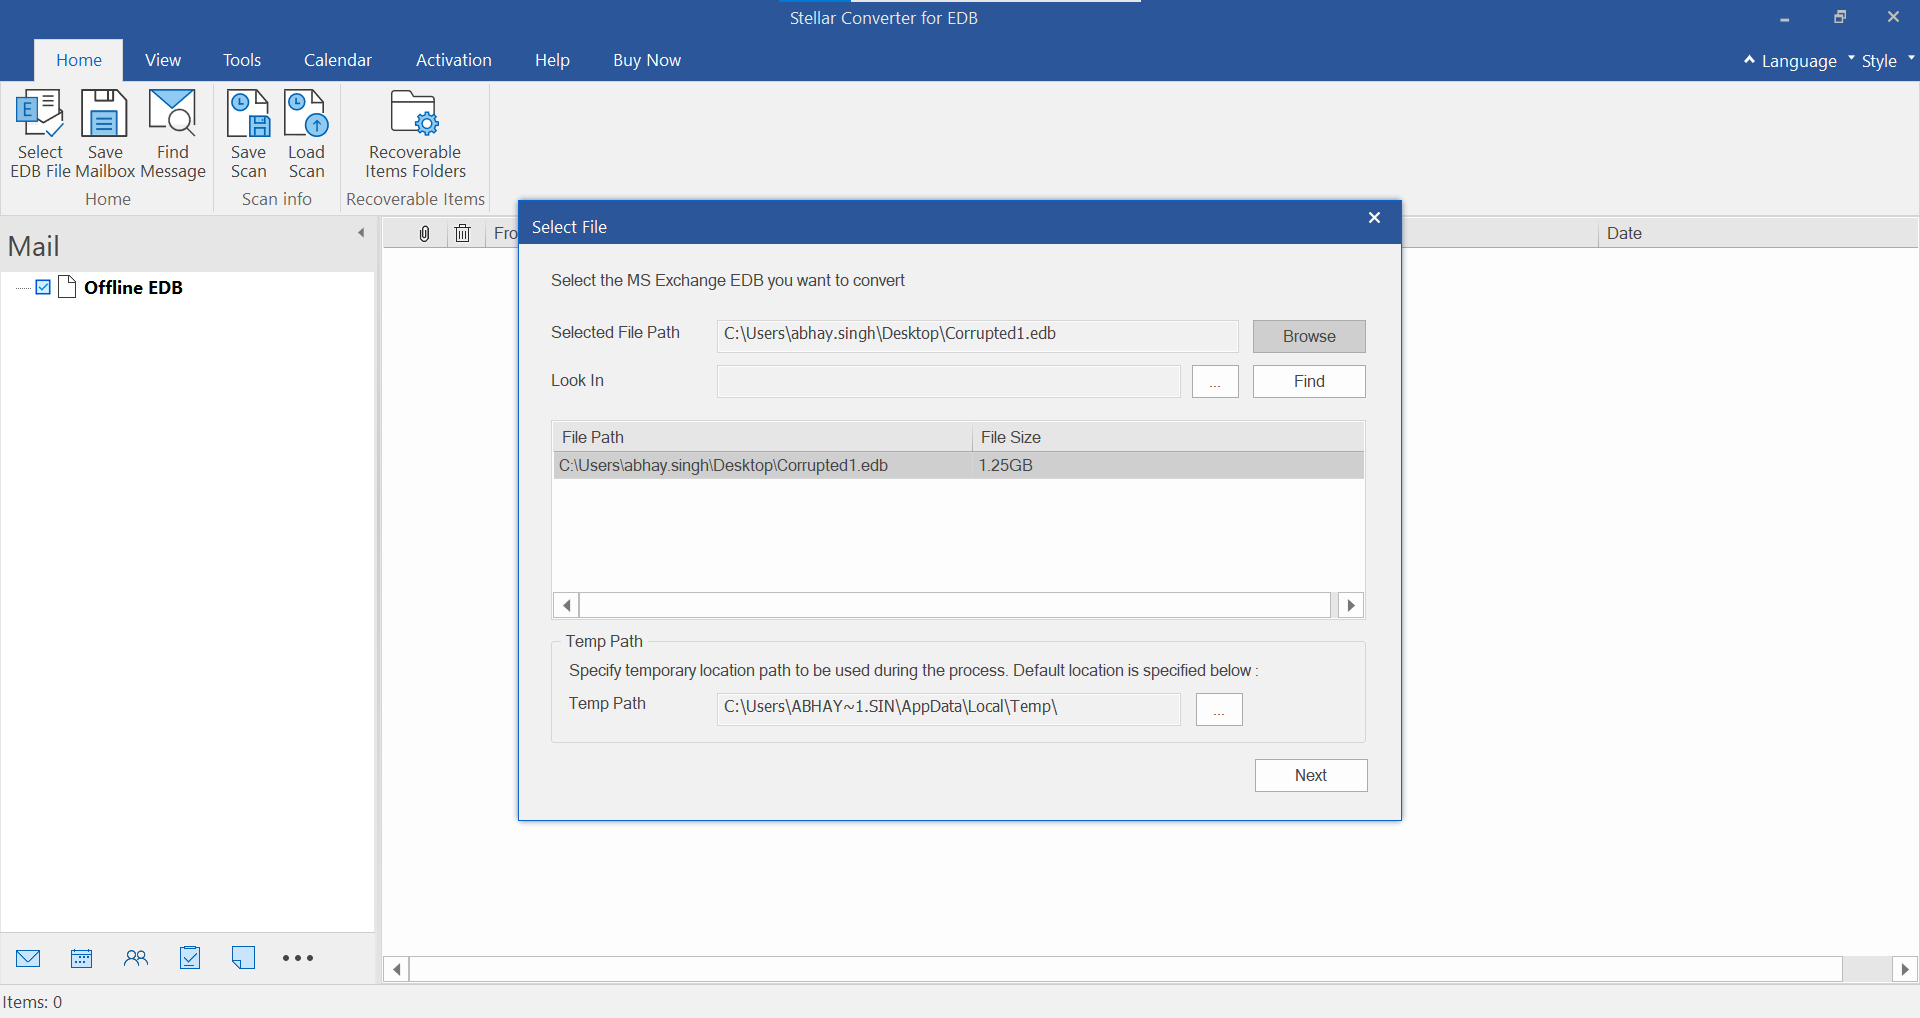
- After conversion, the software previews Public Folders and its content, along with all other mailboxes.
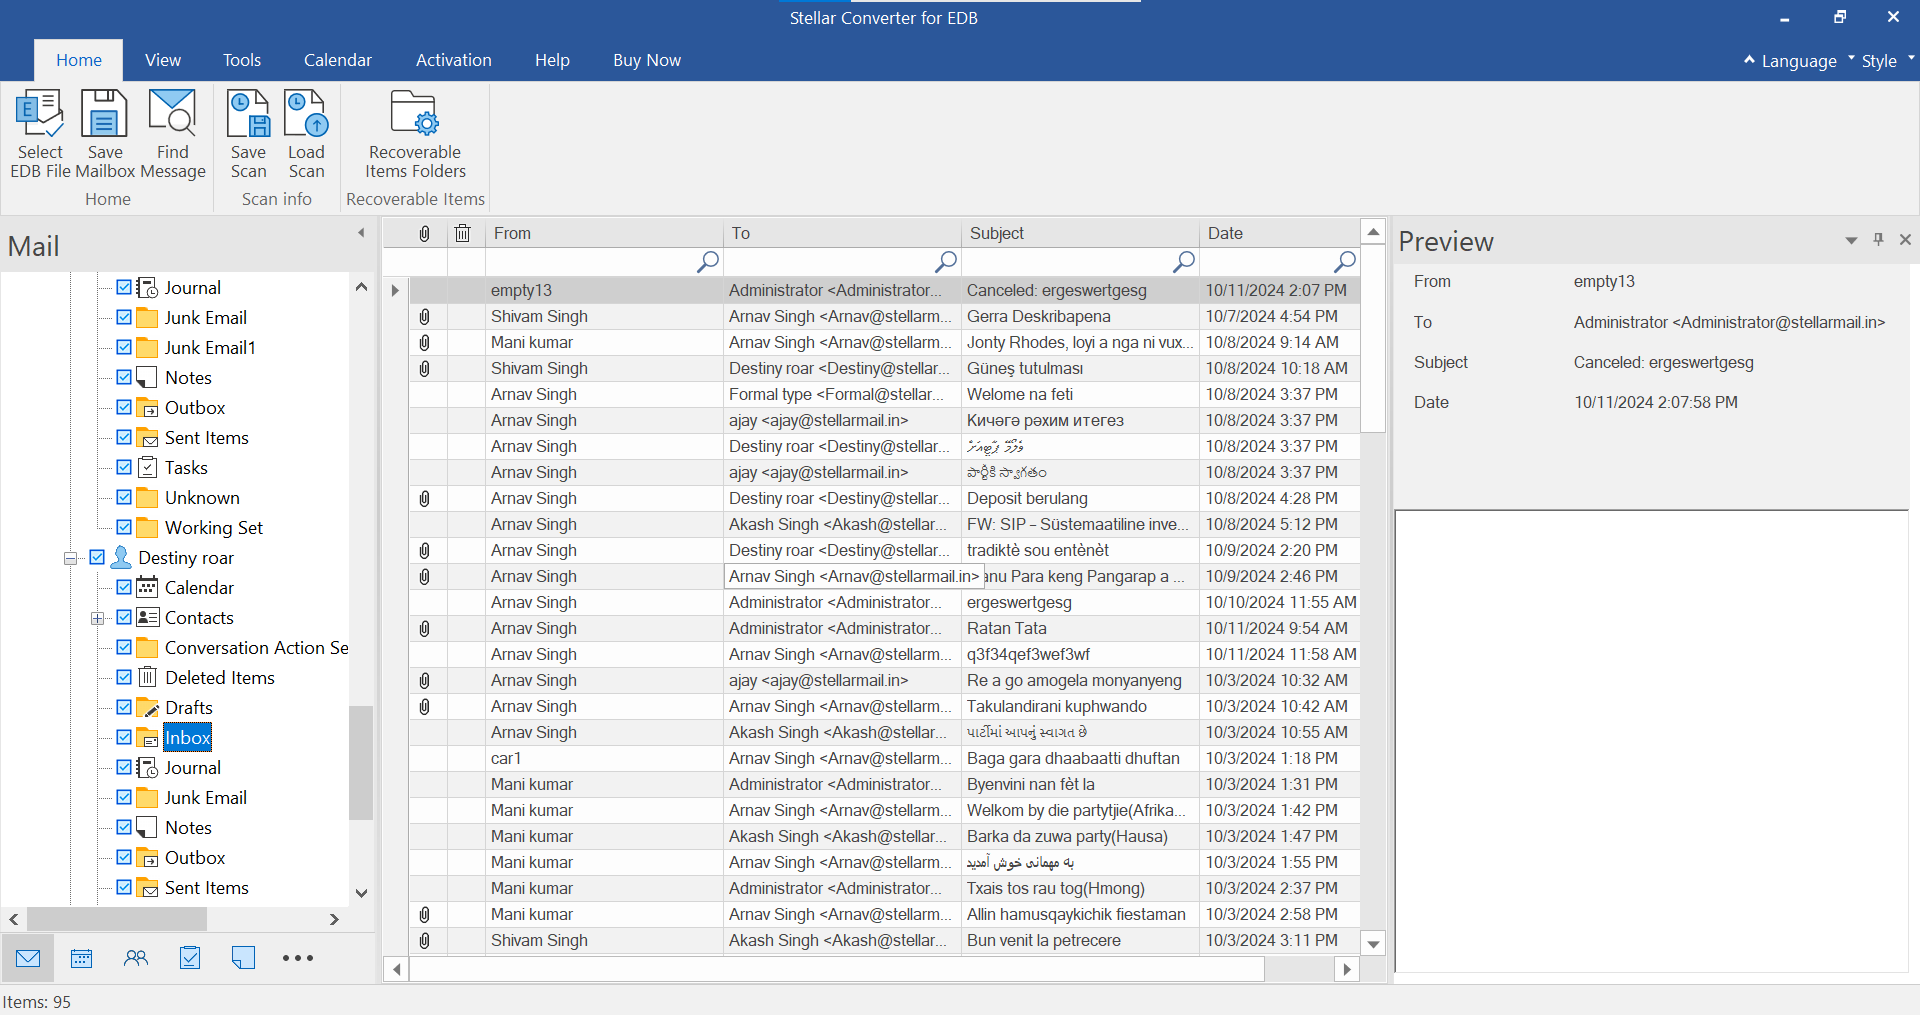
- Choose the Public Folders that you want to migrate to Office 365 and click Save.
- In Save as dialog box, choose Export to Public Folder option.
- Click Next and then Yes to confirm.
- Provide Office 365 login credentials and then select the Exchange or Office 365 user profile name where you want to migrate the Public Folders.
- Provide the user profile password and click OK to migrate Public Folders to Office 365.
At this stage, you can login to Microsoft 365 account and check migrated Public Folders and their content.
Conclusion
Stellar Converter for EDB overcomes the problems of manual Public Folders migration methods and facilitates an easier way to migrate Public Folders to Microsoft 365 groups. Unlike the manual methods, it doesn’t require additional permissions, verifications, and multiple steps. All you need to do is scan the Exchange database (EDB) file and export the Public Folders directly to Microsoft 365. And not just Public Folders, this software converts and exports mailboxes from Exchange database files to Microsoft 365 directly. The software supports all Exchange server versions – 2019, 2016, 2013, 2010, 2007, 2003, 2000, and 5.5.
Was this article helpful?