The phrase “Exchange Server Migration” appears to be considerably complex. It is complex and needs expert hands, yes, but there are ways to make the process less complicated if all the process steps are followed systematically. Exchange server migrations typically follow a set of standard procedures and pre-requisites with only slight modifications depending upon each individual setup. In this post we’re highlighting the steps to perform a clear and straightforward Exchange 2003 or 2007 to Exchange 2016 migration. And since we always give you something extra, we’ll suggest a super easy alternative to the lengthy process towards the end.
What you should know before starting
There are a number of things you should be aware of before you begin with the migration. Planning ahead for these helps reduce the chances of setback and hurdles at later stages.
- It is important to note that in-place upgrades of the Exchange server are not possible. For example, you can’t simply upgrade Exchange 2003 to Exchange 2016, or Exchange 2007 to Exchange 2016. The reason for this is that each major Exchange release greatly differs from the previous version in terms of server architecture and internal working. Therefore, testing everything for loopholes would become very tedious and nearly impossible. Hence, the only way to upgrade would be to completely migrate data and services from the old servers to the new ones.
- Standard migration procedures cannot migrate to a new version from legacy versions. For example, under normal circumstances, to migrate Exchange 2007 to 2016, you first need to upgrade to Exchange 2013 and then remove Exchange 2007 server before migrating to Exchange 2016. This is needed because Exchange Server 2016 and 2007 can’t coexist in the same AD forest. The whole process is lengthy and considerably complicated.
The above pointers will prove beneficial while performing the migration.
Migrating Exchange 2003/2007 to Exchange 2016
Manual Steps:
To resolve the Exchange migration issue, Microsoft recommends the following steps:
Step 1: Migrate Exchange 2007 to Exchange 2013
This step involves a series of steps including the deployment of Exchange 2013, migrating from Exchange 2007 to 2013, and finally decommissioning Exchange 2007. The exact series of steps should be:
- Exchange 2013 Deployment
- Configuring Digital Certificates
- Exchange-related virtual directories’ configurations
- Offline Address Book (OAB) Configuration
- Moving Internet mail flow from Exchange 2007 to 2013
- Moving Client Access from Exchange 2007 to 2013
- Moving mailboxes from Exchange 2007 to 2013
- Moving public folder data from Exchange 2013 to 2013
Step 2: Decommission Exchange 2007
The second step is to decommission Exchange Server 2007 that means you should completely remove Exchange 2007 from the server that no longer exists.
Step 3: Install Exchange 2016 in existing Exchange 2013 environment
During the above mentioned process, Microsoft recommends using its Exchange Server Deployment Assistant. The tool acts like a technical guide for Exchange deployment. It asks a few questions about your environment and then generates a step-wise check list for you to follow.
Automated Steps:
Solution 1: Export all data from the Exchange EDB file into PST if the number of mailboxes is less.
Step 1: Export EDB to PST
- Remove the mailboxes for all users
- Remove Exchange Server version 2007
- Install Exchange Server 2016 and configure the inevitabilities
- Point (Domain Name Server) DNS to Exchange Server 2016
- Create new mailboxes for all users
- Import data in PST files from Exchange EDB file
- Stamp X500 connector for each user having old dn value
- Change the primary email address if necessary
- Test the connectivity of mailboxes
You can also export mailboxes to PST by using EDB to PST Converter.
Stellar Converter for EDB Software Steps:
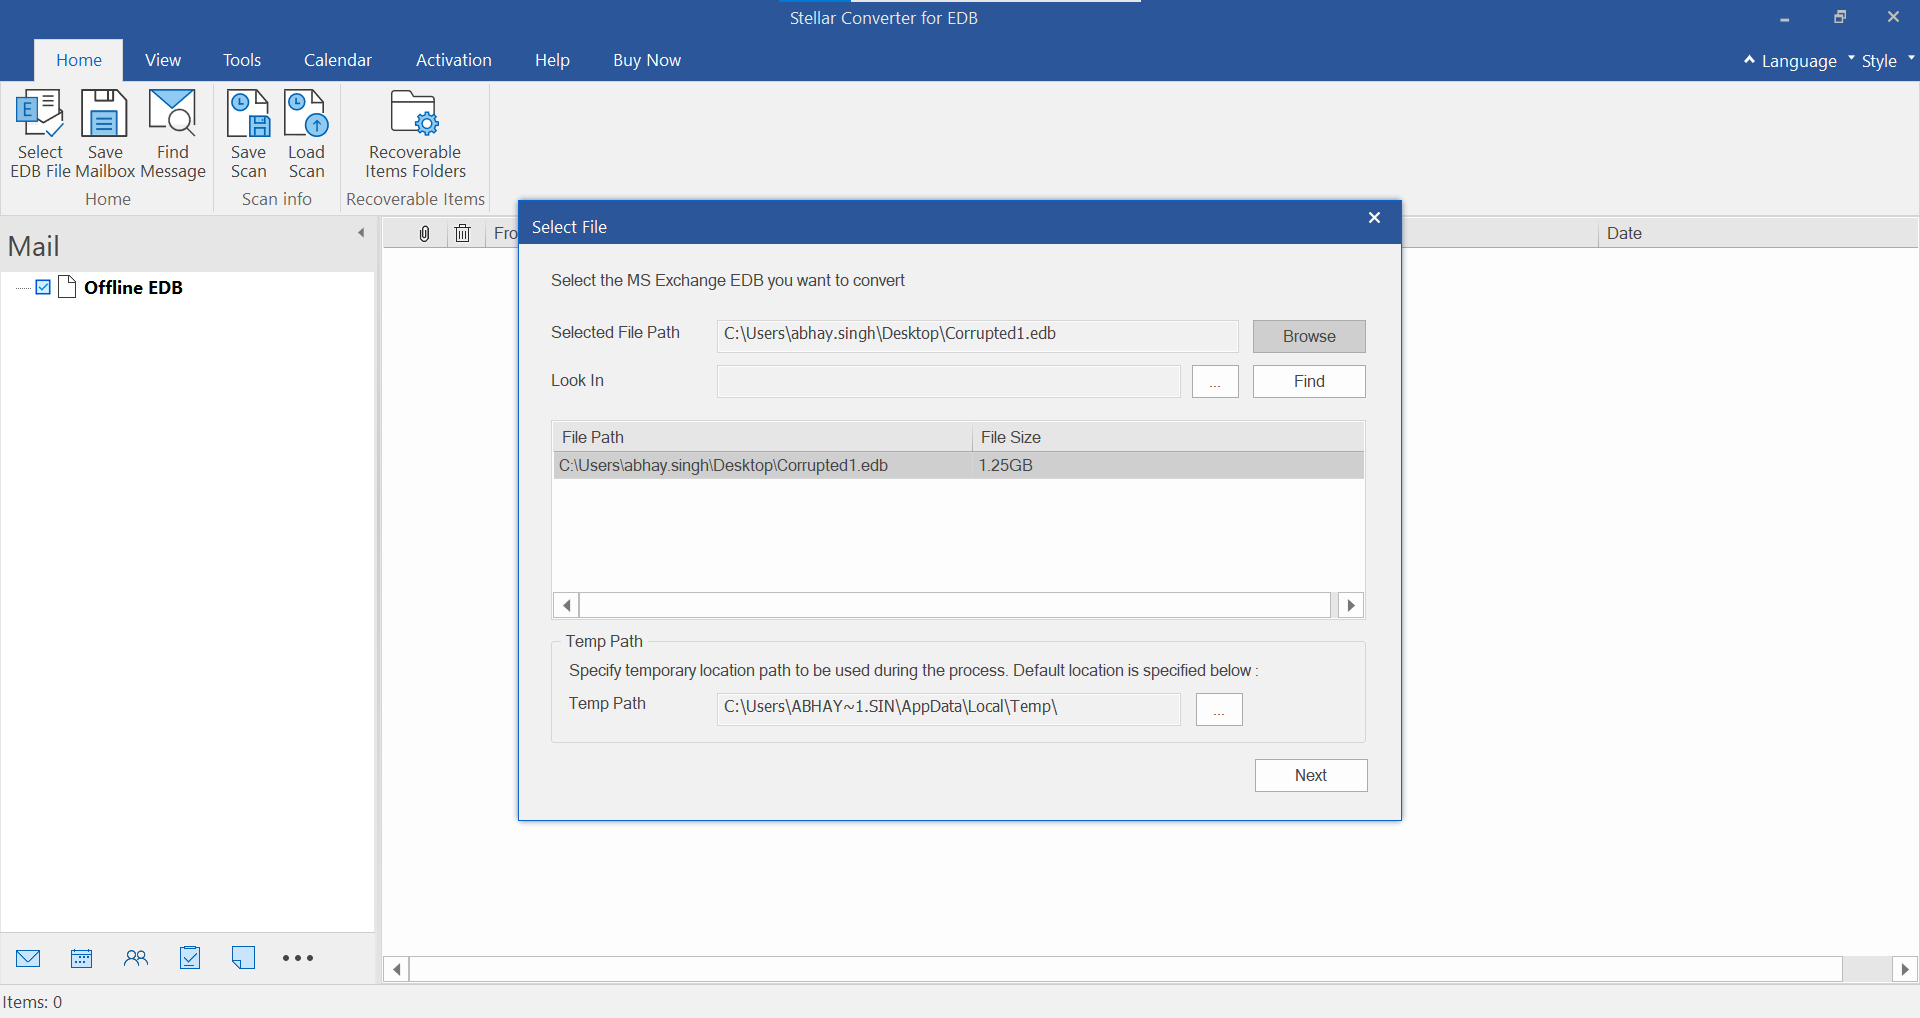
1: Download Stellar Converter for EDB Software. Select ‘Offline EDB’ if you’ve a disconnected EDB file.
2: Select EDB file from ‘Browse’ button. Click on ‘Next’ button to start the conversion process.

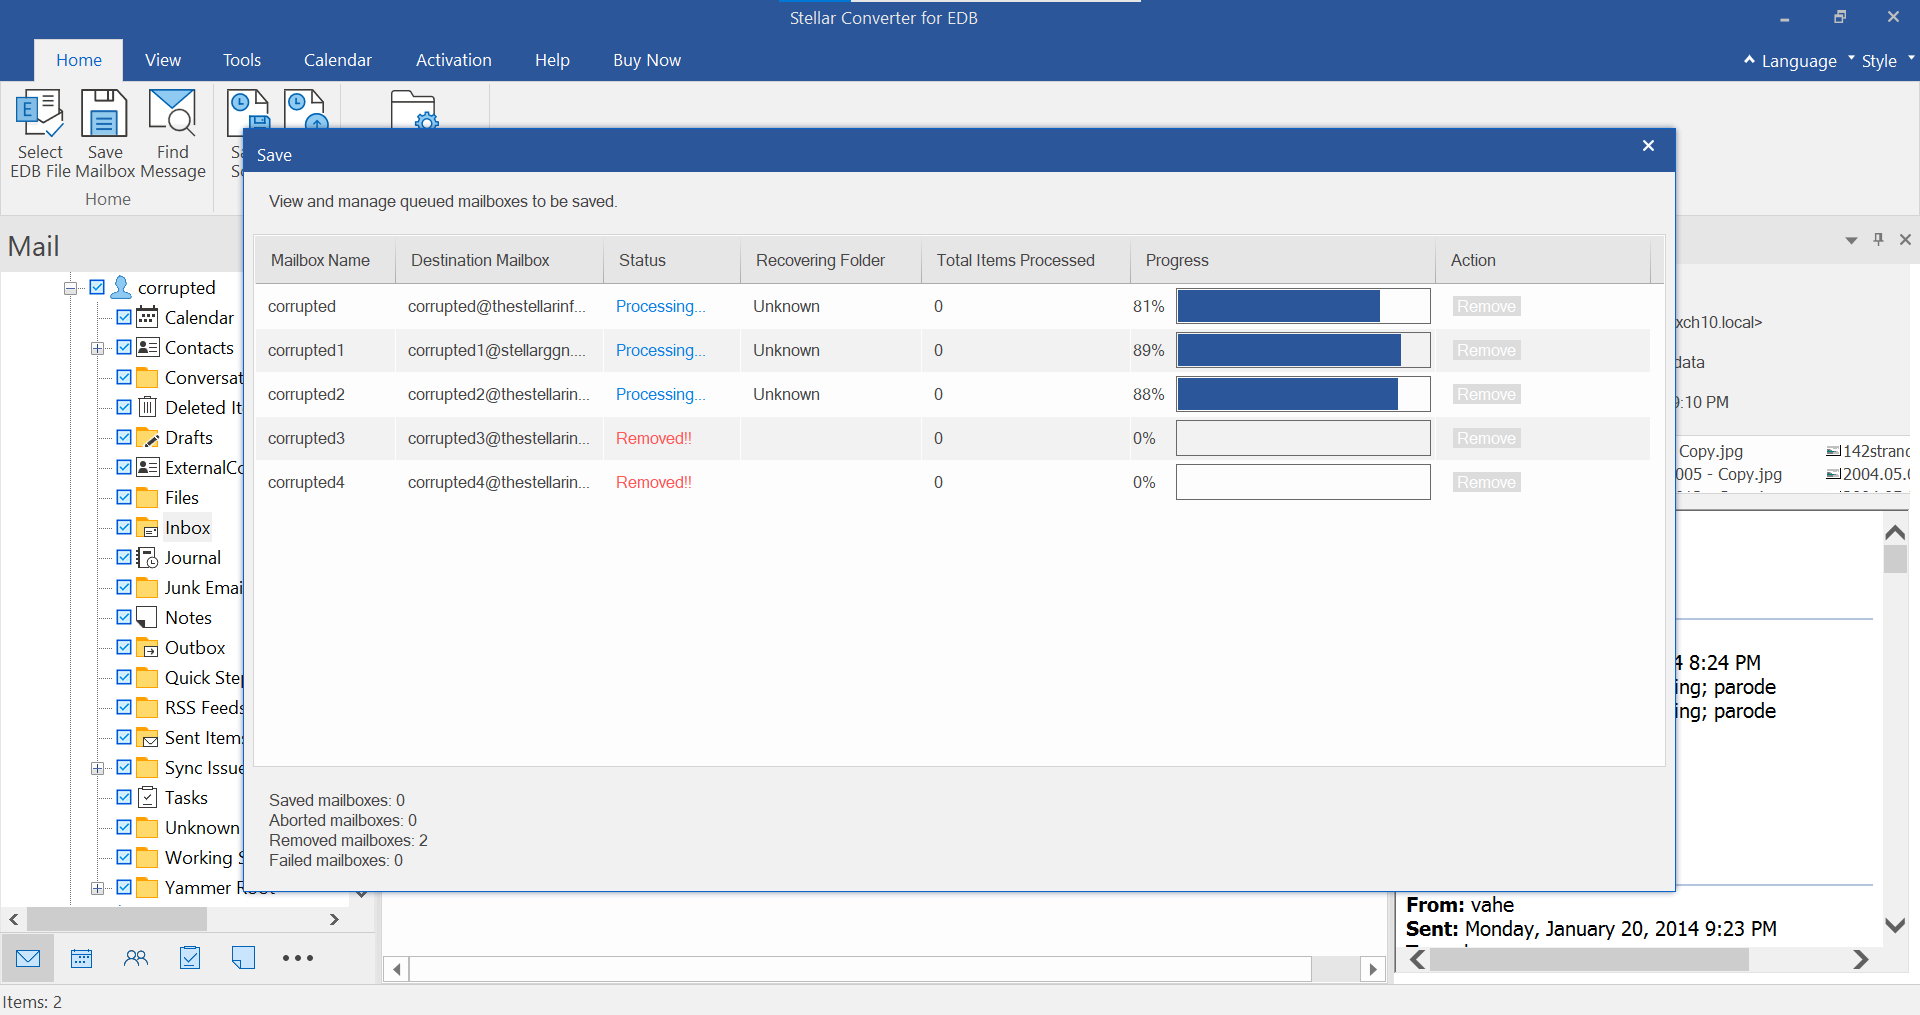
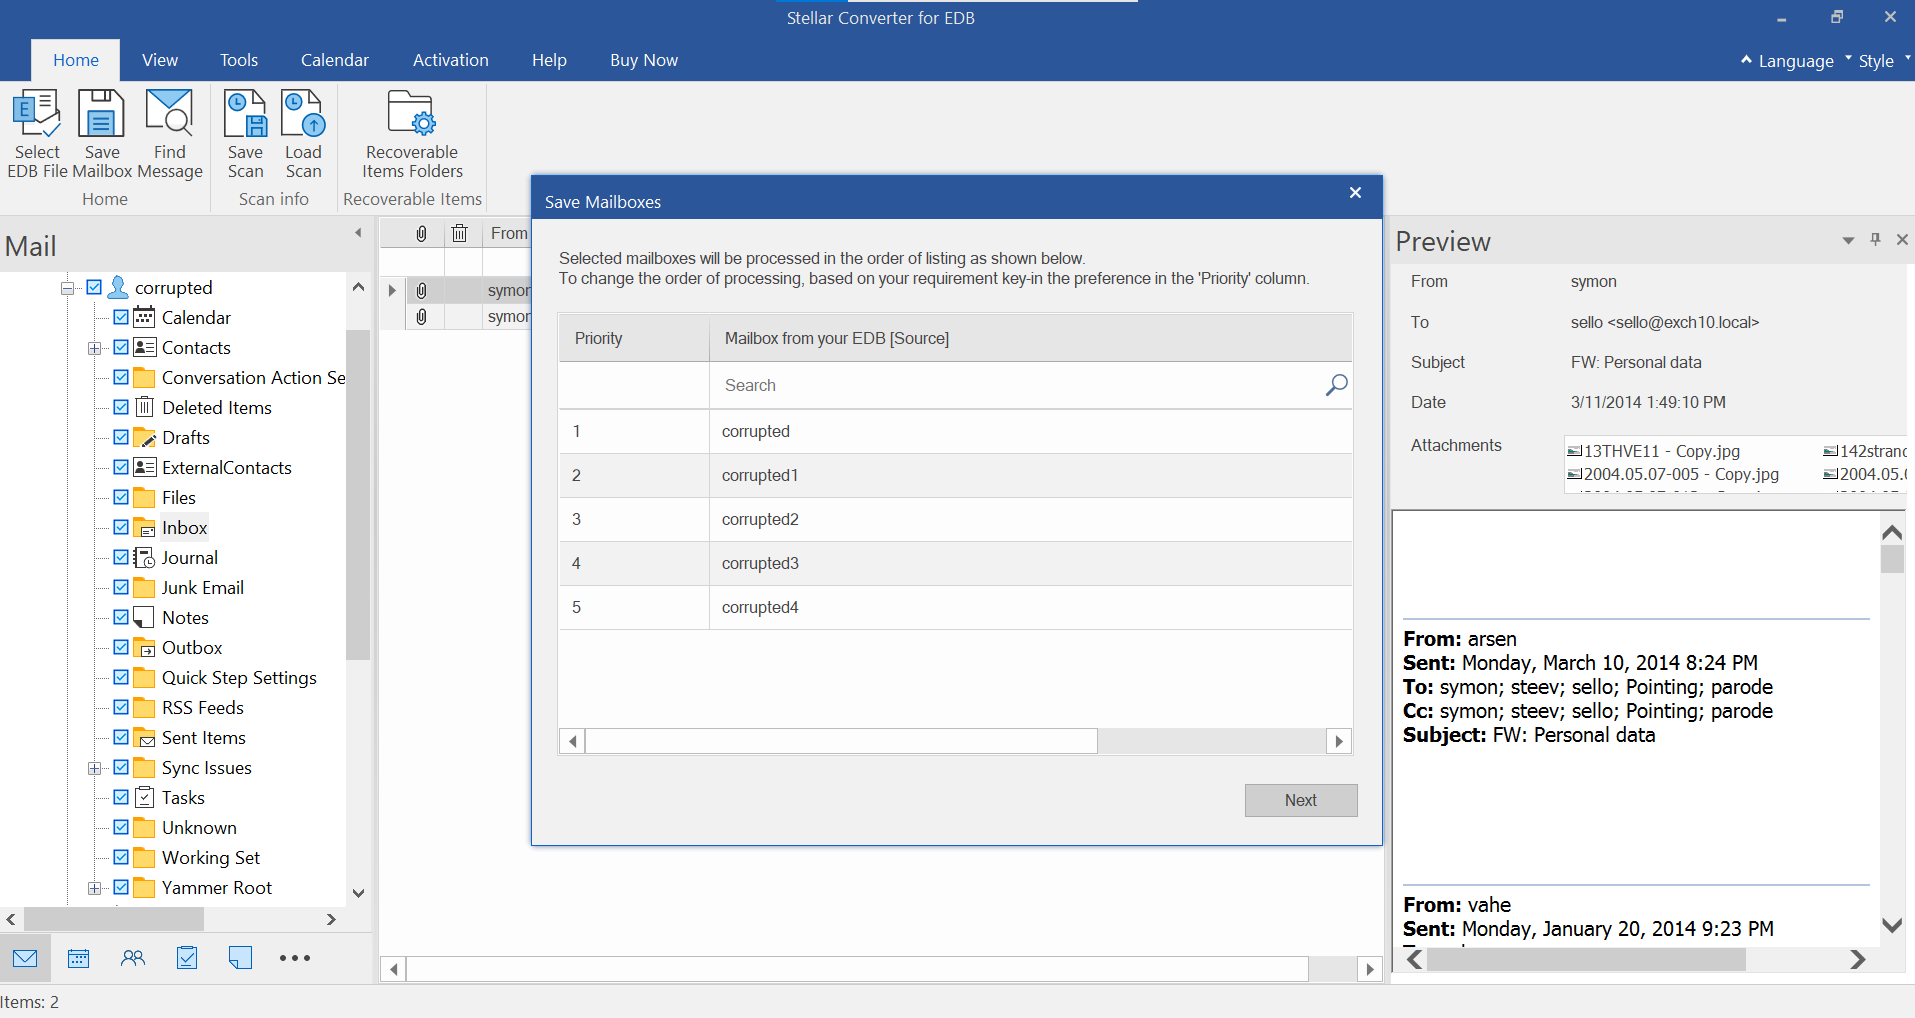
3. Now click ‘Save’ & Select ‘PST’ to convert EDB file to PST format. Also, specify the destination path.

4. PST file gets saved.

Step 2: Next, import the PST data in Exchange Server 2016.
Check full steps from here.
Solution 2: Export all data from the Exchange EDB file directly to Live Exchange Server
1. Select Live Exchange Option.
2. Enter Exchange server credentials to export mailboxes data directly Exchange server mailboxes. & Click OK
3. Review the list to check that all sources mailboxes are mapped to Destination mailboxes. Click Export.
4. That’s it!! Mailboxes exported successfully.
Wrapping it up
The above mentioned steps are ideal to migrate Exchange 2003 to 2016 or migrate Exchange 2007 to 2016 until Microsoft allows co-existence of the latest Exchange versions with legacy versions. However, the process may appear to be a little technical for users who don’t have the expertise. If, during the process, you face any obstacle, avoid taking any risks, and perform the migration by converting the Exchange database file (EDB) to Outlook PST format. Such converted files can be opened within Outlook. or You can also export mailboxes directly to Live Exchange Server.
The product we recommend to perform this conversion is Stellar Converter for EDB. This software guides you through an easy conversion process that will help you extract all EDB file content such as mailbox received/sent messages, Contacts, Notes, Journals, etc. and save them in Outlook compatible PST format.
Was this article helpful?