When trying to attach a SQL Server database, several users have reported about receiving SQL Server error 1813. The complete error message reads as:
Error Msg 1813, Level 16, State 2, Line 1
Could not open new database ‘Database_Name’. CREATE DATABASE is aborted.
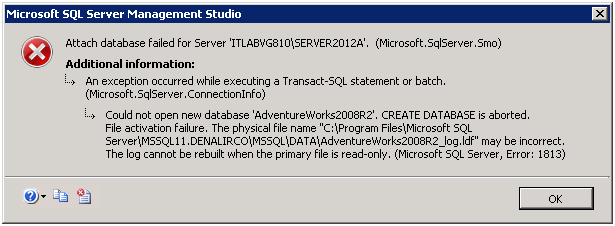 Figure 1 – Microsoft SQL Server Error 1813
 What Causes Error SQL Database Error 1813?
SQL Server error 1813 occurs when a damaged or corrupt database logs are attached to the new server.
Also read: 3 Simple Methods to Attach SQL Database without Transaction Log File
Manual Workaround to Fix SQL Database Error 1813
When your SQL Server’s log is in a damaged state, try rebuilding the log to make the database healthy and operational. For this, perform the manual steps in the same sequence given below:
Note: Rebuilding the log may result in data loss if the database did not shut down properly. If you don’t want to lose data, a better alternative is to use SQL repair software that can help repair the database files while keeping the data intact.
- Create a new database having the same name as the original database you need to recover in another location. For instance: ‘Database_Name.’ Further, re-create SQL data files (MDF and NDF) log files (LDF) with the same name as the previous data and log files.
- Stop SQL Server from running.
- Move the original MDF file to the new location by replacing the newly created MDF file.
- Delete the LDF file of the newly created database in the SQL Server.
- Start the SQL Server, doing which the database will be marked as ‘suspect’.
- Confirm that the System tables of the Master database allow and assist in upgrading the values.
USE MASTER
GO
sp_CONFIGURE ‘allow updates’, 1
RECONFIGURE WITH OVERRIDE
GO
- Alter the mode of the database to emergency mode.
Also Read: Recover SQL Database from Emergency Mode to Normal Mode
The following statement will return the current status of the database.
SELECT * FROM sysdatabases WHERE = Database_Name
The following statement will update one row of the database.
BEGIN
UPDATE sysdatabases
SET status = 32768
WHERE name = 'Database_Name'
COMMIT TRAN
- Restart the SQL Server.
Note: This step is a must, or else the SQL Server will encounter an error
- Execute the following ‘DBCC command’ in the query window of SQL Server Management Studio (SSMS). This will help create a new log file.
Note: The name of this newly created log file should be kept the same as the LDF file that was recently deleted from the new database server.
DBCC TRACEON (3604)
DBCC REBUILD_LOG(Database_Name, ‘C:\Database_Name_log.ldf ‘)
GO
- Here, DBCC REBUILD_LOG has two parameters. The first is ‘database name,’ and the second is ‘physical path of the log file.’ You need to confirm that the path is physical. This is because a logical name will return an error.
- Reset the status of the database by using the command given below:
sp_RESETSTATUS Database_Name
GO
- Turn/switch off the update to ‘system tables’ of the Master database by running the script given below:
USE MASTER
GO
sp_CONFIGURE 'allow updates', 0
RECONFIGURE WITH OVERRIDE
GO
- Set the status of the database to the previous status.
Note: If, while carrying out Steps 11, 12 & 13, there is an error while using the database, set the database to the single-user status.
sp_DBOPTION 'Database_Name' , 'single user' , 'true'
- After the completion of Steps 11, 12 & 13, if the database is not in multi-user mode, run the script stated below.
sp_DBOPTION 'Database_Name' , 'single user' , 'false'
With the correct execution of all these steps, the SQL Server error 1813 can be fixed. But, if the error persists, using a SQL database repair software from Stellar® may help.
SQL Database Repair Software to Fix Error 1813
Stellar Repair for MS SQL software can fix all types of corruption errors in SQL database files while maintaining database integrity. Essentially, the software helps to repair the corrupt database files and restores the database to its normal state in just a few clicks.
Steps to Use Stellar Repair for MS SQL Software
- Launch the software.
- The software main interface is displayed. Click the Browse or Search button to select the corrupt MDF file.
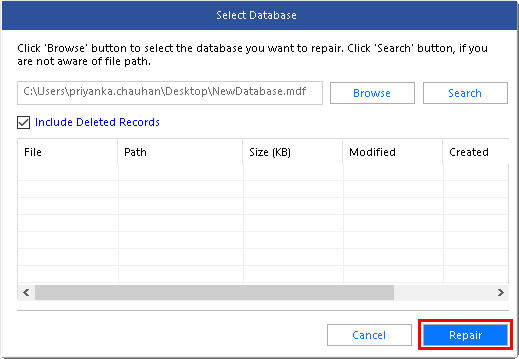 Figure 2 – Select the MDF File
Note: If your database file is severely corrupt and the software is unable to detect the version of the db, you can select the database version manually from the following dialog box:
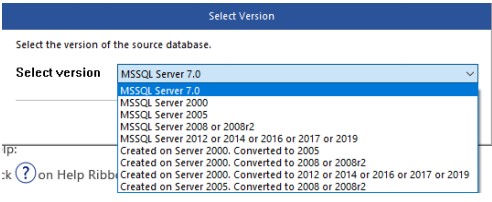 Figure 3 – Select SQL Database Version
- After selecting the file, click Repair to start the repair process.
- You will see a preview of the recoverable objects, such as Tables, Views, Defaults, Data Types, Synonyms, etc. in a tree-like structure in the left pane of the preview window.
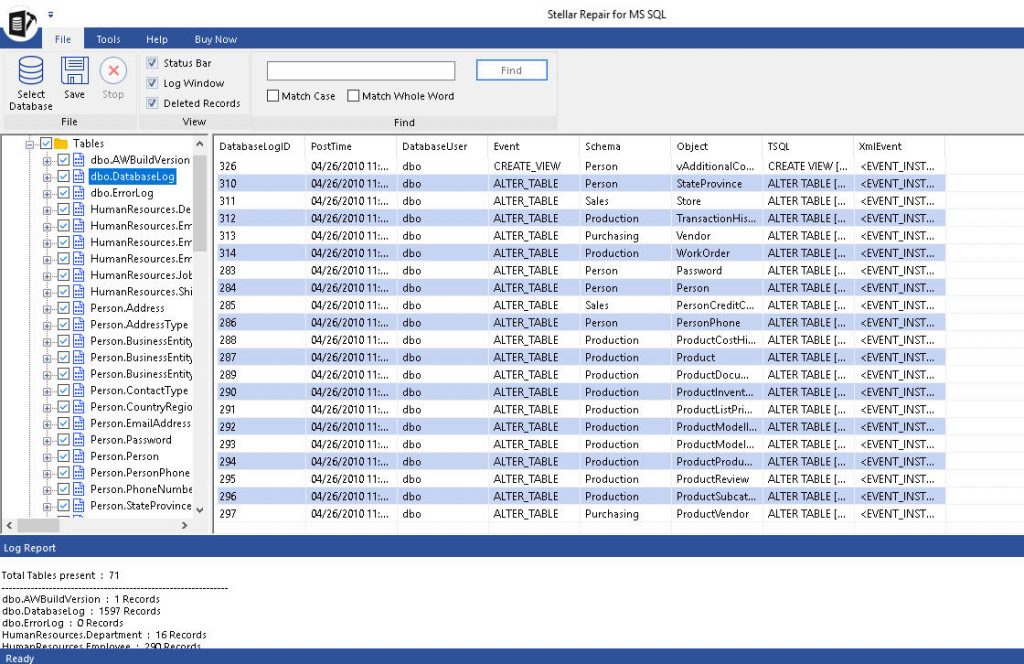 Figure 4 – Preview of Database Objects
- On the File menu, click Save to save the repaired MDF file with all its recovered objects. The Save Database dialog box appears.
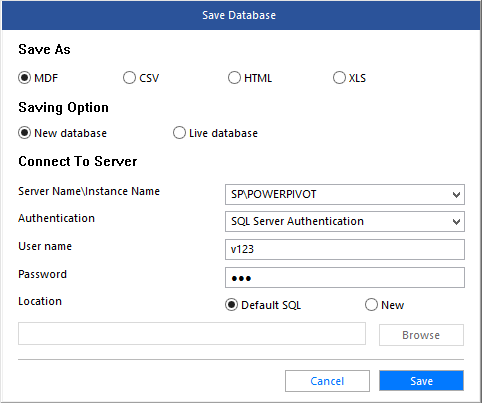 Figure 5 – Save Database Window
 6. Enter the required information and save the repaired database file.
Now try opening the repaired SQL database file from your SQL Server account.
Conclusion
Damaged (or corrupted) database log file (LDF) can cause SQL error 1813. You can fix the SQL database error 1813 by rebuilding the log file following the manual step-wise instructions discussed in this blog. However, the manual process can be lengthy and time-consuming. It may also result in data loss. But, you can quickly fix the error by repairing corrupted db files with the help of SQL repair software, such as Stellar Repair for MS SQL. It helps repair the corrupt database files and recovers all its objects, including tables, keys, indexes, stored procedures, etc.
Was this article helpful?