Summary: If you have ever seen a black screen with white text that says, “You need to restart your computer” on the Mac you are using, you've experienced what is called a kernel panic. We’ll guide you through easy steps to have the problem repaired. Also, to ensure your data is safe and secure, and in case the worst does happen, you can restore critical files by running Stellar Data Recovery for Mac.


What happens when an operating system cannot recover from some error and the computer crashes? This is called a kernel panic. For example, the error kernel panic not syncing VFS indicates that the system cannot mount its root file system. This failure could be due to many reasons. In this article, we will first talk about the causes of this problem and then provide solutions to the kernel panic.
Causes Behind the Kernel Panic Not Syncing VFS
Several factors can result in a kernel panic on a Mac, which in turn leads to the kernel panic not syncing VFS error. Some common causes include:
- Poor hardware conditions, such as a hard disk that is failing or faulty RAM, which can also cause kernel panics. Hardware problems must first be eliminated in the troubleshooting process.
- Kernel panics are caused by corrupted or missing system files. Improper shutdowns, software bugs, or disk errors may cause this to happen.
- The kernel may panic if it detects that the device drivers are out of date.
- Third-party software conflicts or incompatible applications can also cause the kernel to panic.
Troubleshooting Kernel Panic Not Syncing VFS Error
Let’s talk about 7 possible solutions on how to address the kernel panic not syncing VFS error.
1. Restart Your Mac in Safe Mode
Restarting your Mac in Safe Mode is a useful troubleshooting step to identify and resolve issues, including kernel panics. Let’s see how to restart your Mac in Safe Mode.
On Mac with Apple Silicon
- Shut down your Mac.
- Press and hold the Power button until you see the Loading startup options on the screen.

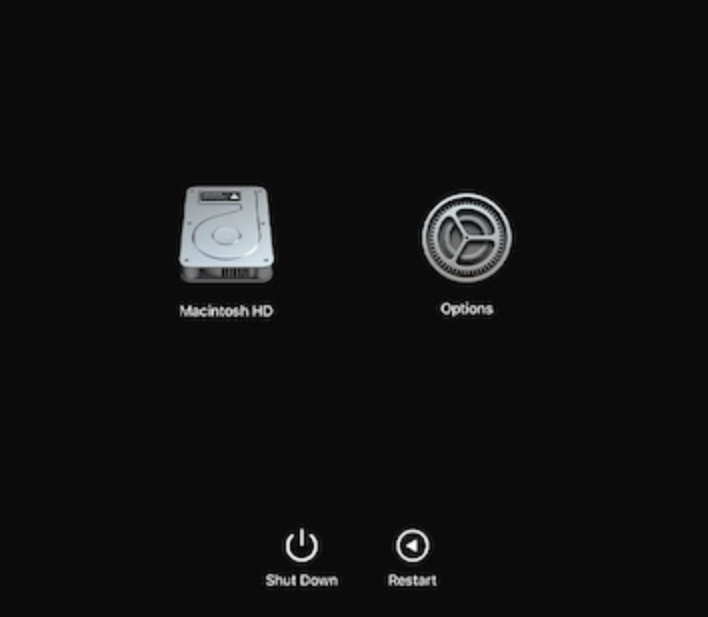
- Choose your startup disk and press and hold the Shift key.
- Click Continue in Safe Mode.


On Intel-Based Mac
- Restart your Mac and immediately press and hold the Shift key until you see the login window.
- Log in to your Mac.
2. Reset NVRAM
Another possible solution to fix kernel panic not syncing VFS on Mac is to reset the NVRAM that may get corrupted or misconfigured. It can cause the kernel to fail to load the root file system or to use the wrong parameters.
To reset the NVRAM, follow these steps:
- Turn off your Mac.
- After that, turn it on again, and immediately press and hold the three keys: Option + Command + P + R.
- Hold them for 20 seconds and wait until your Mac restarts.
Note: If you own an Apple Silicon Mac, you don’t have to do it, as resetting NVRAM performs when you restart your Mac.
3. Reset SMC
Resetting the SMC is a safe procedure, and it can often resolve related issues that caused the kernel panic not syncing VFS error on your Mac. Here’s how to do it:
- Shut down your Mac.
- Press and hold the Shift + Control + Option + power keys for 10 seconds.
- Release all keys after that and turn on your Mac.
Note: If you have an M1 Mac, there is no need to reset SMC.
4. Check for Disk Errors
To repair the disk that contains the root file system is one of the first things you should try to make the kernel panic not syncing VFS on your Mac work again. Sometimes, there are a few errors or defective sectors, so the disk is no longer working properly, but the kernel cannot read or write data correctly. Let’s see how to do it:
- Select the disk that has the root file system from the sidebar—usually the one with the name Macintosh HD.
- Click the First Aid button on the top toolbar.

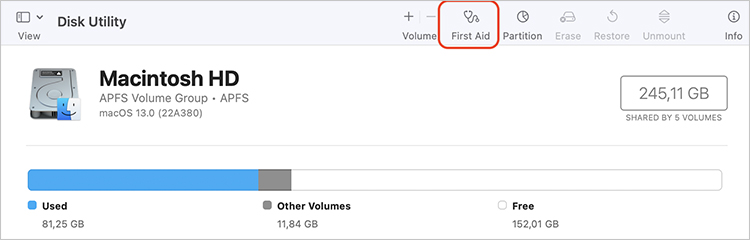
- Click Run to start the process.

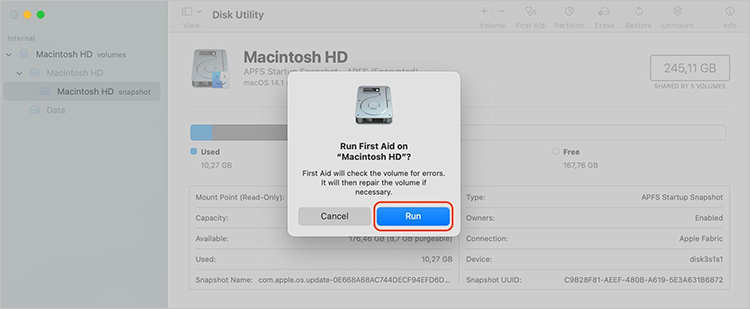
- Restart your Mac when the process is done.
5. Update macOS
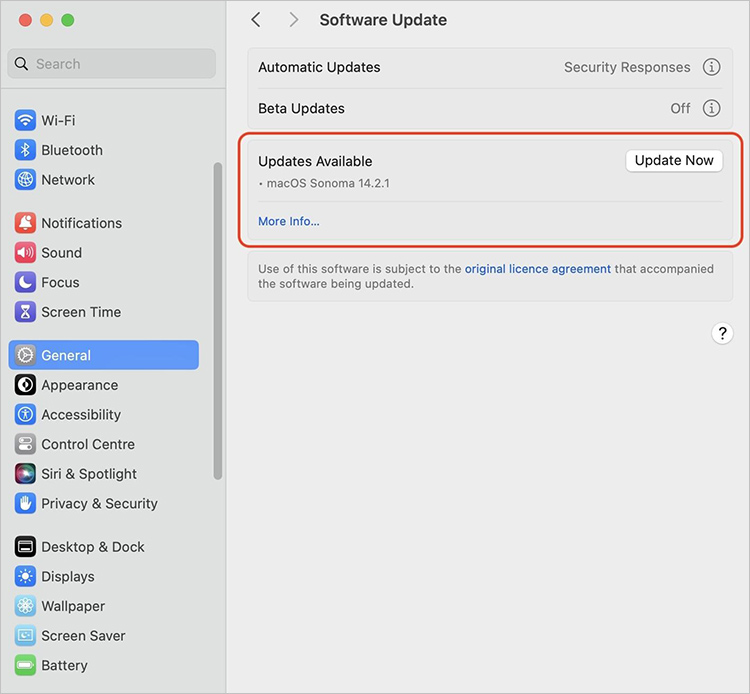
Updating the macOS to the latest version can replace the corrupted or missing system files that may cause the kernel panic not syncing VFS issue. Here is how to check the Mac updates:
- Go to System Settings.

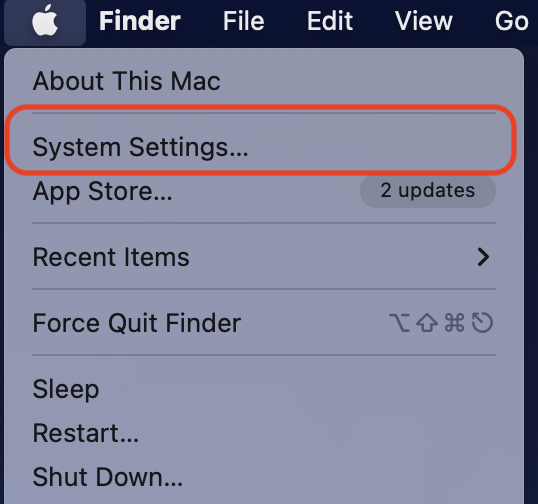
- Click on General > Software Updates.

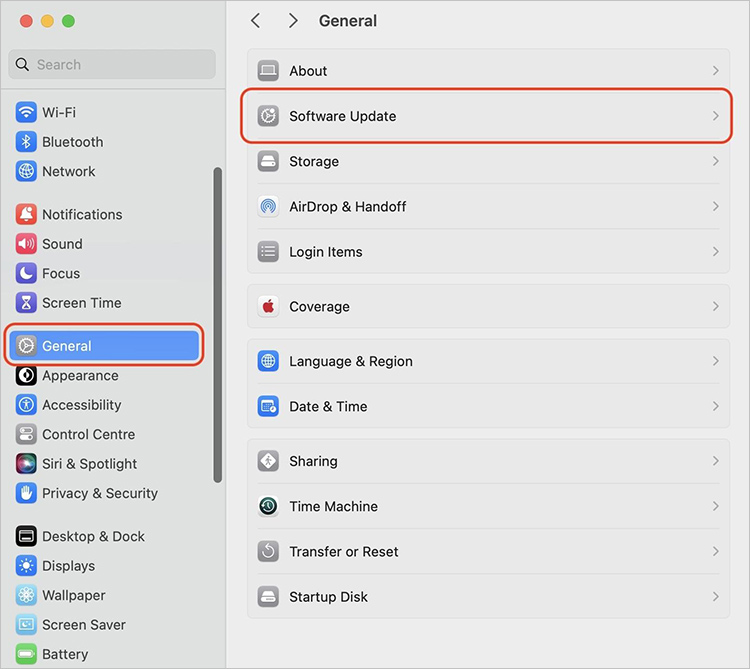
- If there are any updates, click on Update Now.

6. Use Single-User Mode
Single-user mode is a troubleshooting mode that lets you do different tasks on your Mac with just a few basic services working. Here are the steps that may help you fix the kernel panic not syncing VFS error:
- Restart your Mac and immediately hold down the Command + S keys.
- Type fsck -fy in the command line and press Enter to check and repair the file system.
- Once the file system check is complete, type mount -uw / and press Enter to mount the root file system in read-write mode.
- Next, type exit and press Enter to exit single-user mode and boot your Mac normally.
7. Run Apple Hardware Diagnostics
Run Apple Diagnostics to see if there is a hardware problem. If any problem occurs, you can request professional service to identify and deal with possible hardware malfunctions.
Here’s how to use Apple Diagnostics:
- Shut down your Mac and disconnect all connected devices to your computer.
- Turn on your Mac and press D until a Choose Your Language screen appears.
- Release the key and choose the language.
- Wait till the end of the Apple Diagnostic Test process.
How to Recover Files with Stellar Data Recovery for Mac
For users encountering kernel panic not syncing VFS error on their Mac, data loss can be a concern. In such situations, you need to consider data recovery solutions like Stellar Data Recovery for Mac, which emerges as a reliable option for retrieving lost or inaccessible data.
Here is how to recover data with Stellar Data Recovery for Mac:
- Download and install Stellar Data Recovery for Mac.
- Select the type of data to recover.
- Choose the location to scan.
- Once the scan is complete, Stellar Data Recovery for Mac will display a list of recoverable files. You can preview them and select the needed ones or recover everything.
- Choose a Recovery Location and wait till the end of the process.
Wrapping Up
If you need to resolve a ‘kernel panic not syncing’ error on your Mac, it has got to be done step by step. With the troubleshooting steps from this article, you can find out the source of your problems and apply whatever remedies you need. However, if the issues continue to recur, it is perhaps a good idea to ask for professional help from Apple Support or take it to an authorized service center for full diagnosis and service.
Read more:

