Summary: The Public Folder Migration Scripts can migrate Exchange public folders from one Exchange Server to another. However, the process is complicated and requires several steps to perform. If you are uncomfortable using scripting tools, consider using a third-party Exchange migration tool, like Stellar Converter for EDB.


In Exchange Server, migration of mailboxes is a little easy as you can use the New-MailboxExportRequest PowerShell command in the Exchange Management Shell (EMS). On the other hand, you need to use a set of scripts to move public folders to another Exchange Server or Office 365 tenant. In this post, we will be going through the process of migrating public folders from one Exchange Server to another using the Public Folder Migration Scripts.
How to Download Public Folder Migration Scripts?
Below, we will see the process of moving public folders from Exchange Server 2010 to higher Exchange Server version – 2016 or later.


The first thing you need to do is download the migration scripts from the Microsoft site.

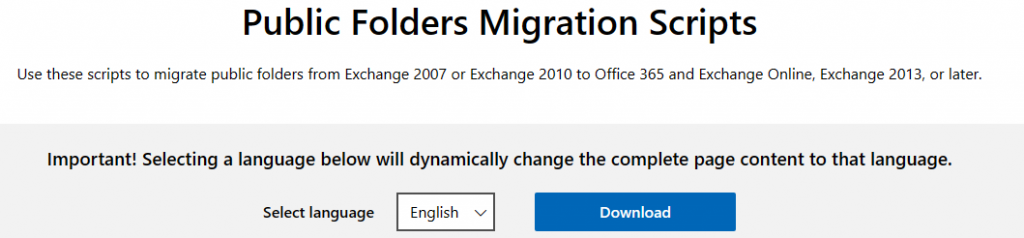
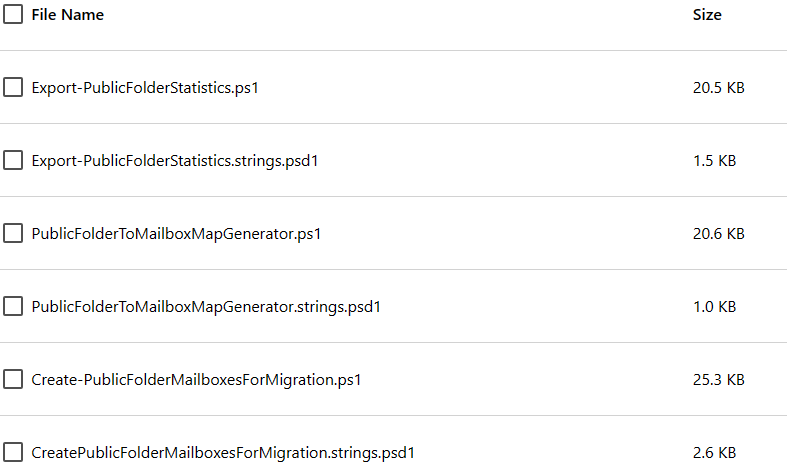
On the Public Folders Migration Scripts web page, click on Download. This will download six files which are needed for the migration.

You need to store these files on the old Exchange Server, ideally in the C:\Scripts folder. Then, ensure that both Exchange Servers are updated to the latest Cumulative Updates. If you’re migrating from Exchange Server 2010, it should have a minimum service patch installed, i.e. Service Pack 3 with RU8.
How to Run Public Folder Migration Scripts?
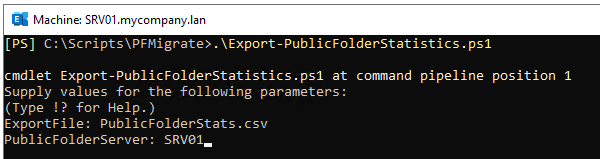
Now, you need to run the Export-PublicFolderStatistics.ps1 script. For this, open the Exchange Management Shell (EMS) on the Exchange Server 2010 and run the below command.


You will be prompted to allow the script to run a single time or always.

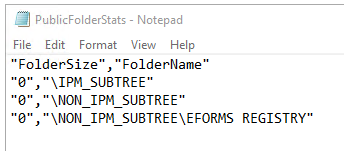
The exported file should be like the given below.

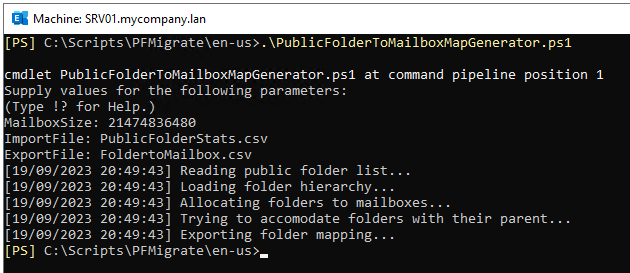
After this, you need to run the PublicFolderToMailboxMapGenerator.ps1 script. You will be asked for the Mailbox Size (each public folder mailbox size). The size must be entered in bytes.
You will then be asked for the Import file. This file is the ‘PublicFolderStats.csv’ you’ve just created by running the previous script.
The Export file is also needed for the output information.

You also need to keep in mind the mailbox size restrictions (if any) on the destination server. When you open the Export file, you would see what is recommended in size and public folders. This may vary depending on the setup of the legacy server.
The script output will create the target mailboxes as Mailbox1, Mailbox2, etc. If you want to change them, then you can edit the CSV file with the name on the new server.
Now, you need to log into the new server and copy or re-download the scripts again. Open the Exchange Management Shell (EMS) and execute the Create-PublicFolderMailboxesForMigration.ps1 script. You will be asked to specify the mapping file. Here you need to specify the export file (created above).
Supply values for the following parameters:
(Type !? for Help.)
FolderMappingCsv: FolderToMailbox.csv
Then, you will be asked for the number of concurrent users which will be using the public folders. The maximum concurrent users recommended by Microsoft are 2000.
EstimatedNumberOfConcurrentUsers: 100The script will create all the public folders needed for the migration. You need to confirm that the folders listed in the CSV file for the mapping corresponds with the created public folders.
Create and Start Migration Batch
On the Exchange Server 2016 or newer (destination), you need to run the New-MigrationBatch command to create new migration batch for the public folders to be copied from the source.
New-MigrationBatch -Name <batch name> -SourcePublicFolderDatabase (Get-PublicFolderDatabase -Server <source server name>) -CSVData (Get-Content <mapping file path> -Encoding Byte) -NotificationEmails <email address for notification>

This will create the migration batch job. Now, you need to start the migration batch using the Start-MigrationBatch command (see below).
Start-MigrationBatch <migration batch name>

To see the progress, log in to the Exchange Admin Center (EAC), click on Recipients, and then click on Migration.

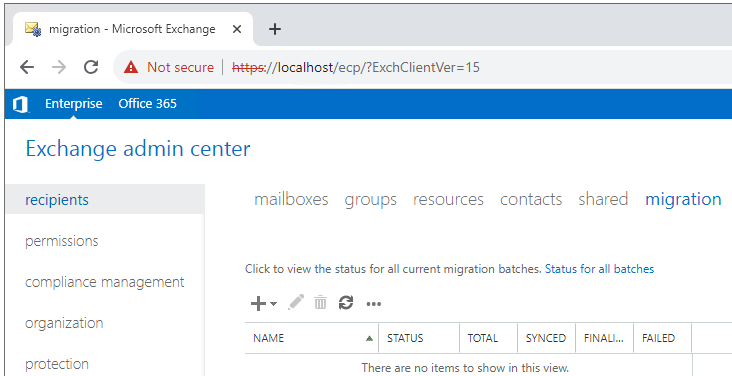
Once created, it will show the status as Created. If it is synchronizing, it will show as Syncing. Once it’s ready, it will show the status as Synced.
You may also like the article Difference between New-MigrationBatch and New-MoveRequest Commands in Exchange Server.
Complete the Migration
On the legacy server, you need to block users from accessing the public folders. For this, run the below command.
Set-OrganizationConfig –PublicFoldersLockedForMigration:$true

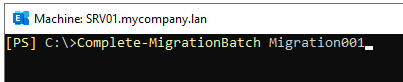
On the new server, you need to complete the migration batch using the Complete-MigrationBatch command (see the below example).
Complete-MigrationBatch <migration batch name>
This will synchronize all the changes. Depending on the number of changes, it will take some time.

Conclusion
You can use the public folder migration scripts to move Exchange public folders from one Exchange Server to another. This would be the most economical choice if you have the knowledge and skills to use the scripting tools. However, moving public folders using the scripts requires several steps and can result in data loss if the process is not carried out correctly.


Alternatively, you can use third-party Exchange EDB to PST converter tools, like Stellar Converter for EDB. This tool is simpler to use and reduce the possibility of data loss. This tool, recommended by various sector experts, allows to open offline EDB files and export public folders to a live Exchange Server database of any version or Office 365 tenant, ensuring data integrity and success. It has a user-friendly interface that helps reduce complexity of the migration process.

