Using Terminal with RM command can help quickly remove unwanted files from your Mac. However, you should always be cautious when running it. The risk associated with the RM command is that it removes files and folders from your computer directly without putting them in Trash. As a result, if you don’t act carefully, you risk permanently losing the data.
Fortunately, even if you run the RM command, the deletion is reversible. Let’s learn more about how you can undo the RM command on Mac to bring back the lost files.
How Does the RM Command Work?
If you are an experienced Mac user, you are probably familiar with the macOS command line tool called Terminal. Most of the tasks you perform use a regular graphic interface that can also be done in Terminal. Deleting files is no exception.
It is quite easy to eliminate the files you no longer need with the help of Terminal. Simply use the RM command + the file name you want to delete.
Here is how to run the RM command on Mac:
- Open Terminal via Launchpad.
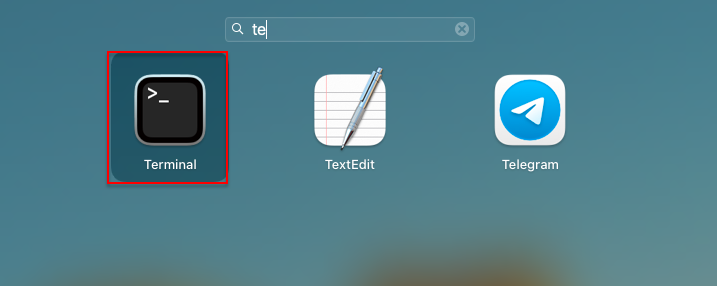 Launchpad > Terminal
- Type rm and space. Then, drag the file you want to delete to the Terminal window.
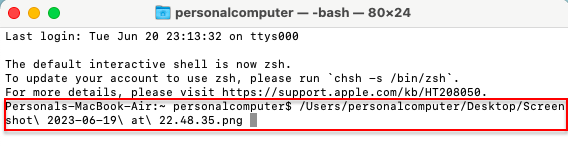 Terminal > RM filename
- Press Enter to start executing the command.
It’s important to remember that the RM command bypasses the Trash completely. In addition, the command is silent, which means you will not be asked to confirm file deletion. That’s why you should be very careful when executing the RM command.
You can use the following RM command syntaxes to minimize the risk of accidental data loss:
- rm -i: asks the user to confirm before deleting a file.
- rm -l: asks the user once to confirm before deleting a group of files.
Can You Undo the RM Command?
The short answer is yes. However, you should know the possible limitations you may face when undoing the RM command.
If you realize that the RM command erased a critical file, stop using your Mac as soon as possible. Even though the RM files cannot be found in the Trash folder, they are not removed completely. For some time, they still exist on your hard drive. But, if you keep using your computer, the deleted data will be overwritten by new files. In other words, the time span during which it is possible to undo the RM command on Mac is limited.
Ways to Recover RM Files on Mac
There are three methods to undo the RM command on macOS. They include:
- Time Machine backup
- iCloud Backup
- Data recovery software
These methods have certain advantages and limitations. Let’s dive in and discuss them in detail.
Method 1. Use Time Machine
If you have Time Machine enabled on your Mac, you are in luck! Time Machine is great for maintaining automatic system backups to safeguard your personal data. You can set it up to create backups hourly, daily, or weekly and recover specific files and folders and even an entire disk if needed. The only possible drawback of the feature is that it requires a significant amount of hard drive space to store numerous backups. Alternatively, you can use different types of external storage.
To recover RM files on Mac with the help of Time Machine, follow these steps:
- Click on the Apple logo in the top-left corner of your screen to open the Apple Menu.
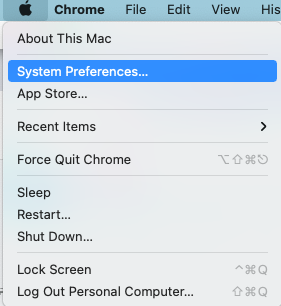 Apple Menu > System Preferences
- Select System Preferences and navigate to Time Machine.
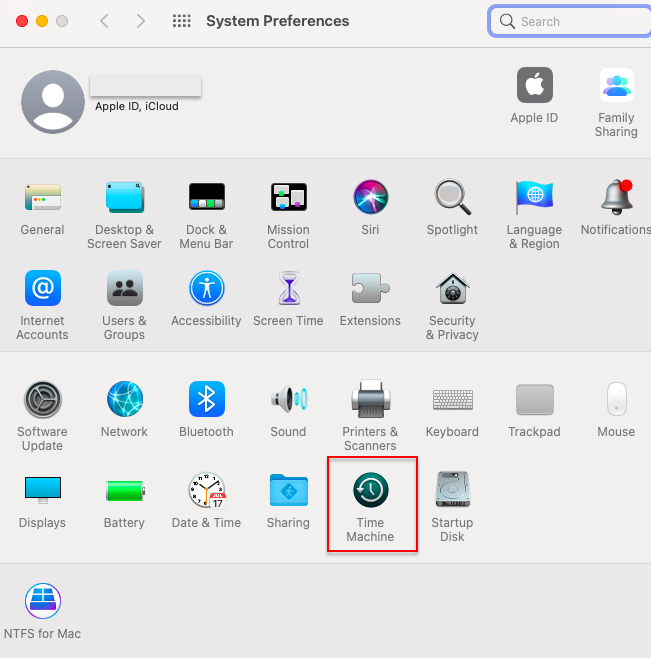 Apple Menu > System Preferences > Time Machine
- Choose Show Time Machine in the menu bar.
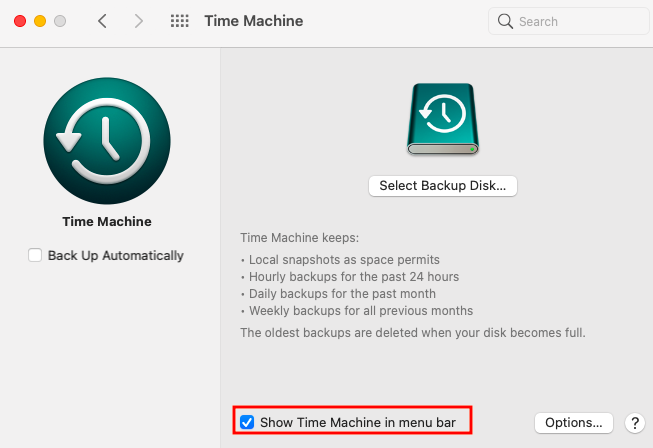 Apple Menu > System Preferences > Time Machine > Show Time Machine in menu bar
- Open Time Machine by clicking Enter Time Machine in the top-right corner of the menu bar.
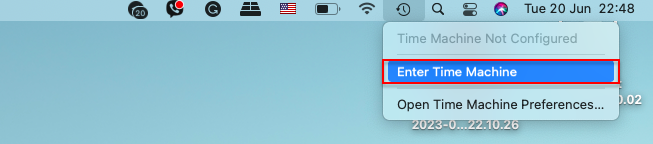 Time Machine Logo > Enter Time Machine
- Scroll the timeline to find the files you want to recover.
- Select the needed files and hit Restore.
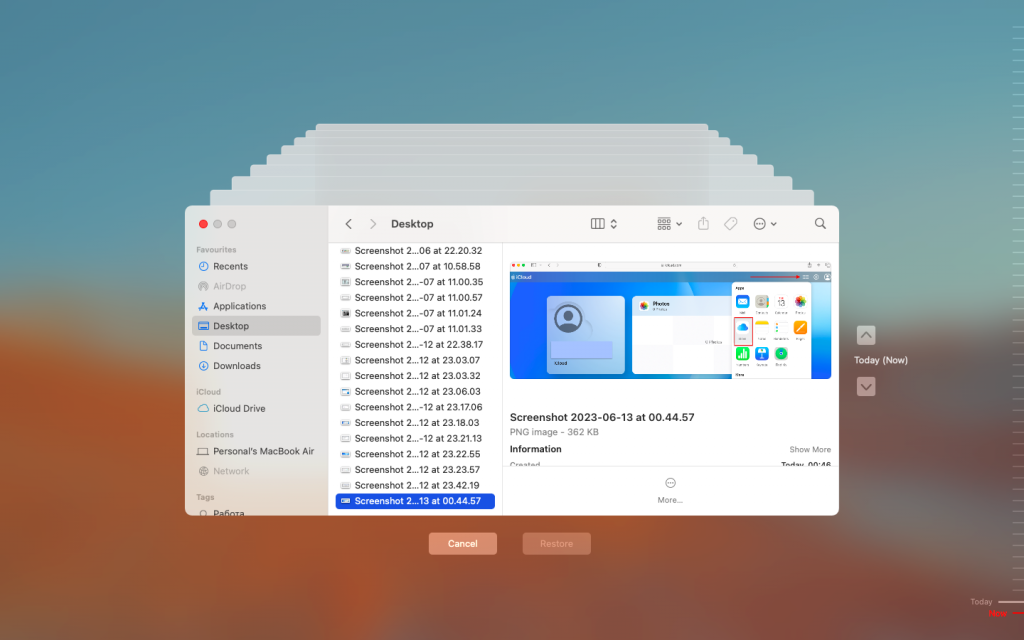 Time Machine > Select File > Restore
 Method 2. Restore Files with iCloud
If you don’t use the Time Machine feature to back up important data, there is another way to restore it – iCloud Backup. iCloud is an online backup solution provided by Apple. It seamlessly creates backups of your device in the background, making data recovery quick and easy.
Let’s check how you can recover the RM files on Mac through iCloud:
- Open the browser and log in to your iCloud Account.
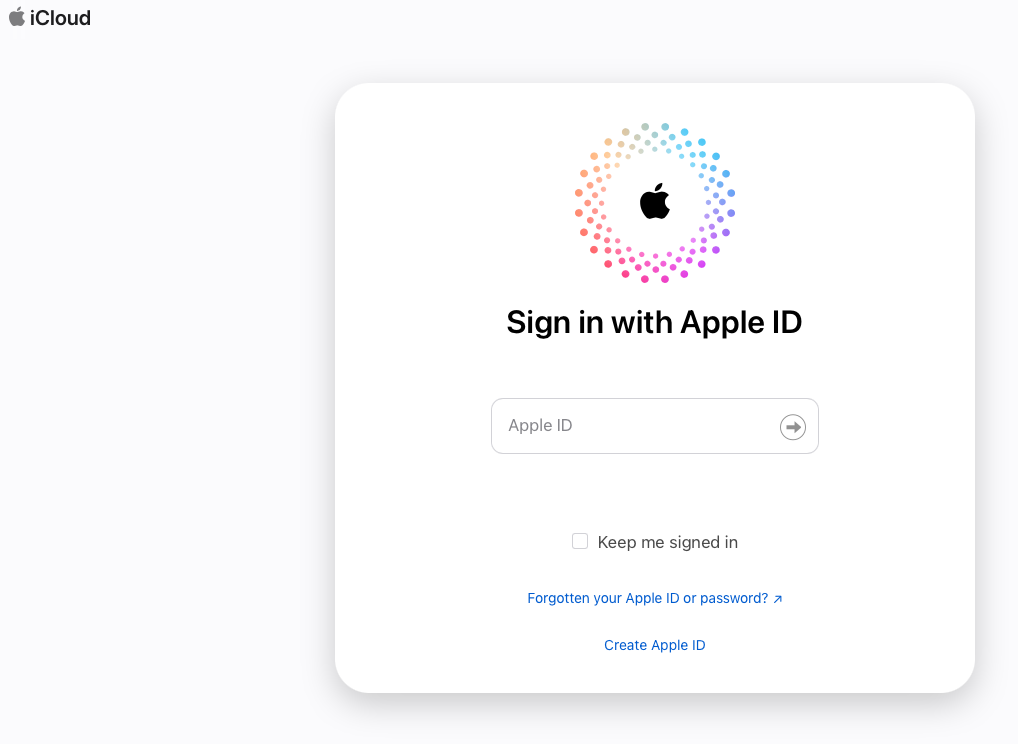 iCloud.com > Sign In
- Click on the Apps in the top-right corner and select Data Recovery.
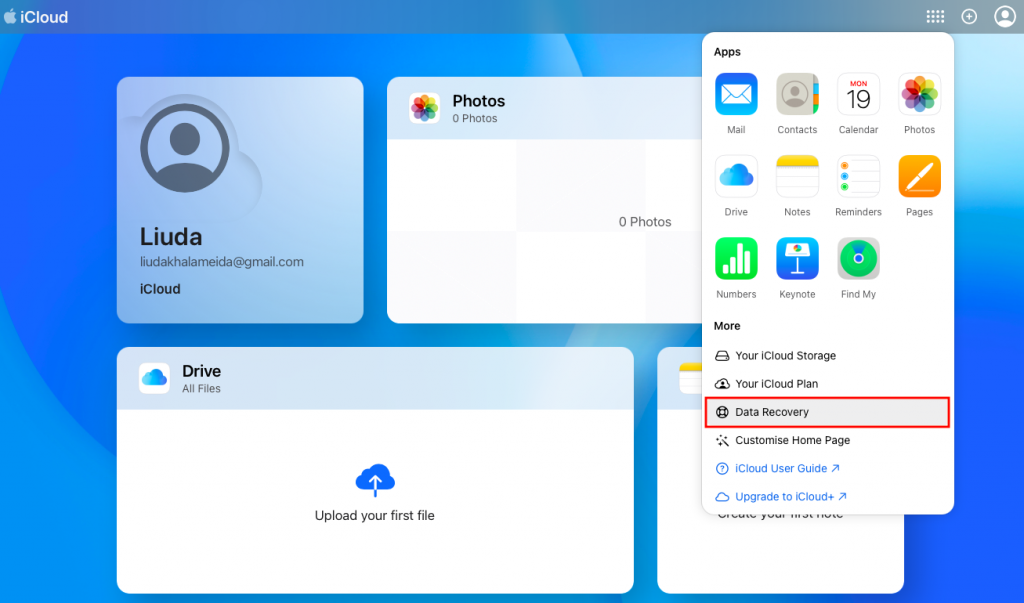 Apple Account > Apps > Data Recovery
- In the Data Recovery section, select the RM files you want to recover and hit Restore.
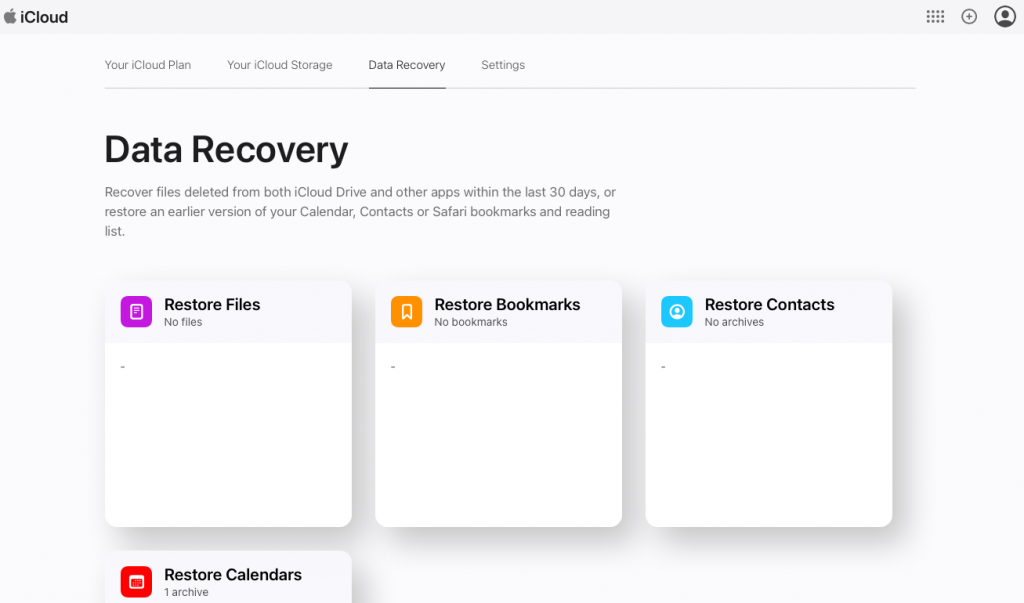 Apple Account > Apps > Data Recovery > Select Files
 Method 3. Run Data Recovery Software
If you cannot retrieve the RM files via iCloud Account or Time Machine, you can try recovering the lost data with the help of data recovery software. We recommend going with Stellar Data Recovery Professional for Mac. One of the advantages of the software is that it’s compatible not only with macOS Ventura 13 but lower versions too. In addition, it’s compatible with M1, M2, and T2 chip-enabled Macs.
Here’s how Stellar Data Recovery Free can help you recover the RM files:
1. Download and install Stellar Data Recovery Professional for Mac software.
2. Launch the app via Launchpad.
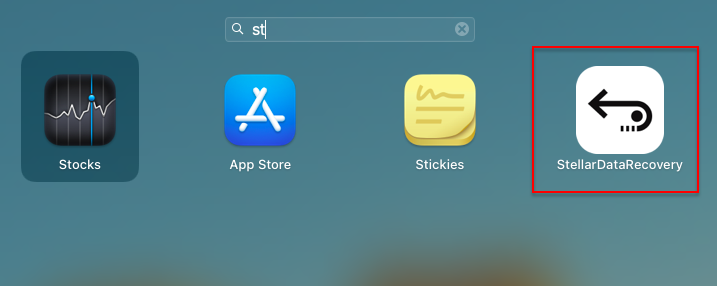 Launchpad > Stellar Data Recovery
 3. Select the type of files you want to recover (you can also go with Recover Everything) and click Next.
 Stellar Data Recovery Free > Select What to Recover
 4. Choose the disk from which you lost the files.
 Stellar Data Recovery Free > Recover From
 5. Hit the Scan button to scan the files that can be recovered.
6. Once the scan is over, select the files you would like to restore and click Recover.
 Stellar Data Recovery Free > Scan Preview
 It’s a Wrap
Even though the RM command is one of the quickest and most powerful tools used to remove unwanted files from Mac computers, it is not irreversible. Keep in mind that you should stop using your Mac if the RM command deleted important files. Depending on your circumstances, use Time Machine, iCloud backup, or reliable data recovery software. This will maximize your chances of successful RM file recovery.
Read more:
Was this article helpful?