| Problem: “I recently upgraded to Windows 10 but, ever since the update, I can see few distorted video with streaks. To fix it, I even turned off ‘X-Reality for mobile’ in Vaio Control Center; still, the issue does not get fixed. Adding more, I have also updated the driver to the new Intel HD Graphics family Windows 10 version, but all my efforts went in vain. I still have distorted videos. It is irritating me a lot. Please help to fix distorted video!” |
|---|
The above situation is not something new to Windows 10 users. If you have also faced it and looking forward to a right option to fix the distortion issue, then don’t worry, your search ends here. It is a right platform for you; it guides you of several simple-yet-effective hacks to Fix Video Distortion after Windows 10 Upgrade.
Before looking ahead on how to fix, let us have a quick overview of the factors that cause distortion and how distorted video looks.
Some Common Factors that tend to cause Video Distortion
- Hardware failure
- Faulty CPU
- Issue with drivers
- Issue with software
- On-board processor
How Distorted Videos Behave?
You can ensure that whether the video you are viewing is distorted or not by looking at the following symptoms.
Symptoms of Distorted Video
- Streaks
- Stretch
- Broken Pixel
- Freezing
Solution: How to Fix Video Problems after Windows OS Upgrade?
Broadly speaking, there are two ways to fix distorted video: software-oriented and manual-driven. Both these approaches have its plus and negative points.
Let’s delve into each of them one-by-one.
1. Software approach
Self-explanatory, it is a software-based method to repair your damaged video. This method lets you repair your damaged or corrupt video with great ease. It can even help you reverse to fix video distortion effect. The only point of concern over here is the selection of the right software as per need.
Indeed several options are available in the market, but counting on top-anchor like Stellar Repair for Video is a viable solution. Tech geeks have tried and tested this software on several parameters such as quality, security, performance, speed, reliability, and functionality. Based on the outcome, experts have marked this Video Repair tool as the best solution.
Pros & Cons
| Pros | Cons |
Risk FreeSecure
Powerful
Free from Manual Intervention
Does not Demand Technical Know-how | Not Free of Cost |
2. Manual approach
Literally speaking, manual methods are the most common DIY solutions that you can easily find on the Internet.
Some common DIY hacks are:
- Update Video Players: Install the compatible and latest Video Players
- Update Graphics Drivers:
For manually updating the Graphics Drivers, find out the latest graphics driver in the manufacturer’s website or from the OEM. Update or install the latest official display driver.
To update with Windows update, Go to Start >go to the Settings option> Update and Security>click on the Windows Update option> Check for Updates option>click on optional updates are available. Choose the required driver and press the OK button.
- Clean Browser Cache
- Disable Hardware Acceleration
- Adjusting the screen resolution –Go to Win + I >Settings>System menu>Select the Display>click Display adapter properties. Click the List All Modes button. Select the mode that matches with your computer display resolution and click the OK button.
- Right click on Desktop >NVIDIA Control Panel> Expand the Display and then highlight the Change resolution> On the right side, select 8 bpc (or lower value) from the drop-down menu of Output color depth>restart the PC
- Roll Back Driver:- Open the Device Manager> press the Windows + X and select the Device Manager.> Expand the Display adapters and double-click on the currently active display device>Click on the Driver tab and then click on the Roll Back Driver button.> Click on the OK button and reboot your computer
However, do remember, these methods come with limitations.
Pros & Cons:
| Pros | Cons |
| Free of Cost | Requires Technical Expertise
Involves Manual Intervention
Not 100% Secure |
Based on the afore-stated plus and negative points, you can easily state that going for the software-directed approach is much better than manual-driven approach.
Now, with this being said and having a recommendation of right repair solution in hand, the next big query triggering in your mind is how this Video Repair software works?
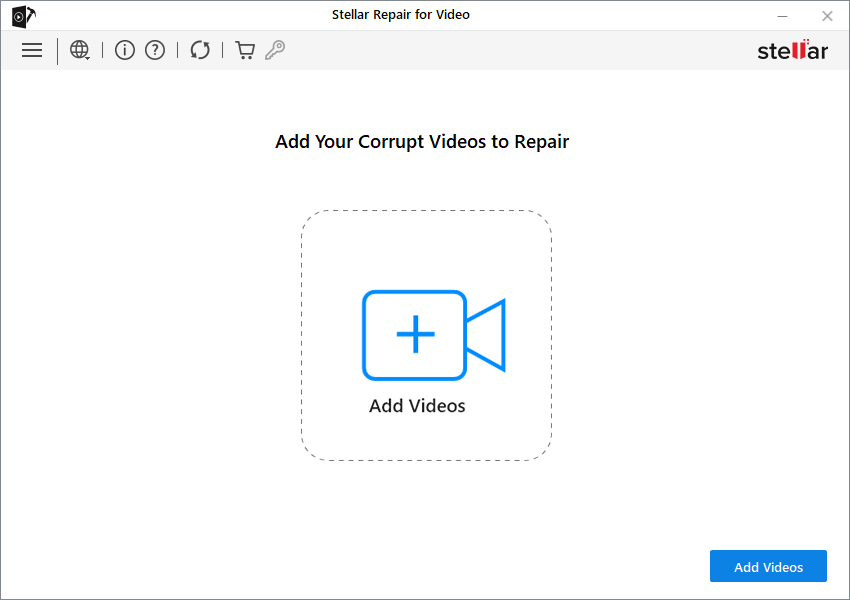
- Install, Launch and Run Stellar Repair for Video software. Click Add File.
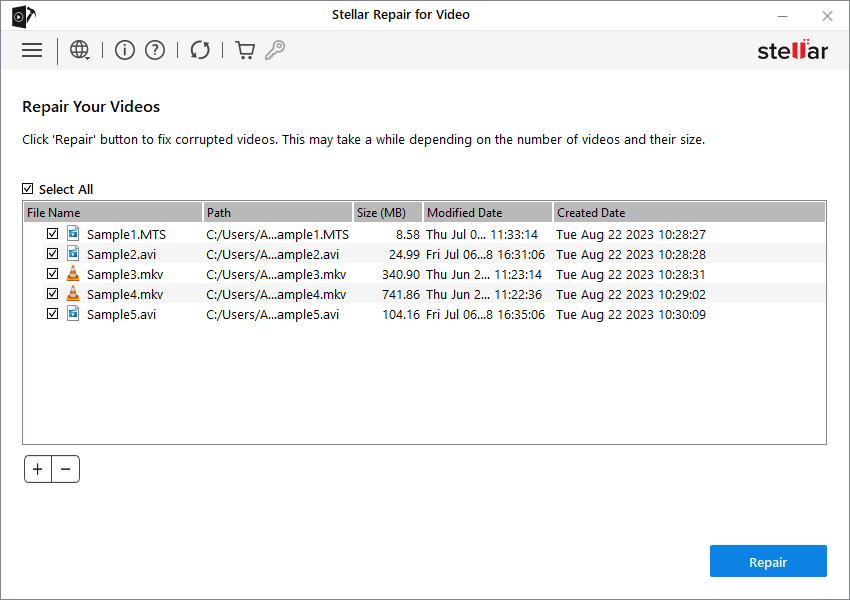
- Add File to include more video files for repair on the list. Click Repair to proceed.

- The software will repair all the video files one by one. At any particular moment, press Stop button to stop ongoing process
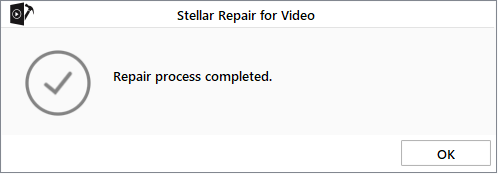
- Repair process complete message appears after successful repairing.
- Preview the repaired files by clicking Preview button and then proceed to save.
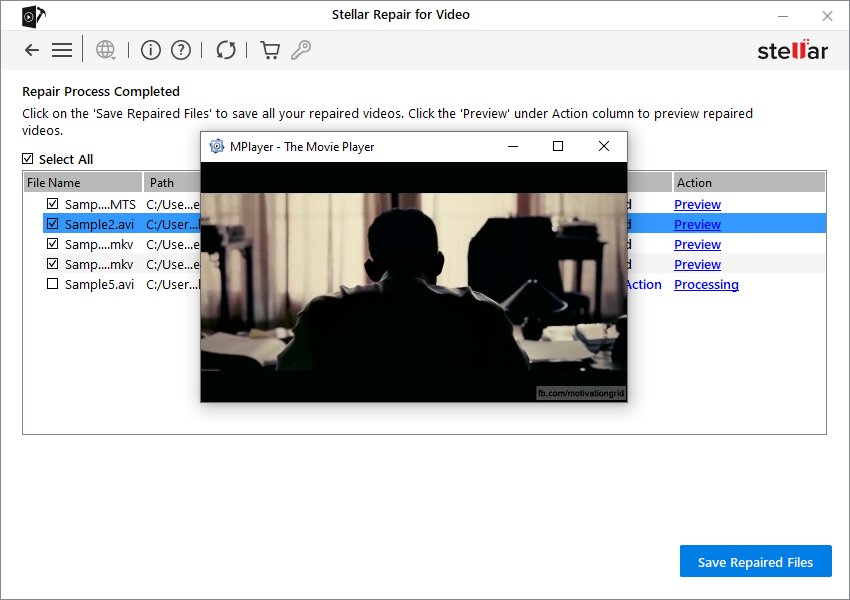
- The software includes Advance Repair option in case video file is severely corrupted.
Some of the Striking Features of Stellar Repair for Video software:
- Facilitates Preview after Repair
- Repairs Files on both Mac and Windows
- Facilitates multiple Video Files Repair at one go
- Repair files from both internal and external storage media
- Facilitates Repaired File Saving at Desired Location
Conclusion:
Facing a distorted Video issue in Windows Operating System is not new and alarming. The only thing that is of prime importance is a selection of the right repair approach like software-directed to avoid permanent video loss. On the whole, indeed, tens and thousands of solutions are available in the market but going for a top-rated anchor like Stellar Repair for Video is a viable option.
Was this article helpful?