The iPhone error “unable to check for update” message hinders the update process and restricts your iOS device from enjoying the latest features and security updates. In this blog post, we’ll discuss the causes behind the unable to check for update errors and share simple, step-by-step solutions to fix it. We’ll also discuss a powerful and handy tool for iPhones that can resolve all kinds of iPhone software issues, including this iPhone update error.
What is the “Unable to Check for Update” issue on iOS/iPad devices?
The Unable to Check for Update error usually occurs when your iPhone or iPad cannot connect to Apple’s servers to download the latest software updates. Now, this can happen for a few more reasons:
- Date and Time Settings – If your device’s date and time are not set correctly, it can cause problems when trying to communicate with Apple’s update servers. This is a common problem, but the fix is really easy.
- Network Connectivity – If your iPhone or iPad has connectivity issues or unstable internet, it won’t be able to check for new updates. This could happen due to issues with your Wi-Fi network or cellular data connection.
- Storage issues – Not having enough storage space on your iPad can also lead to this update error message. iOS update files are large and occupy a good amount of storage. So, if your device is running out of storage, it may not be able to download and install the latest update.
- Software Glitches – Often, the “Unable to Check for Update” error can be caused by a software glitch on your device. This may be a temporary problem that in rare instances automatically gets resolved after some time, but it might also become a sign of a more serious issue with your iPhone or iPad’s operating system.
If you are facing an update error in Apple devices, chances are that it is happening because of any or all of the above problems. However, there could also be other culprits behind this problem. But don’t worry, we have got a fix that can help resolve this issue from the root.
Steps to Fix “Unable to Check for Update” Issue?
The “Unable to check for update” error can occur for many reasons. There are many methods you can try to fix it.
Connect with a stable network
Restart your router or reinsert your SIM card to check if that fixes the update error issue. You can connect to a stable internet or high-speed Wi-Fi network to resolve internet-related issues or network problems.
Restart your iPhone/iPad
If the problem is still unresolved, it could be a software glitch on your iPhone or iPad. In that case, you can try restarting your device. Restarting your device will remove any temporary glitches or issues.
This may easily fix the “Unable to Check for Update” error. However, if you are unable to restart your iOS device normally, you can try to do a force restart.
Check the date and time
Check your iPhone or iPad’s date and time settings to ensure they are correct. Incorrect date & time settings can cause intercommunication issues between your iOS device and Apple’s update servers.
- Go to Settings on your device.
- Go to General > Date & Time.
- Check if the “Set Automatically” option is turned on or not.
Now, your Apple device should be able to check for updates without any problems.
How to Repair your iPhone to fix the “unable to check for update” error?
If you are still facing the update error issue even after doing a force restart on your iPhone device, you can try to repair the existing iOS on your iPhone. Now, repairing your iPhone does not mean that you need to give your iPhone device for repair. Instead, it is a tool that can help you fix any software glitch on your iPhone. However, it is a safer and highly affordable version of an iPhone repair that you get from a service center.
Here’s how to try out this fixation:
- Download and install Stellar Toolkit for iPhone on your Windows or Mac device, this software is compatible with both.
- Connect your iPhone to the computer with the help of a lightning USB cable.
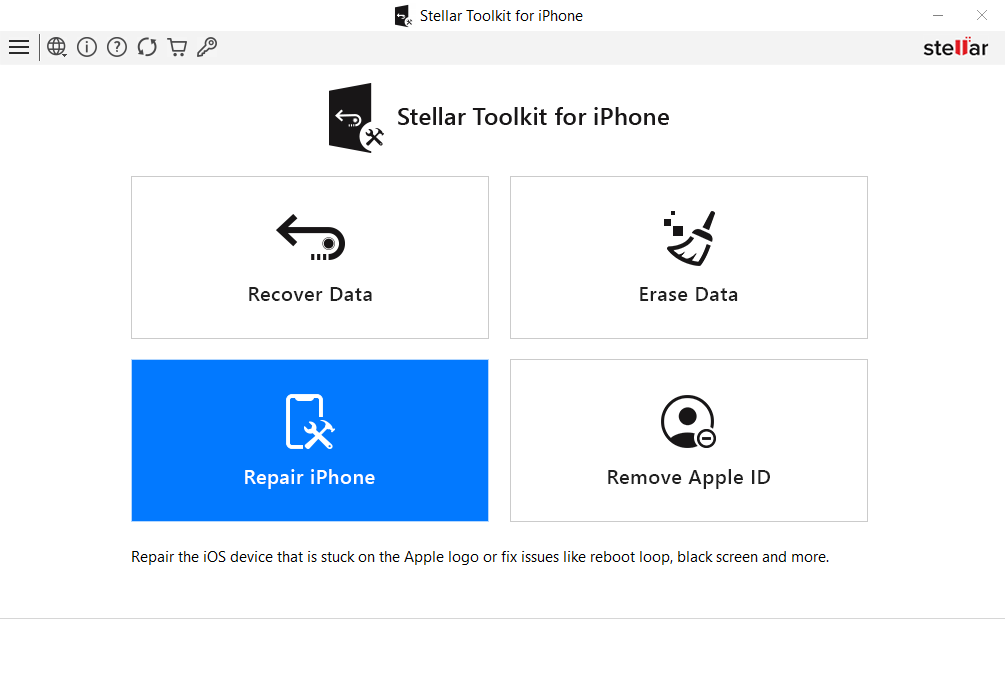
- Run this software and select the “Repair iPhone” module.

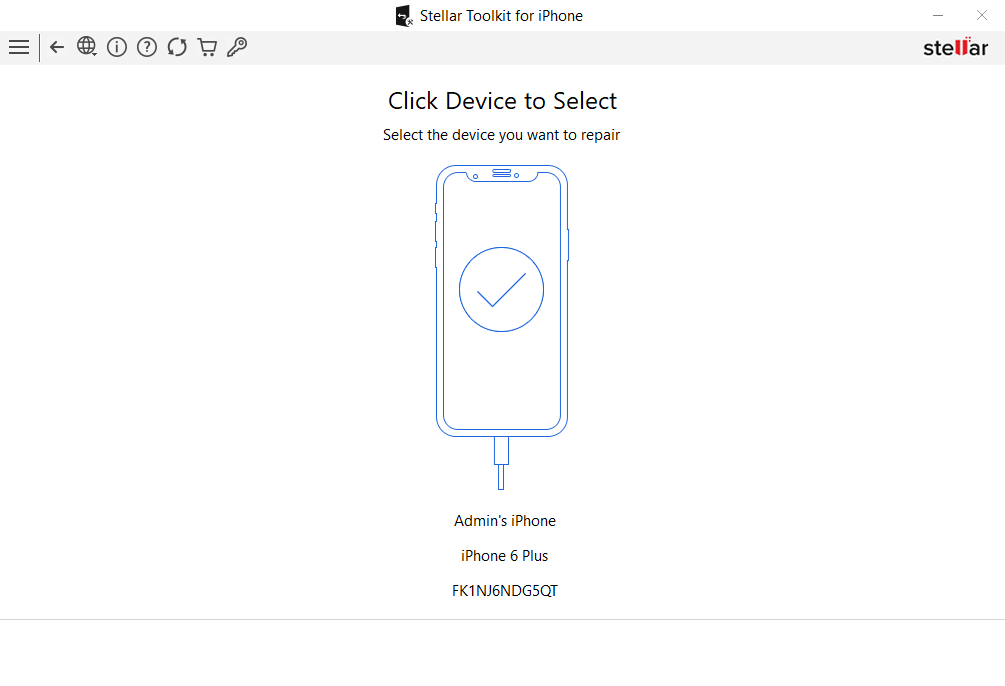
- Click “Next” on the repair iPhone page, then on the Click Device to Select, and select the iOS device.

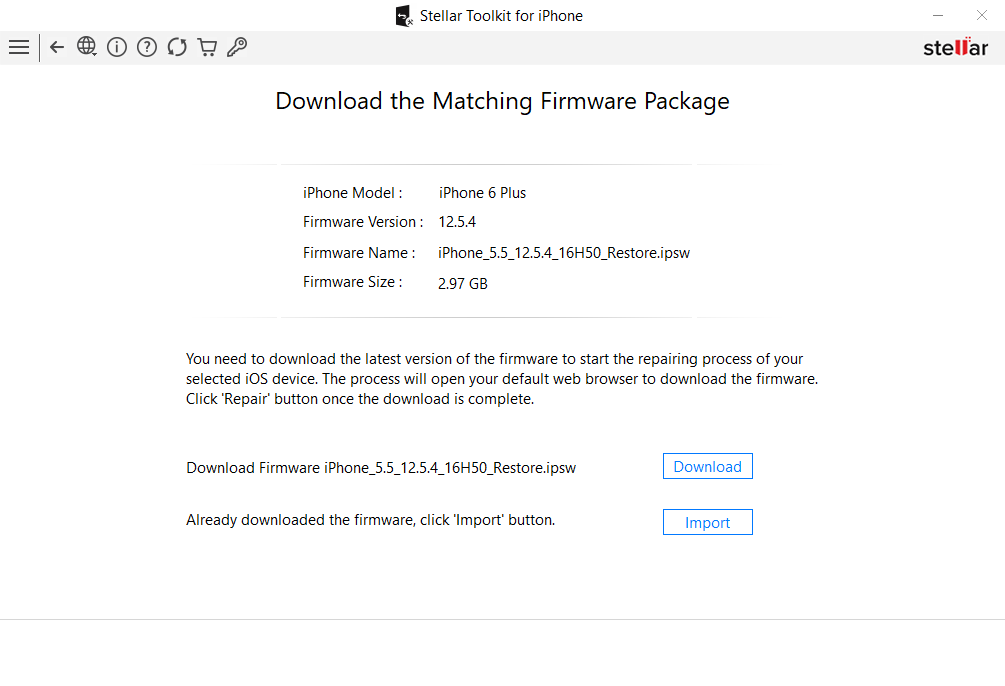
- In the “Download Matching Firmware Package” screen, click on “Download” and the software will start downloading the latest firmware file for your iPhone.

- Next, click on “Import” to move the downloaded file to start the repair process.
- In the Download the Macthing Firmware Package, click on the “Repair” button.
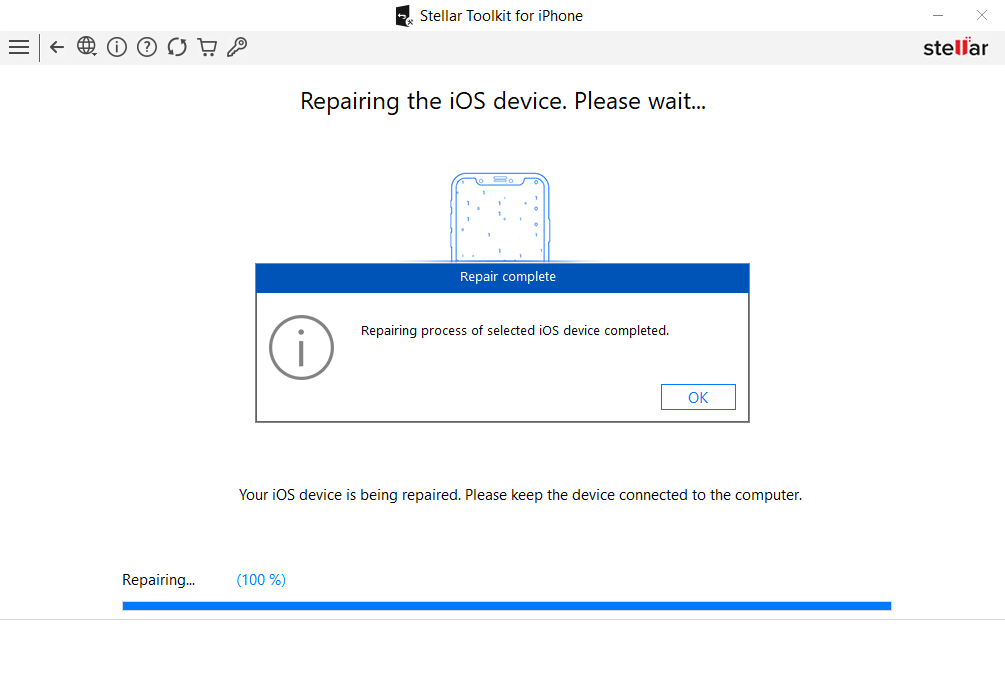
- Now “Repairing the iOS device, please wait” screen will display the repair progress.
- Once the process is completed “Repairing process of the selected iOS device is completed” message will show on your screen.

The above-mentioned steps and method involve using an advanced software – Stellar Toolkit for iPhone. The Repair iPhone feature in this tool installs a clean copy of the existing version of the iOS firmware, which is fresh in terms of bugs and glitches in your iOS device. However, this does not harm any of your files or data. Your valuable data is safe inside your device while you get a better and smoother version of your old iPhone.
This is a permanent way to fix any software glitch on your iPhone or iPad. However, if you fear data deletion when running this tool, you can rest assured that you will get it back. This software also offers a Data Recovery tool to get started with iPhone data recovery after any kind of data loss.
Endnotes
If the normal troubleshooting steps don’t work in your favor, then Stellar Toolkit for iPhone will be required to fix the “Unable to Check for Update” error. After trying out the methods outlined in the blog, you can retry updating your iPhone; if you are still facing the same error, check for any underlying hardware issues or try connecting with an authorized service center that can help you deal with this. Let us know if you have any questions or need assistance with any of the above processes.
Was this article helpful?