As you know, macOS and Windows have their native file systems, such as APFS, NTFS, and HFS. A WD My Passport formatted with a Mac file system will fail on Windows and vice-versa. Thankfully, FAT32 and ex-FAT formats have survived to date, and these are the file systems to make your WD My Passport work properly with Mac and PC. Check out the screenshot below to see the compatibility of WD My Passport with macOS and Windows:
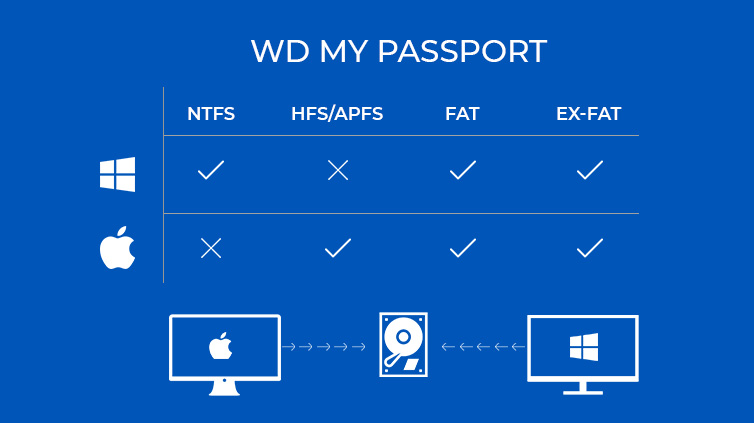 WD My Passport file system compatibility
WD My Passport works differently on Mac and PC due to their native file systems. It’s much easier on Windows and way more complicated for Mac users. But don’t panic. With our guide, you’ll effortlessly master formatting WD My Passport both on Mac and PC.
Warning: Erasing WD My Passport empties the drive. Don’t forget to create a backup before proceeding.
1. Connect Western Digital My Passport drive to your Mac.
2. Wait for the new hard drive to be detected (its icon will appear on your Desktop).
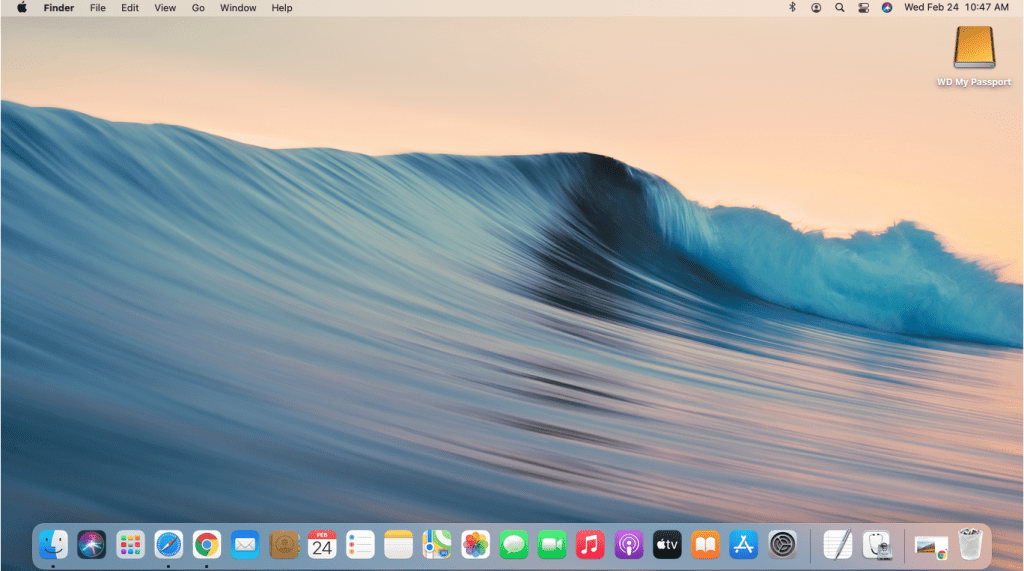 WD Passport icon on Desktop
3. Next, go to Finder > Applications > Utilities and open the Disk Utility.
 Launch Disk Utility from the Applications folder
4. Choose the Western Digital hard drive icon in the Disk Utility sidebar > click the Erase tab.
5. Once in the Erase dialog window, select the Volume Format drop-down list > choose APFS (native file system), MS-DOS (FAT), or ex-FAT.
Note: The ex-FAT file system is the best choice for formatting WD My Passport on Mac.
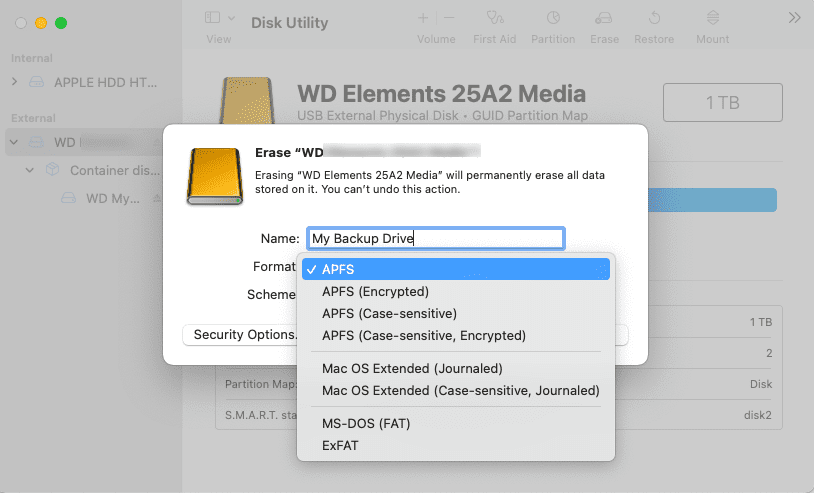 Erase dialog window in Disk Utility
6. Hit the Erase button. The macOS will erase data on the drive and reformat it to APFS, FAT32, or ex-FAT format. Once formatting is done, you can use the drive on your Mac as a regular hard drive.
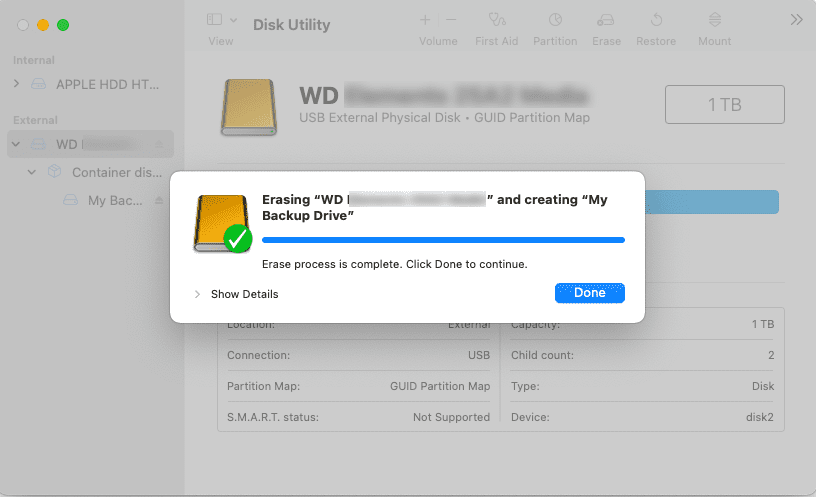 WD My Passport Erased via Disk Utility
To format WD My Passport for Windows, do this:
1. Connect your WD My Passport hard drive to your Windows PC through the USB cable.
2. Wait until Windows automatically detects the external hard drive and configures it as an expansion drive.
3. Click the Start button and type this PC > select This PC app. A new Windows Explorer window will open. You’ll see a list of installed drives and their drive letters on the left side of the screen.
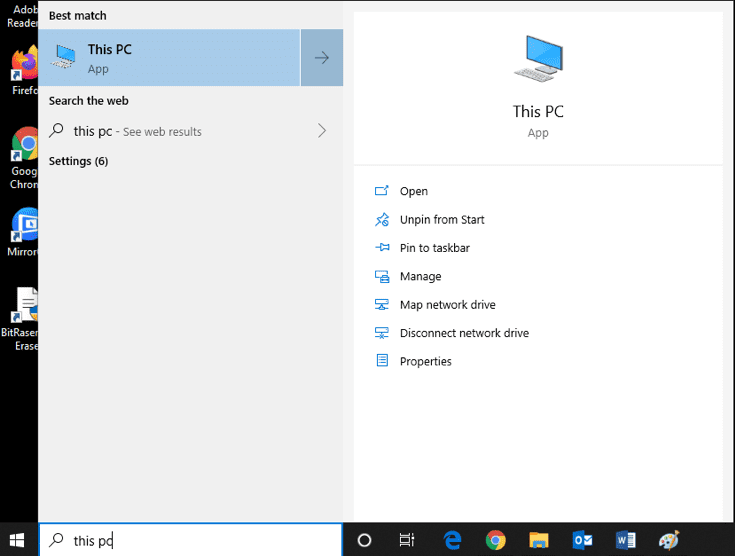 This PC app on Windows
4. Locate the icon assigned to Western Digital My Passport drive and right-click the connected drive icon > click Format in the pop-up menu.
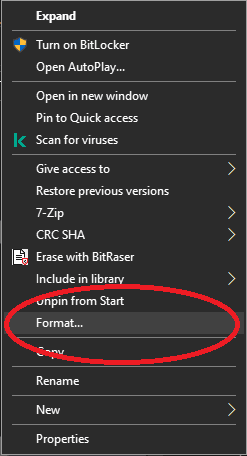 Shortcut Menu > select Format
5. Select the File System from the drop-down list and choose either ex-FAT or FAT32.
6. Enter a relevant name in the Volume label field.
7. Go with Quick Format > click Start.
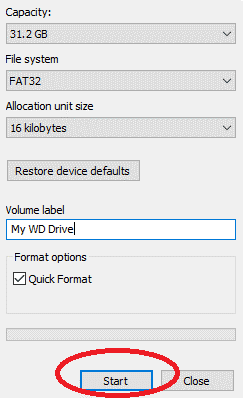 Specify Format Details for WD My Passport
If you have accidentally erased your WD My Passport hard drive, the best way out is to use data recovery software for Mac and Windows, depending on which computer you have.
How to Recover Lost Data from WD My Passport on Mac?
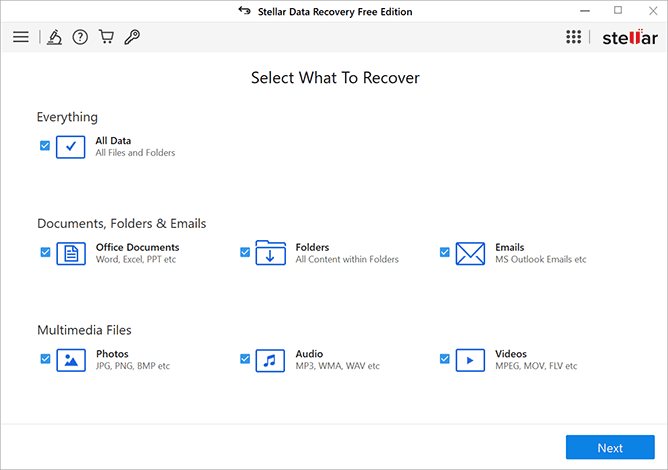
1. Install and launch Stellar Data Recovery Free Edition for Mac > select file type > click Next > choose WD My Passport.
 Stellar Data Recovery > Select What To Recover window
2. Toggle the Deep Scan option > click Scan. Wait till the scan is over.
Stellar Data Recovery > Select Location window
3. Preview your scanned files and select all the necessary ones > click Recover.
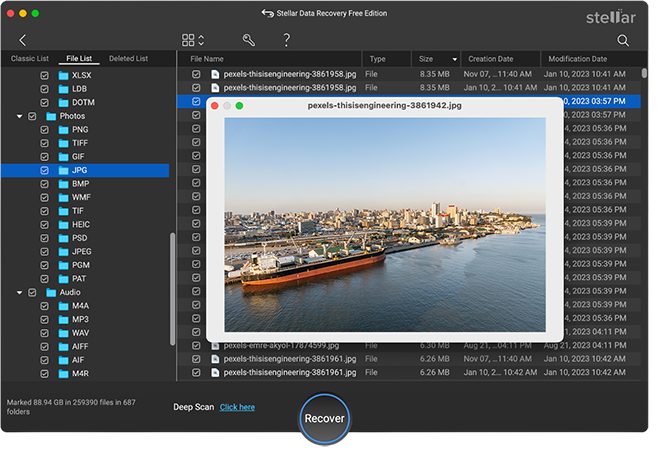 Preview files in the Stellar Data Recovery for Mac
4. Select Browse to specify the save location > press Save. Wait till the recovery is complete.
How to Recover Data from WD My Passport on Windows?
1. Install and run Stellar Data Recovery Free Edition for Windows.
2. Select file type > click Next. Choose WD My Passport in the Recover From window.
 Stellar Data Recovery for Windows > Select What To Recover
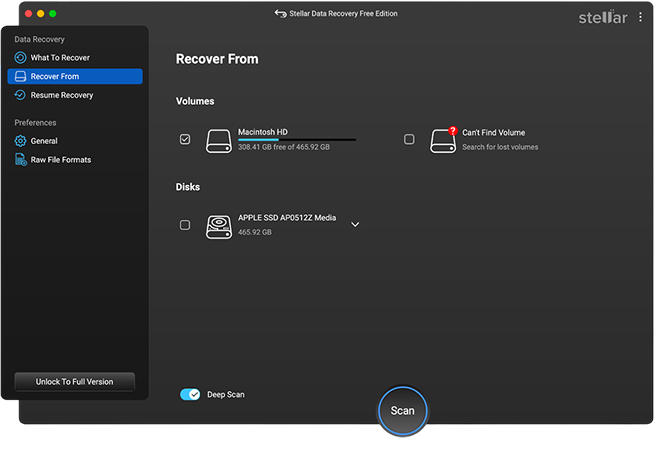
3. Turn on Deep Scan and click the Scan button. Wait till the scan completes.
 Stellar Data Recovery for Windows > Recover From
4. Preview and select files you want to recover and click Recover. Specify the drive location to save files > press Save. Wait till the recovery process is over.
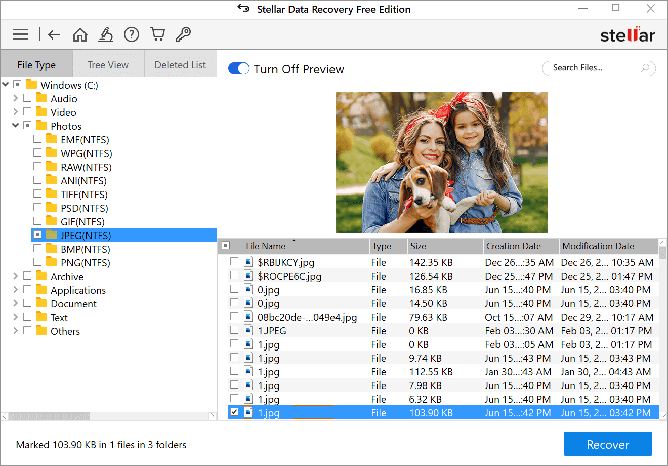 Preview files in the Stellar Data Recovery for Windows
Why Use Stellar Data Recovery for Mac and PC?
Stellar Data Recovery Free Edition (Windows or Mac) can scan your WD My Passport storage drive, preview recoverable files for free, and recover up to 1 Gigabyte of data without subscribing. However, if you need unlimited data recovery capability, you’ll need to upgrade the software from Free Edition to Professional Edition. Stellar Data Recovery has a 30-day money-back guarantee, so you can upgrade with confidence.
- Format your Western Digital My Passport external hard drive to FAT32 or ex-FAT format to transfer the data between a Mac and Windows system conveniently.
- Specific third-party systems, like Digital Camcorders and Sony PlayStation, need the drives to be formatted in either FAT32 or ex-FAT format to perform read and write operations. Check this before selecting a file format.
- FAT32 supports a maximum volume of up to 8 Terabytes and a maximum file size of up to 4 Gigabytes. Ex-FAT supports a maximum volume size of up to 1 Petabytesyte and maximum file size of 16 Exabytes.
- Due to the limitation of FAT32, it might affect Mac’s and PC’s performance. Therefore, it is better to choose ex-FAT instead.
- Like FAT32, ex-FAT is not a commonly used file system, due to which its support may vary among third-party devices.
- The corruption chances of the external drive increase if used on both Mac and PC systems regularly. So, please back up the data before sharing it between the two computers.
Related reading:
Was this article helpful?