Apple constantly improves its operating system and launches new updates. It’s always recommended to update your Mac to the latest OS version. This way, your Mac or other devices stay secure and have fewer chances for performance failure. But what to do when trying to update your Mac you see the error “the requested version of macOS is not available”? Let’s figure everything out gradually.
Reasons why the Requested Version of macOS is not Available
You may face the “requested version is not available” issue when you want to update it using the Software Update tool in Mac’s System Preferences as well as from the App Store.
So what are the reasons for that?
The basic, nevertheless, common reason is a poor internet connection. The second possible cause is that the Mac version is too old to set up. Another explanation is that your device needs more space for the latest macOS update. And the final reason could be that your Mac simply can not detect any updates. Let’s move on to the possible solutions.
Steps to Fix the “Requested Version of macOS is not Available” Issue
I. Restart your Mac
Restarting your Mac is the simplest, however, most efficient solution to most issues.
Make it a habit to restart your Mac from time to time. This way, your computer will eliminate the software bugs stored in the background. As a consequence, your device will get rid of any errors connected to the OS.
Follow these instructions to reboot your Mac:
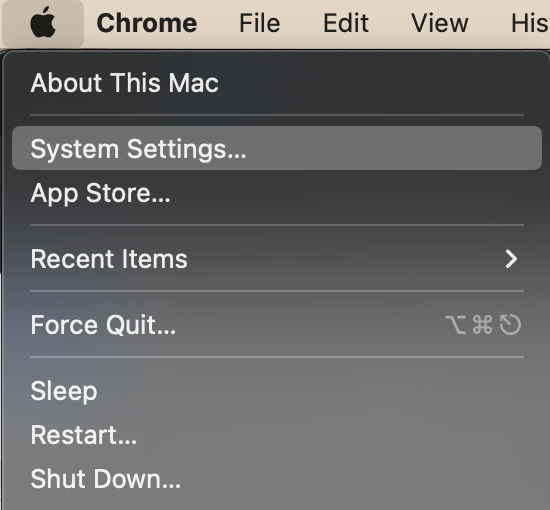
1. Go to the Apple logo in the left-up corner.
2. Click Restart.
 Apple logo > Restart
 After restarting your Mac, try to proceed with the macOS update again.
II. Check your Internet Connection
An unstable network connection can be the reason for the “requested version of macOS is unavailable” error. The best way is to reboot your router; you can try reconnecting your WiFi or connecting to your router with an ethernet cable. After you check your Internet connection, try to update macOS again.
III. Turn off your VPN/Firewall
This is not the most apparent reason, but turning off your VPN could be really helpful. In case you are using a VPN service, try to disable it.
Also, try turning off your Firewall:
1. Click on the Apple logo from the Mac menu, and select System Settings (System Preferences).
 Apple logo > System Settings
 2. Look for a Network.
3. Disable the Firewall toggle.
 System Settings > Network
 After doing so, try to proceed with the macOS update.
IV. Check the Storage on your Mac
Low storage space can not let your Mac proceed with a new version update. Having 20 to 30 Gigabytes of free space is recommended on your device.
Follow these steps to manage the Storage on your Mac:
1. Go to the Apple logo, and click About This Mac.
 Apple logo > About This Mac
 2. At the bottom, click More Info.
 About This Mac > More Info
 3. Scroll down to the Storage tab, and click Storage Settings.
 More Info > Storage Settings
 4. Look for large unused apps from Applications, Media files from Documents and delete them.
V. Sync Data and Time
Your Mac system searches for new updates from the Apple server. So if the date and time setup is incorrect, it can cause bugs in macOS updates.
Follow these instructions to check your data and time settings:
1. Go to the Apple logo, and click System Settings (or System Preferences).
 Apple logo > System Settings
 2. Go to the General tab, and look for Data & Time.
 System Settings > General
 3. You can see the Source tab; there should be Apple (time.apple.com).
 System Settings > General > Data & Time
 4. If the data and time are incorrect, click the Set button, fill in your admin password if required, and set up the correct ones.
VI. Compatibility Check
One of the possible reasons for the issue could be that your device simply doesn’t support the Monterey/Ventura update. Verify that your Mac is compatible with the new OS update.
It would be best to find out the Mac model you are using:
1. Go to the Apple logo, and click About This Mac.
Apple logo > About This Mac 2. Look for info such as MacBook Air (Retina, 13-inch, 2020).
 Apple logo > About This Mac
 3. Follow this link and check the compatibility list.
VII. Boot your Mac in Recovery Mode
Using the Recovery Mode will download and set up the latest version on the macOS available.
Please follow these steps to run your Mac into the Recovery Mode:
1. Completely turn off your Mac.
2. Turn your Mac on and instantly press and hold the Option+Command+R buttons on your keyboard. Keep these buttons until you see the Apple logo.
3. Fill in the admin password if required.
4. You should see the Utilities window now; choose Reinstall macOS, and click Continue.
 Utilities > Reinstall macOS
 5. Follow the steps you’ll see on the screen.
Before proceeding with any changes, ensure that your important files and data are safe. You could use the help of Stellar Data Recovery software, as it is developed specifically for such purposes.
Follow these steps to download, install, and run the app:
1. Open the Stellar Data Recovery software and select what files you want to restore.
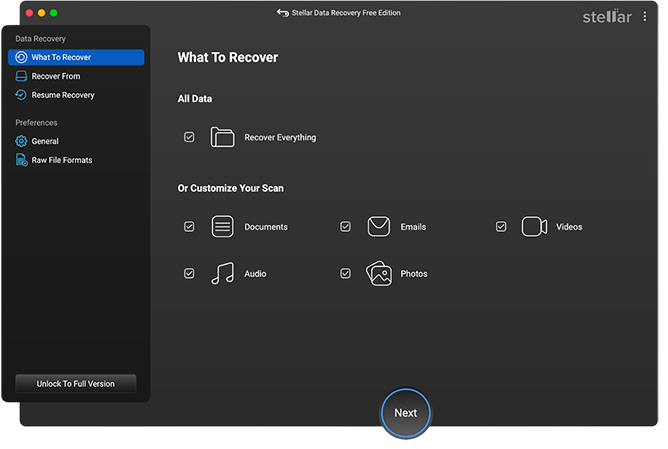 Stellar Data Recovery > Select What To Recover
 2. If you want to recover specific data, you can use a customized scan. Just turn off the Recover Everything toggle, and choose the files you want to bring back. Then click Next below.
3. Select the drive from which you want to restore your data, and click on the Scan option.
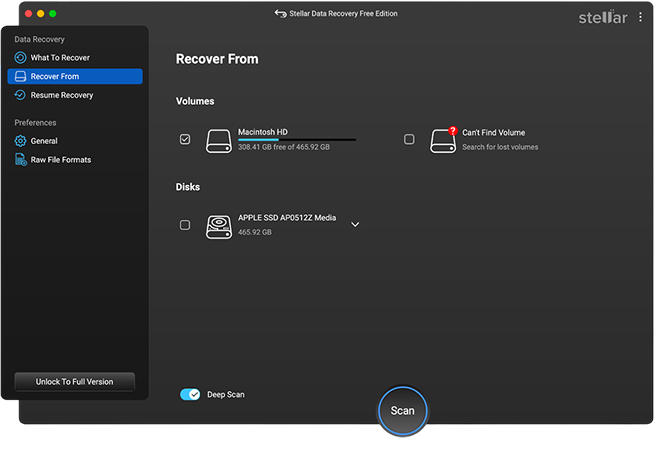 Stellar Data Recovery > Recover From window
 4. The scan process starts automatically. You can easily monitor it.
 Stellar Data Recovery > Scanning Process
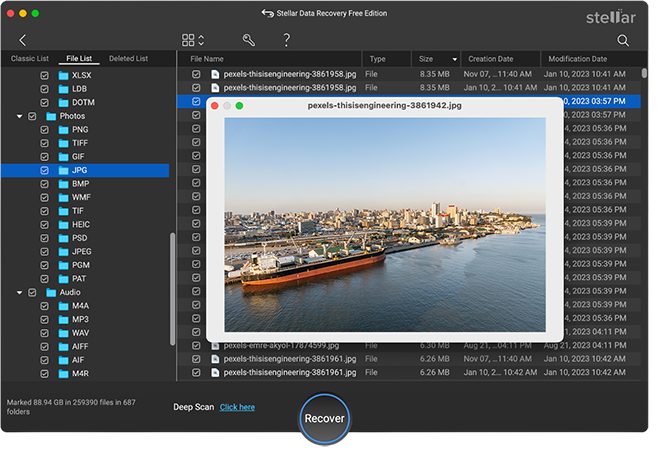
 5. After the recovery process is finished, the apps will list all restored data on the left.
6. You can see specific files/pictures/videos on the right by double-clicking on them. Just put the checkmark on the files you want to bring back, and click on the Recover button.
7. Provide the destination to save the data. You can select another drive or an external storage device.
Wrapping Up
In this article, we collected seven ways to fix the “requested macOS version is unavailable” error. You can try from the easiest to more advanced fixes. Remember to back up your files before any manipulation.
Related reading:
Was this article helpful?