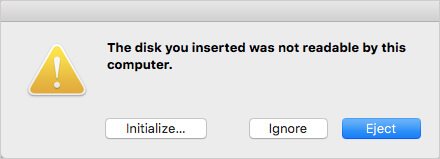
When connecting an external hard drive to Mac, users may face an error that says “the disk you inserted is not readable by this computer”. If the external hard drive doesn’t have critical data on it, you might be able to eliminate the error by formatting Mac hard drive with the Disk Utility. But what would you do if the data on the drive is important and you don’t have another backup?
Well, understanding the root cause behind it would be a good start!
Why does this Error Pop up?
Quite often, this error crops up after you update your macOS to the latest version. But that isn’t the only reason. Users can face the error at any time randomly when connecting an external hard drive to their Mac. Online technical discussions reveal that some users face this problem with only one drive, while others with every other drive.
We looked into this issue by comparing several user reports and procedures they used to solve the problem. According to our findings, these are a few common reasons that could result in this error message:
- Catalog file corruption
- Encryption of the drive
- Improper ejection of the drive
- Broken or corrupted drive
- Forced shutdown of the Mac while the drive is connected
Before you toss your external hard drive into the trash in despair, wait! There’s good news in store for you. There are several manual fixes to repair corrupted Mac hard drives that you can undertake without much difficulty. Let’s take a look at them one-by-one.
Some Basic Solutions to Fix the Error
To begin with, try performing some simple checks on your Mac to resolve the error.
1. Examine your Mac
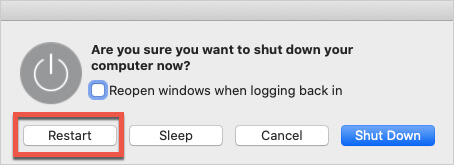
Connect a separate hard drive or storage device with your Mac. If you can open the drive and access the data on it normally, the problem isn’t with the system, but with the disk itself. But just to be sure, try restarting the Mac. If that doesn’t resolve the problem, check the installed drivers to ensure they’re all updated to the latest versions.
2. Verify whether the Drive is Encrypted
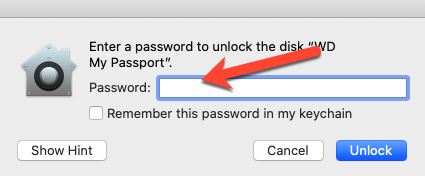
If you’re connecting an encrypted drive to your Mac, then too this error may arise. Sometimes, to ensure data privacy, users may encrypt mounted volumes as well as external hard drives. In such a case, encrypted hard drives can’t be accessed on a system without unlocking with password first. If you use multiple systems, both Windows and Mac-based, you might forget that the drive you’re connecting to your Mac has been encrypted.
If so, connect it to a Windows computer and disable the encryption. Then try reconnecting it to the Mac to see if resolves the problem.
3. Use Disk Utility to Check the File System of the Drive
Examine the file system on the external hard disk to see if it is compatible with macOS. For this, use the following steps:
- Launch Disk Utility by following this path: Applications -> Utilities -> Disk Utility.

- Select the drive to be repaired and check its file system.
- If it’s a non-compatible file system, change it into the one that is supported by macOS.
If you’ve tried these basic solutions and the problem still persists, move on to more advanced fixes given below.
Advanced Solutions to Repair Mac Hard Drive
At this point, you should know that most likely, there’s an issue with your external hard drive. To find out if that’s the case and to repair your Mac hard drive, you’ll need to use the macOS Disk Utility application.
1. Run Disk Utility First-Aid
In macOS, First-Aid is a built-in feature that is used to diagnose and repair file system issues on mounted storage drives. Using this feature, you can fix the “not readable” error. Follow these steps:
- Launch Disk Utility by going to Applications -> Utilities -> Disk Utility.
- Select the drive to be repaired and then select the Run First Aid option located on the top of the screen.
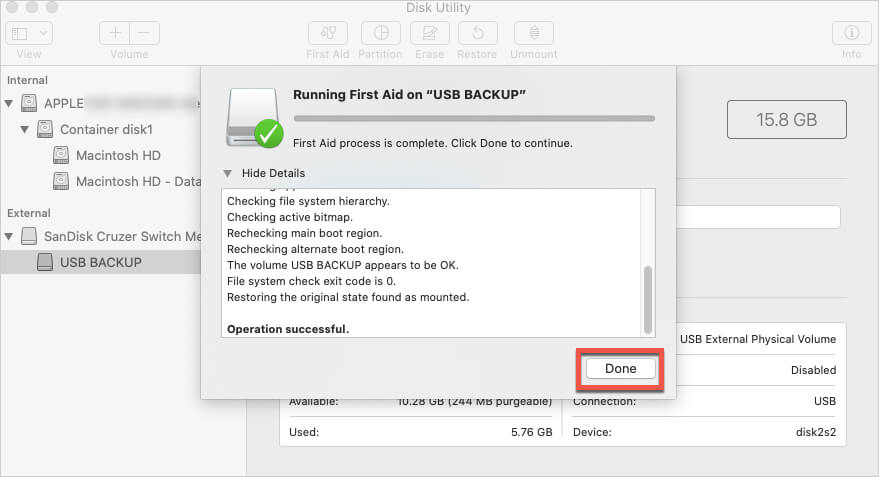
- A pop-up will appear asking for confirmation. To continue, select the Run option.
When this operation is complete, verify if the drive can be used normally. While it should work in theory, in some circumstances, the first-aid procedure remains unsuccessful and you get a notification that says, “first-aid has failed.” If this happens, don’t be concerned. You have the option of erasing the drive completely to solve the “not readable” issue.
2. Backup & Erase the Mac Drive
If you’ve tried all basic and advanced fixes but the drive you inserted is still being shown as “not readable and inaccessible” by your Mac, you can erase the drive to return it to its original state and then use it. But you should know that this procedure will delete all the data present on the drive. Thus, you should ideally have a backup of all your essential data before doing this.
However, if your hard drive has become non usable, it might be difficult for you to back it up. In this case, instead of worrying about your lost data, you should rely on a powerful data recovery software for Mac, such as Stellar Data Recovery Professional for Mac to restore all seemingly lost files even after hard drive format.
Before we move onto discovering the data recovery process, here’s how you should properly erase Mac hard drive:
Note: Proceed with the below process only if the data recovery isn’t your priority.
- Navigate to Disk Utility under the Applications folder and launch it.
- Select the unreadable drive and then select the Erase option from the top menu.
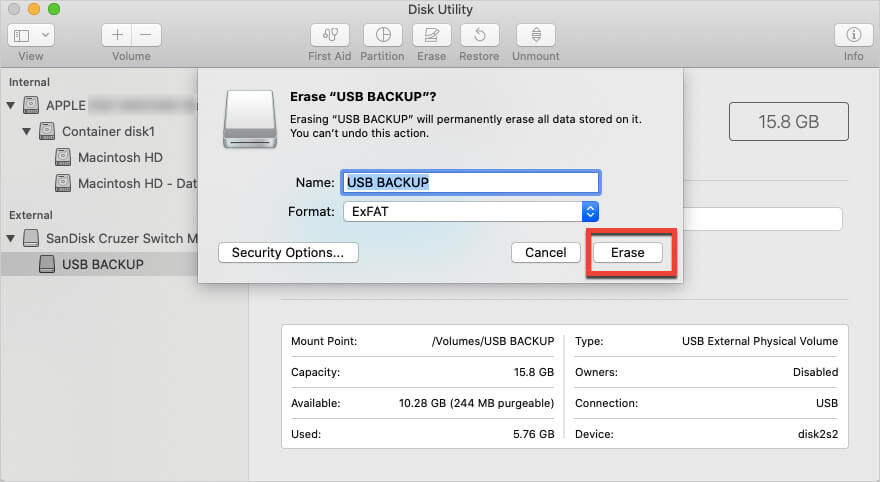
- When prompted, rename the drive and select an appropriate format for it.
- Continue by clicking on the Erase option.
- After the erasing process is finished, click on Done.
Now check whether the disk is readable or not.
And now, let’s move on to recovering the files that have been lost due to the formatting operation.
Stellar Data Recovery Professional for Mac is an application that enables Mac users to restore vital data that has been deleted or formatted accidentally. The software can recover more than 300 file types associated with images, documents, and audio and video files within a few clicks. The recovery process used by this product is quite straightforward, provided that the data hasn’t been lost completely due to overwriting. You can read more about data recovery from Mac with the help of this software here.
Here’s how to execute the data recovery on Mac with the help of Stellar Data Recovery Professional software:
- Download and install Stellar Mac Data Recovery Professional.
- Launch the software.
- Select the types of files you wish to recover and click Next.
- Choose the drive from which the files are to be recovered.
- Turn on Deep Scan and continue by clicking the Scan button.
- When the scan is finished, recovered files will appear. Save them to a desired location.
Watch this video to recover delete data on macOS Ventura:
In Conclusion
“The disk you inserted was not readable by this computer” is a common error which may arise on a Mac when you try to connect an external hard drive to it. If you’re having similar problems with your external Mac hard disk, go ahead and use the fixes given in this article. But if the fixes don’t work, be ready to format your hard drive to make it usable again. Of course, you may lose some important data after such a format, but you shouldn’t worry. With a few simple clicks, you can scan and retrieve all your files with Stellar Data Recovery Professional. Don’t forget to check out and compare other variants of Stellar Data Recovery software available for macOS.
Was this article helpful?