When switching QuickBooks to multi-user mode, users often receive the error code H202. This error usually occurs when the multi-user connection to the server computer, storing the QuickBooks company files, or QBW files, is blocked. Due to this, the user’s workstation system fails to connect to the host system or server. The inability to communicate with the server computer can prevent the user from accessing the QuickBooks company file. Let’s know more about the QuickBooks error H202 and the solutions to fix it.
What is QuickBooks Error H202?
On a multi-user network, QuickBooks company files are stored on a server or host computer. All other computers connected to the network that don’t host the QBW files are called workstations. When a workstation fails to access the company file, the user receives the H202 QuickBooks error. The complete error message reads as follows:
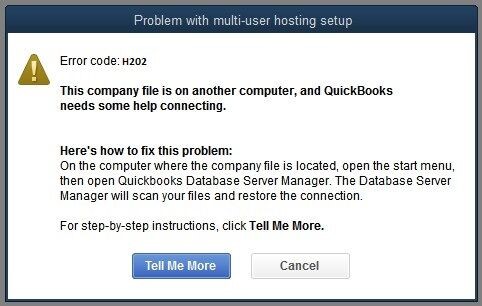
Error code: H202
This company file is on another computer, and QuickBooks needs some help connecting.
Here’s how to fix this problem:On the computer where the company file is located, open the start menu, then open QuickBooks Database Server Manager. The Database Server Manager will scan your files and restore the connection.
YouTube Video – QuickBooks Error H202What Causes the QuickBooks Error H202?
The QuickBooks error H202 can occur due to one or more of the following reasons:
- Incorrect hosting configuration settings.
- Server computer’s firewall is blocking incoming and outgoing communication.
- Conflict with DNS server.
- Outdated QuickBooks Desktop application.
- Corruption in QuickBooks company file.
- QuickBooks is unable to get the IP address of the host system or server hosting the company file.
- Internal QuickBooks services, like QuickBooksDBXX or QBCFMonitor, aren’t running on the server computer.
- Network data file (.ND) is corrupt or damaged.
- Internet connectivity issues.
- Using incorrect path to access the company file.
- Lack of permissions to access the folder where the company file is saved.
Solutions to Fix the QuickBooks Error H202
Intuit recommends using the QuickBooks Database Server Manager to fix the H202 error. But if you’ve already tried it and still getting the error, follow the given solutions:
NOTE: Before proceeding to the solutions, it is suggested to back up your QBW file. In case something goes wrong, the backup can come in handy.
Solution 1: Test Network Connectivity
Network or internet connectivity issues can prevent you from accessing the QBW file on the host system, resulting in the error. So, first thing to do is check the network/internet connection. For this, you can ping your server from the workstation on which you’re getting the error H202.Follow these steps to ping your server:
Note: If you don’t know your server name, turn on “Network Discovery” on your server computer and the workstation on which you’re receiving the error.
- Type run in the Windows search bar to open the Run utility.

- In the Run window, type cmd, and click Enter.
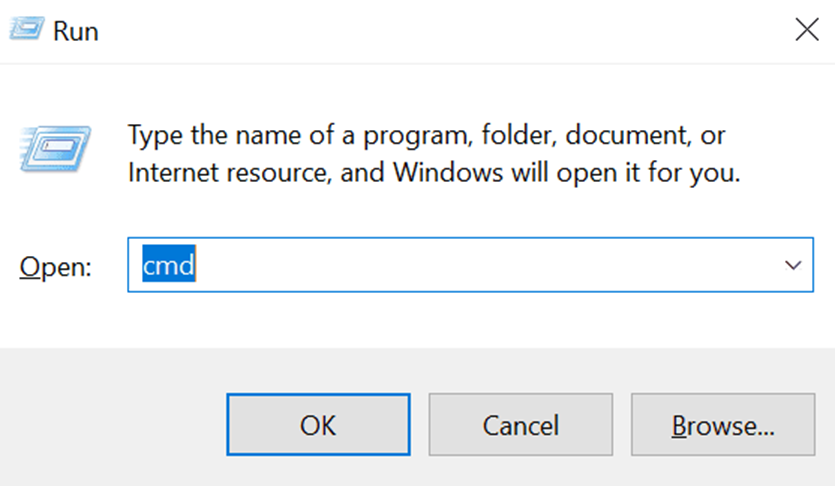
- In the Command Prompt window, enter ping [servername] and press the Enter key.
Note: Make sure to keep space between ping and the server name. Also, don’t include brackets around the server name when executing this step.

If you detect packet loss or get a slow reply, it means the network needs to be repaired. In that case, proceed to Solution 2.
Solution 2: Resolve Network Issues using QuickBooks File Doctor Tool
You can run QuickBooks File Doctor Toolto resolve network issues. It can help you resolve the H series error, including H202. To use this tool, you need to download and install the QuickBooks Tool Hub. For more information, read this: Fix company file and network issues with QuickBooks File Doctor.
If the QuickBooks error H202 still persists, follow the next solution.
Solution 3: Configure Firewall Settings for QuickBooks Desktop
The QuickBooks error H202 can occur if the firewall is blocking the QuickBooks programs or files. You can check that the server computer’s Firewall isn’t blocking the QuickBooks. You need to ensure that the ports 80, 8019, and Dynamic database ports for QuickBooks are opened in Firewall settings. For detailed instructions, read this: Configure Firewall and Internet security settings for QuickBooks Desktop.
Once you’ve reconfigured the Firewall settings, try opening QuickBooks on your workstation in multi-user mode. If the problem persists, proceed to the next solution.
Solution 4: Make Sure the QuickBooks Services are Running
If some QuickBooks services, such as QuickbooksDBXX or QBCFMonitorService, are not running on the server computer, then you may also encounter the error H202. Follow the steps listed below to check if the QuickbooksDBXX services are running:
- Type Run in the Windows search bar.
- In the Run window, type services.msc and then hit Enter.
- In the Services window, find and double-click QuickBooksDBXX.
Note: Change ‘XX’ with your version of QuickBooks.
- The QuickBooksDBXX Properties window is displayed. Select Automatic as the Startup Type.
- The Service status must be set to either Running or Started. Or else, select Start.

- Next, choose the Recovery tab.
- Choose Restart the Service from all three drop-down menus: First failure, Second failure, and Subsequent failures.
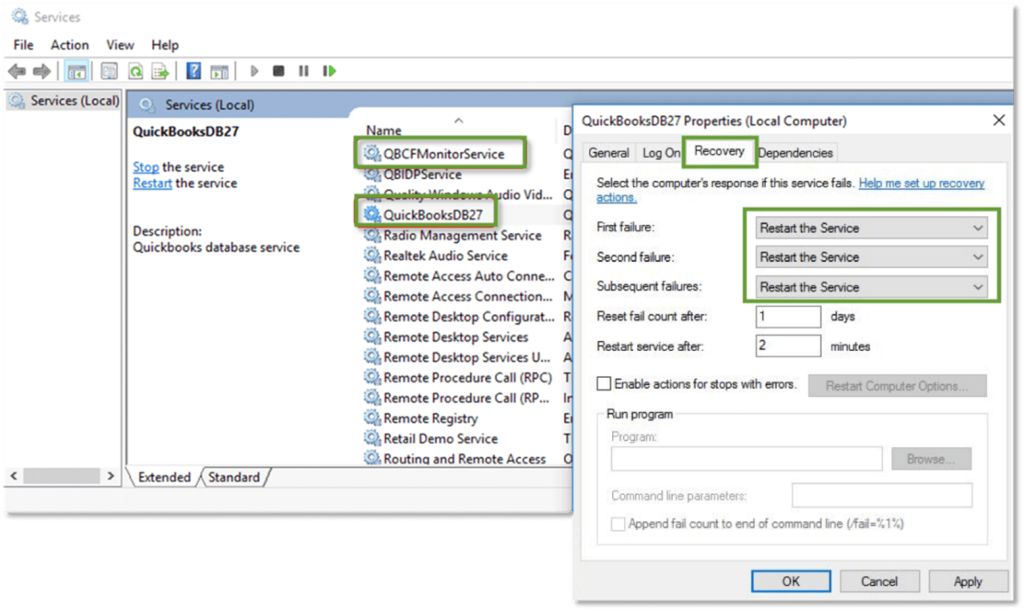
- Click Apply and then click OK to save the changes.
Repeat the steps to check and start QBCFMonitorService. Once you’ve completed the steps, open QuickBooks on each workstation. Click the File menu and choose Switch to Multi-user Mode option to check if the problem is fixed.
Solution 5: Add your Server to Windows Hosts File
You can resolve the QuickBooks error H202 by adding your server to the Windows hosts file. This can help QuickBooks Desktop to properly locate and connect to the server hosting the company file. To add your computer server to the Windows hosts file, you will need to edit the file. To do so, follow these steps:
- Browse any of the following paths to open the Windows hosts file (on the computer getting the error):
C:\Windows\System32\Drivers\Etc.
C:\Windows\Syswow64\Drivers\Etc.
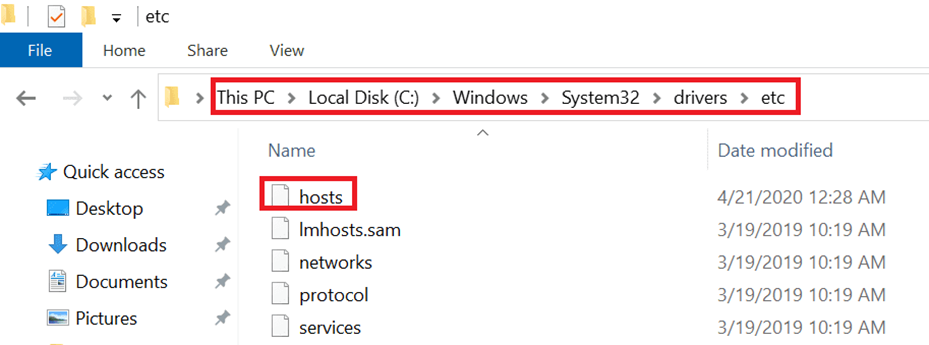
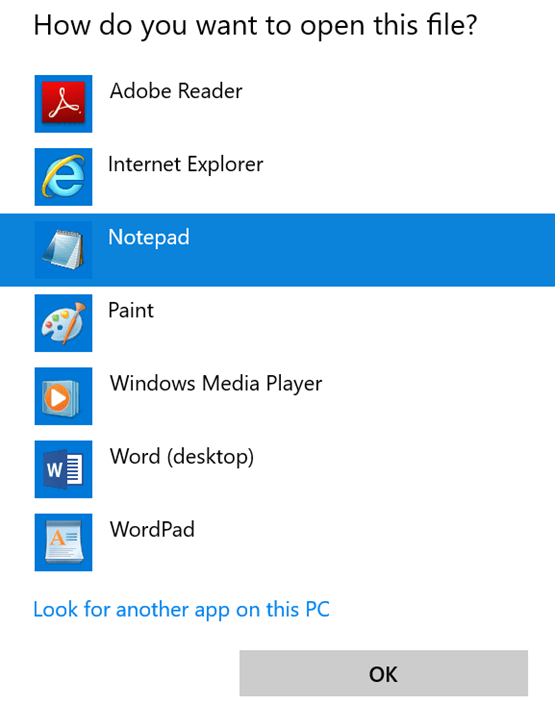
- Double-click the hosts file.
- When prompted with ‘How do you want to open this file’, choose Notepad.
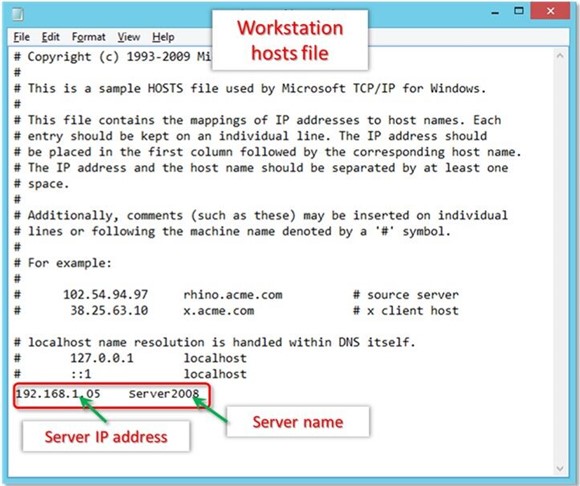
- In the hosts file, after the last IP address, enter Server’s IP address followed by server name.
Note: Use the TAB key instead of space bar for separating IP address and server name.
- From the File menu, choose Save.
- Click Exit.
After executing the above steps, try opening the company file in multi-user mode. If this doesn’t work, proceed to the next solution.
Solution 6: Create a New Folder for QBW File
Sometimes, creating a new folder for the QuickBooks company file can help resolve the H202 error. It eliminates the path conflicts with the existing file. Here’s how to create a new folder for your QBW file:
- On the server computer, create a new folder.
- Share the folder and set up the folder and Windows access permissions to share company file.
- Copy the QuickBooks company (QBW) file to the new folder.
- Open your company file in multi-user mode again.
Solution 7: Set Hosting to Local Files
If the QBW file is hosted on the client system instead of server system, this can result in H202 error. To resolve this, follow the below steps:
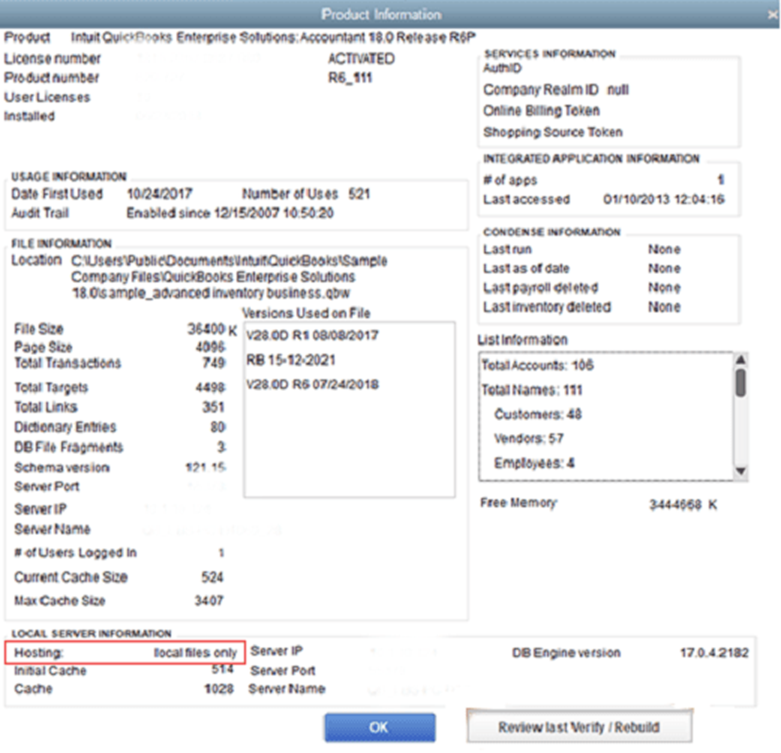
- Launch QuickBooks and press F2 to open the Product Information screen.
- In the lower left corner, select Hosting to reflect ‘local files only’ under Local Server Information.
Solution 8: Restart QuickBooks Database Server Manager
Many QuickBooks users have reported that restarting the Database Server Manager helped them resolve the H202 error in QuickBooks. You can also restart the Database Server Manager and see if it helps. Here’s how:
- Open the Run window, type services.msc, and then click OK.
- Right-click QuickBooksDB19 (2009), QuickBooksDB18 (2008) or QuickBooksDB17 (2007) and select Stop.
- Right-click again on the service and select Start. Then, close the window.
Solution 9: Recreate the .ND File
The Network Data (.ND) files are important configuration files that allow the QuickBooks application to access the company file on a network. If these files get corrupted/damaged, then you may encounter the QuickBooks error H202. You can recreate the .ND files to fix the issue. Follow the below steps:
- Go to the company file folder.
- Search for the .ND file. It is with the same name as the company file but with .ND extension.
- Right-click on the file and then select Rename.
- Give it a different name.
Similarly, rename each .ND file. Once you renamed the files, QuickBooks will automatically create the new ones.
Solution 10: Repair your QuickBooks Company File
Corruption in QuickBooks company file is also one of the reasons behind the QuickBooks error H202. If the QBW file is corrupted or damaged, you can use the in-built tool in QuickBooks – Verify and Rebuild – to repair the company file. It can rebuild the QuickBooks company file and helps resolve minor corruption-related issues. If the Verify and Rebuild utility fails to repair the company file, it indicates your company file is severely damaged or corrupt. In such a scenario, using Stellar Repair for QuickBooks® software can help. The software can repair the severely corrupted QuickBooks company file and restore all the data to a new QBW file. This helps you fix the corruption-related errors in QuickBooks.
Why use Stellar Repair for QuickBooks® Software?
- Repairs severely damaged and corrupt QuickBooks company (QBW) file, without making changes in the original file.
- Can help eliminate recurring corruption-related errors, application freezes, and data loss risk.
- Recovers all the data of company, its customers, vendors, and employees.
- Interactive user interface that makes it easy to repair the QBW files.
- Thoroughly scans the corrupted QBW file and displays preview of recoverable data.
- Can recover data from QuickBooks backup file (QBB).
- Supports QuickBooks 2021 and all the lower versions.
Final Words
QuickBooks can throw the error H202, when it fails to establish connection with the company file. This post covers various solutions that can help you get rid of this error. If the error has occurred due to corruption in QuickBooks Company file, you can use Stellar Repair for QuickBooks® software to repair the QBW file. The software can repair highly corrupted QBW files and restore all the data with complete integrity.
Was this article helpful?