Be it a laptop or a PC, no device guarantees a lifetime of error-free experience. New errors keep emerging and Windows keep finding ways to tackle them. Once such error bugging the users lately is the stop code – netwtw08 sys error.
Netwtw08.sys is an Intel Wi-Fi driver file. This error usually occurs due to file corruption or outdated drivers on your system. You may encounter this stop code showing up with Blue Screen of Death (BSoD) and different error messages, including:
Seeing a blue screen on your system might scare you for a moment, but no worries! The error is fixable. Here are some easy-to-apply methods to fix the error.
How to Fix Netwtw08 sys BSoD Error?
#1 Run BSOD Troubleshooter
A Windows system comes with a built-in troubleshooter that can fix multiple errors. You can try running the BSoD troubleshooter through the system setting to fix this blue screen error. Follow the given steps:
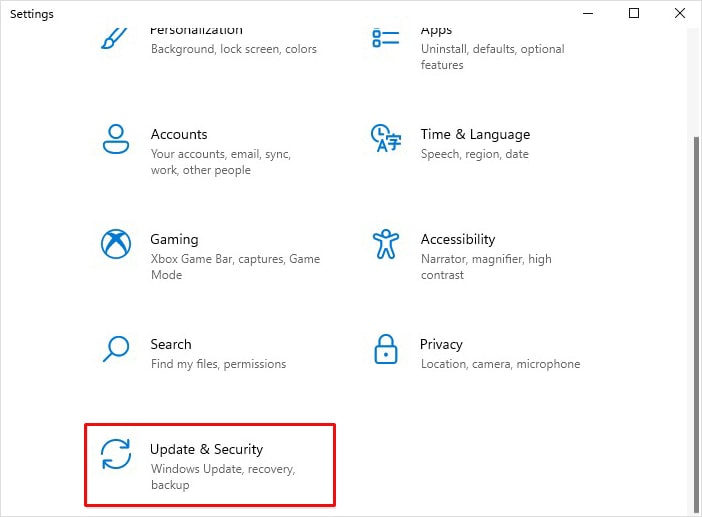
- Press Windows + I to open Settings, scroll down to Update & Security and open it.
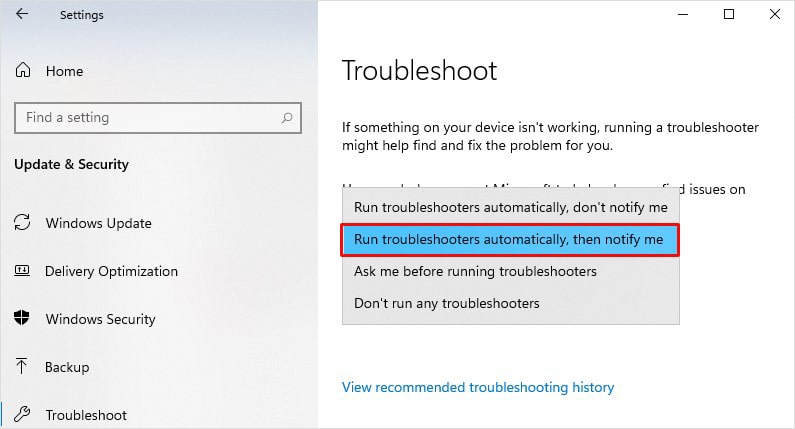
- On the left panel, click Troubleshoot and then choose ‘Run troubleshooters automatically, then notify me.’
- The troubleshooting process will initiate. Don’t interrupt and wait until the process is completed.
- After completion, restart your system and check if the error is resolved.
#2 Install Windows Updates
Windows keeps releasing security patches and system updates, including device driver updates. Therefore, you may try installing a Windows update. As the problem is primarily due to outdated or corrupted drivers, installing updates may help fix the issue. To do so, follow the given steps:
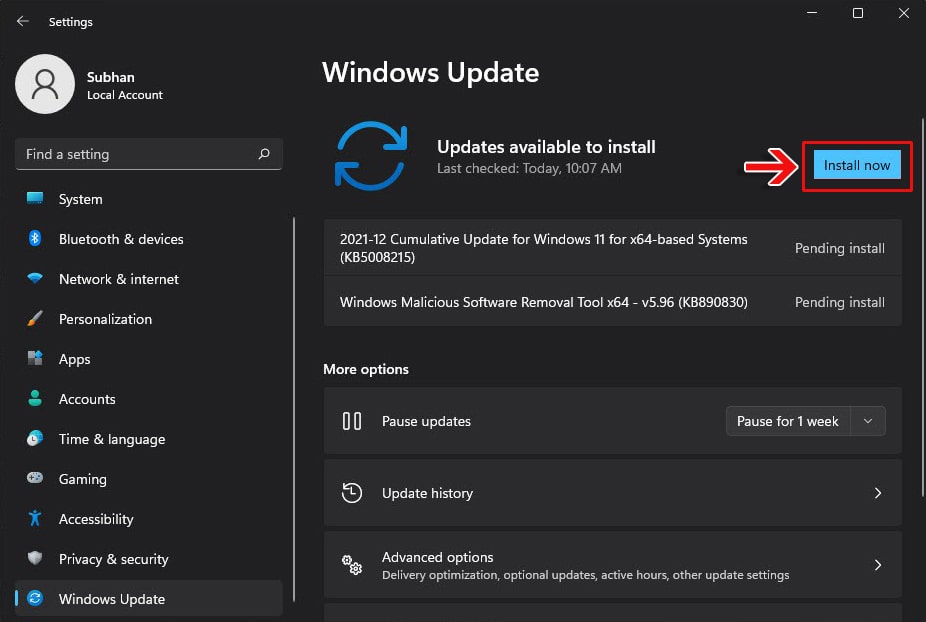
- Open Settings and follow Update & Security > Windows Update.
- If you see a list of pending updates, click on Install now.
- After completion, click Restart now. Once the system reboots, check if the error is fixed.
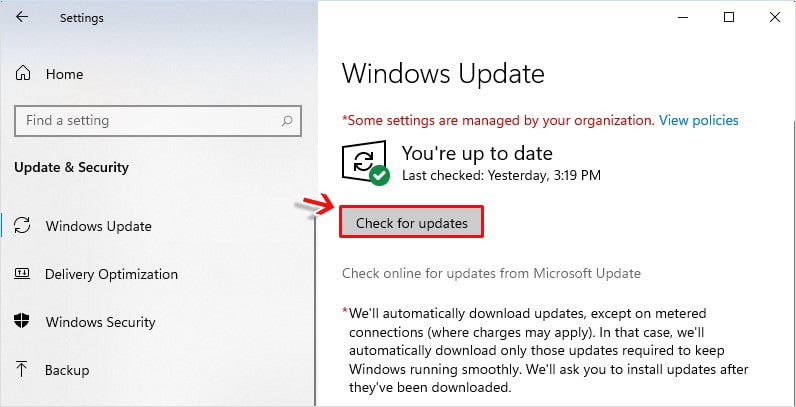
- If there is no list of updates, click ‘Check for updates’ and proceed with the instructions given on the screen.
- Once done, reboot your system and see if the error is gone.
#3 Update Wi-Fi Drivers
If installing Windows updates don’t help resolve the error, you can try updating the Wi-Fi drivers manually from Device Manager with the following steps:
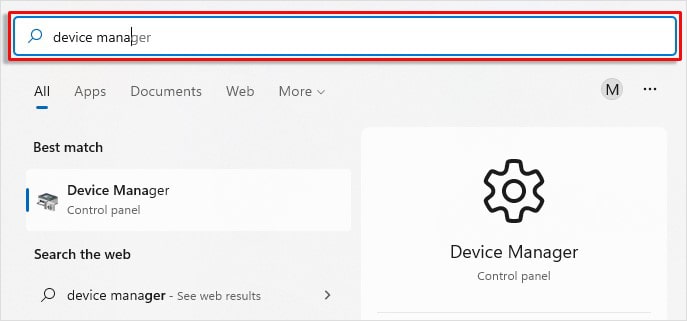
- Open the Search bar, type Device Manager, and click on it.
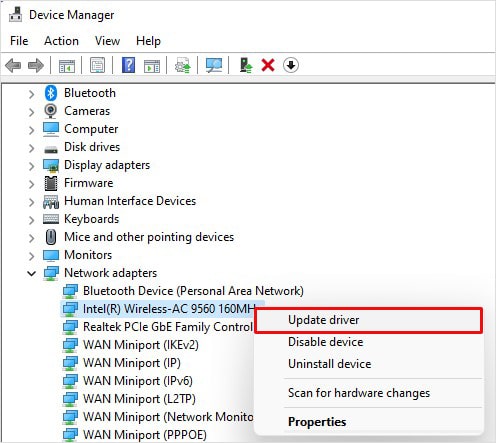
- Now, locate the Network adapters category and expand it.
- Right-click on the Wi-Fi device driver and select the ‘Update driver’ option from the available ones.
- Now, click ‘Search automatically for driver’ on the next window.
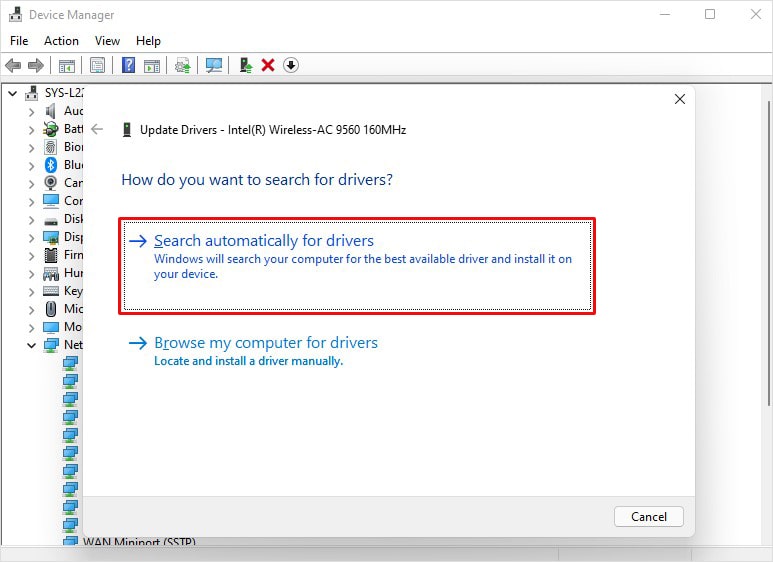
- Let the process complete. If any updated driver version is available, you can download it and proceed with its completion. After that, reboot your PC and check if the error is gone.
#4 Roll Back Network Drivers
Many users have reported that this method helped them fix the issue with their Lenovo ThinkPad Edge Series Laptops. Try rolling back the drivers to the older version with the below steps:
- Type Device Manager in the Search bar and open it.
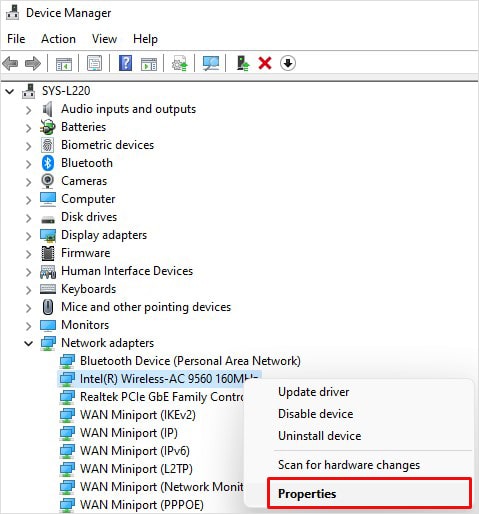
- Locate the Network Adapters category and expand it.
- Right-click on the Network adapters and open its Properties.
- Next, navigate to the Driver tab, click Roll Back Driver and proceed.
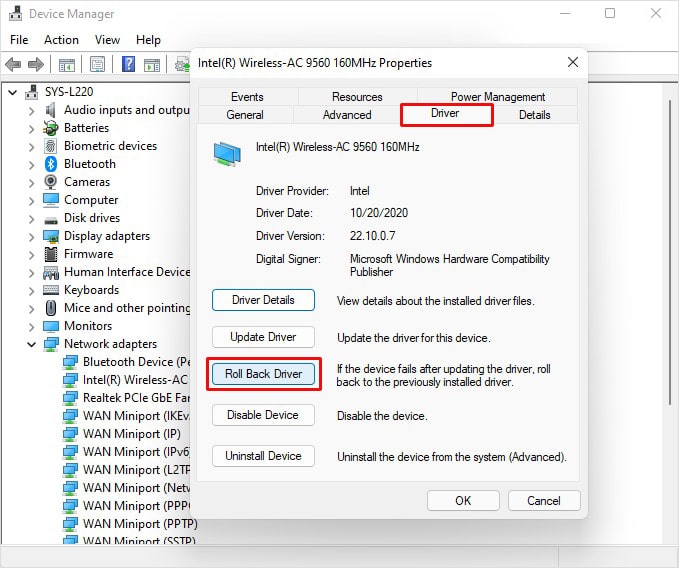
- Wait until the process is done. Then, restart the PC/laptop and check if the error is solved.
#5 Uninstall and then Reinstall Device Drivers
If you’ve tried updating and rolling back the drivers but are still getting the Netwtw08.sys blue screen error, you may try uninstalling the device drivers and reinstalling the compatible drivers.
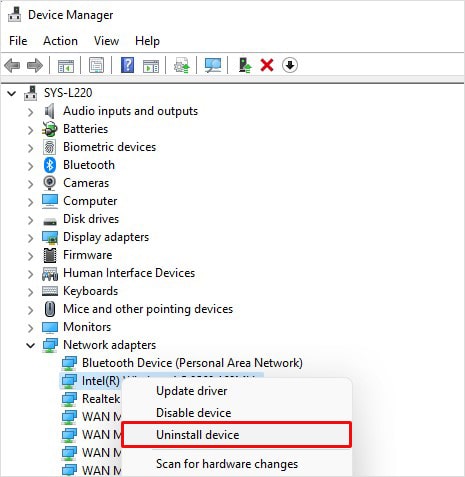
- Go to the Network adapters in Device Manager, right-click on the driver and click Uninstall device.
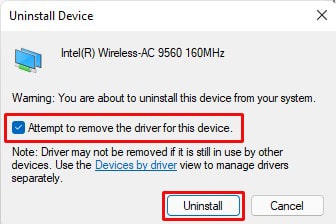
- Select the check box stating ‘Attempt to remove the driver for this device’ and click Uninstall to complete the process.
- The network driver will be uninstalled. Now, reinstall your device’s latest compatible driver from the system manufacturer’s website.
#6 Run SFC Utility to Scan System Files
The netwtw08 sys is a network driver file that can cause this error if it gets corrupted. You can check for file corruption by running a system file checker utility that can check for file corruption and fix the problem. To run the SFC, follow the given steps:
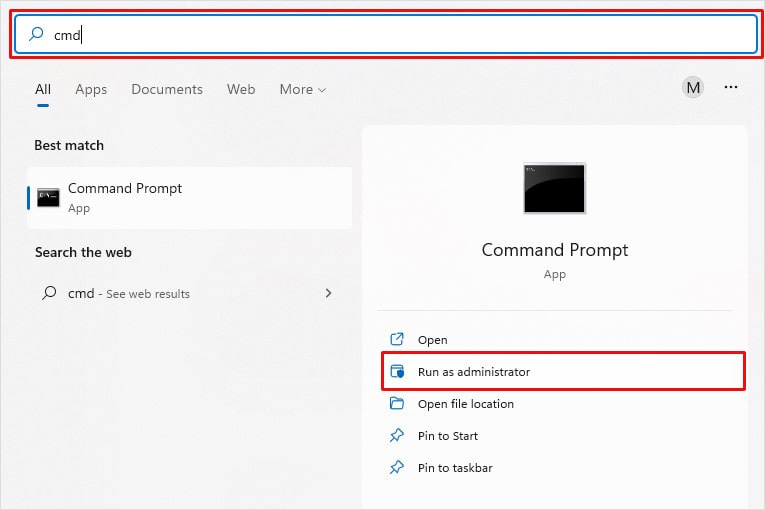
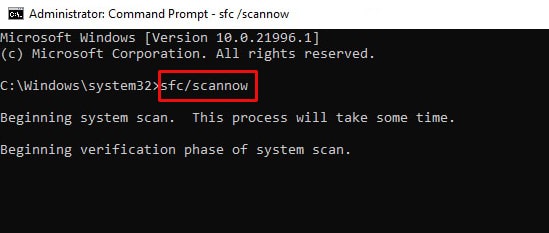
- Open the Search bar, type cmd to open Command Prompt, and click on ‘Run as administrator.’
- Type the sfc/scannow command in the open cmd window and press Enter.
- If you’re using Windows 8, 8.1, or 10, first run DISM.exe /Online /Cleanup-image /Restorehealth command and then run the SFC command.
- The process will initiate, and the utility will scan the files with corruption. Then, it will replace the incorrect, damaged, or corrupted files with the correct versions, thus solving the system file errors.
- Wait until the process is done, and then reboot your system. Finally, check if the error persists.
#7 Restore System to Fix the Error
You can also restore your Windows system to a chosen restore point to fix the Netwtw08.sys blue screen error. However, this method may bring your system to an error-free, functioning stage. After that, certain restore point, all the changes made to your system will be gone. It affects the Device Manager-related changes, including apps, files, drivers, etc. Hence, we advise you to either backup or recover data using professional data recovery software.
To perform the System Restore, follow the below-given steps:
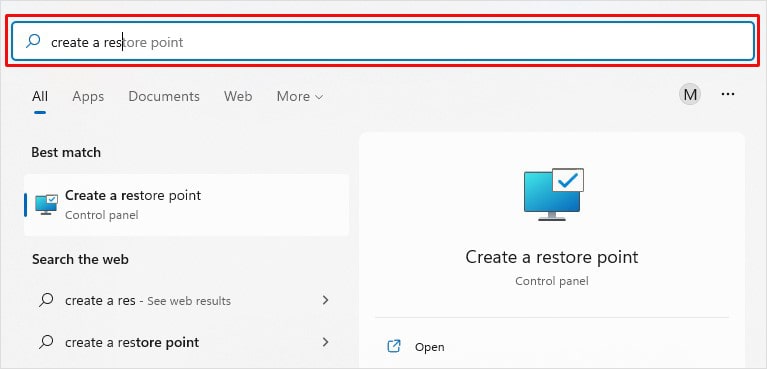
- Open the Search bar, type ‘Create a restore point,’ and then open it.
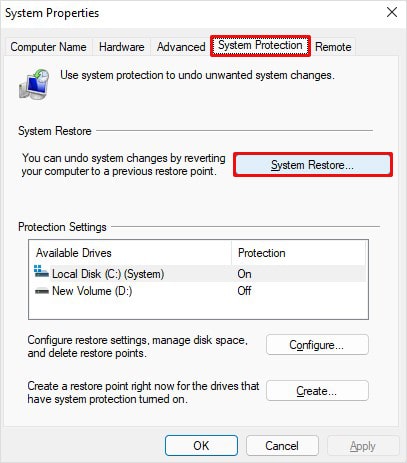
- Next, move to the System Protection tab and then click System Restore.
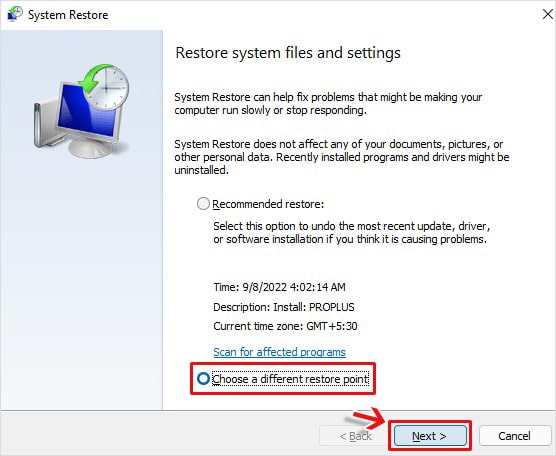
- Now, you may see two options (I) Recommended restore– it will undo all the recent updates, driver, installation, etc., and (II) Choose a different restore point. You can click any of these options and proceed with clicking Next.
- Now, choose a restore point and click Scan for affected programs.
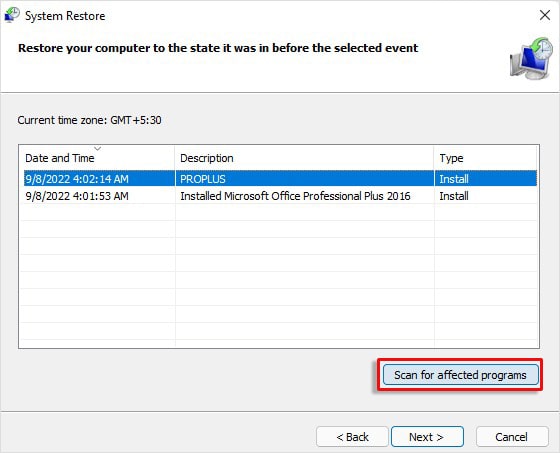
- It will initiate a scan and will show you a list of all the programs that will be affected.
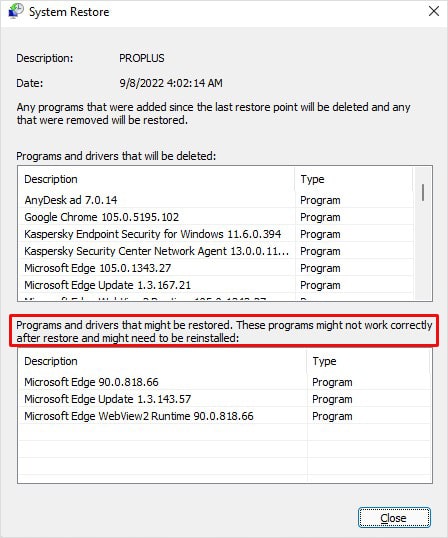
- If you already have the backup, proceed with clicking Close > Next > Finish.
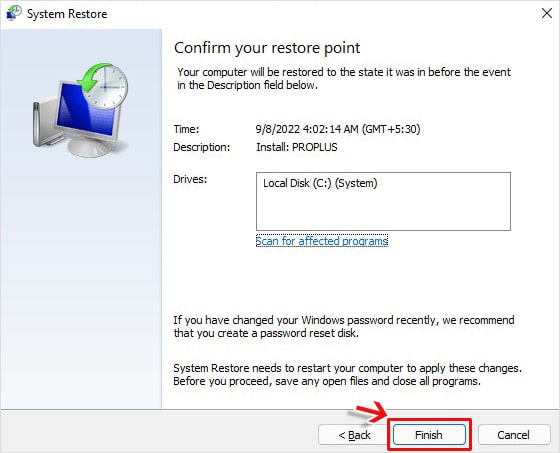
- The system will be back to the chosen restore point. Restart your system and check if the netwtw08.sys failed error has gone.
Note: As mentioned earlier, performing a System Restore can cause data loss without backup. If you forgot to back up your system data, worry not. Learn the best way to recover lost files after System Restore.
#8 Reset your PC
Final method- resetting the PC; Well, it’s not the preferable one, but if all the above solutions fail to fix the problem, then this is the last step you need to take. It will remove all your system files and other data. So, take a backup of your system first and then follow the given steps:
- Open Settings by pressing Windows + I and follow Update & Security > Recovery > Reset PC.
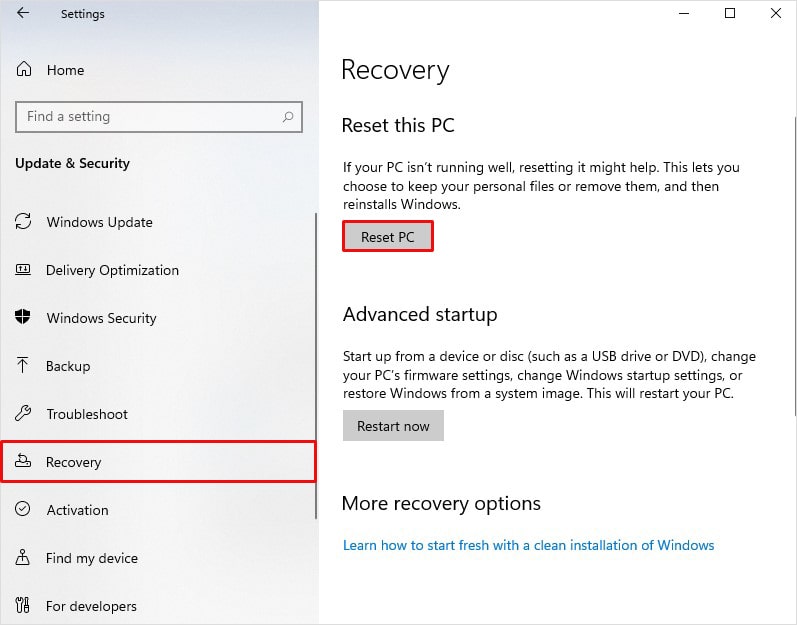
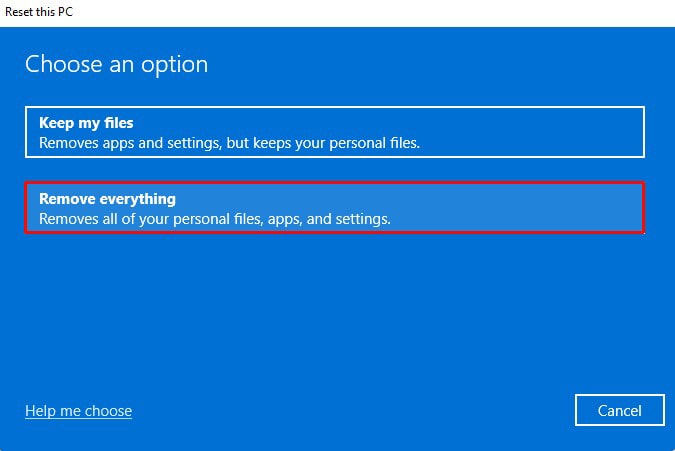
- Now, you can choose between Keep my files and Remove everything. It is recommended to choose to Remove everything to make this process work efficiently.
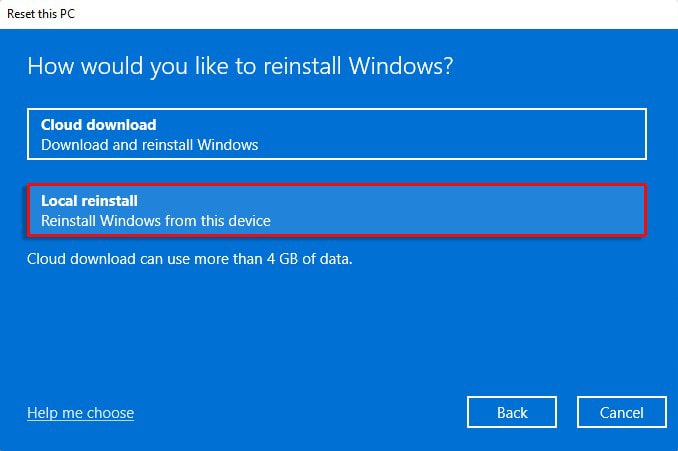
- Next, choose Local reinstall from the screen.
- You’ll get to see the Current settings and also get the option to Change settings.
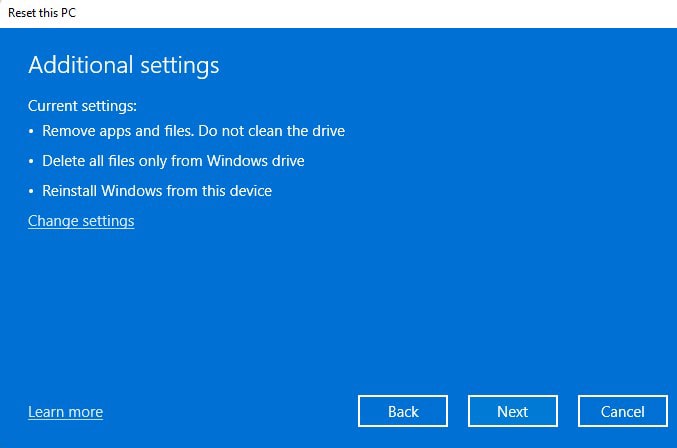
- If you’re ok with the current settings, click Next to proceed.
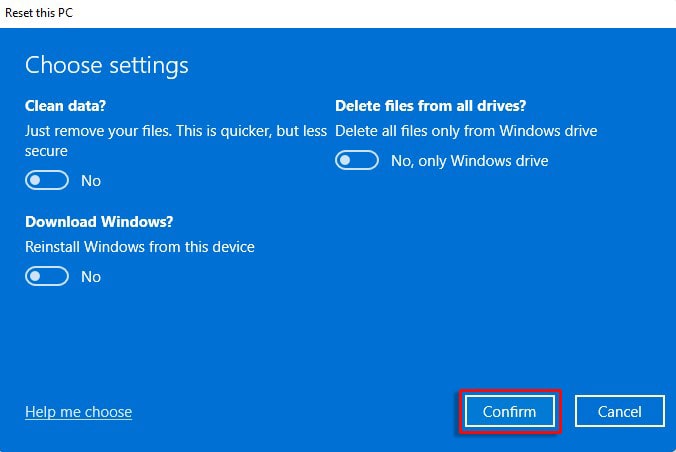
- If not, click ‘Change settings’ and then choose as per your preference from the available options and click Confirm.
- The process will start. Make sure you don’t interrupt the process.
- Once done, reboot your system and check if it’s free from error.
Since netwtw08 sys is a driver-related issue, it should be fixed with the methods mentioned in the beginning. The blue screen errors are indeed not easy to deal with every time. However, troubleshooting a blue screen error may come in handy when you know all about BSoD recovery.
FAQ
1. What is Netwtw08.sys?
Netwtw08. Sys is a system file for network device drivers. They are accompanied by SYS extension. 3DP developed this driver file for Intel® Wireless WiFi Link Adapter.
2. Why does Netwtw06.sys failed BSoD error occur?
You may encounter a Netwtw06.sys failed error with a blue screen due to an incompatible, outdated, or corrupted device driver. A corrupt Windows installation may also be the reason for this error.
3. How do I fix the SYSTEM_SERVICE_EXCEPTION error in Windows?
There are some fixes you may try to get rid of the SYSTEM THREAD EXCEPTION error, including
- Update/Roll Back Device Driver
- Run SFC command
- Run CHKDSK Command
- Scan your system with Antivirus
Read more
Was this article helpful?