Summary: The ‘local device name is already in use’ is a system error that can occur due to a drive letter mix-up with other drive letters or incorrect file and printer sharing settings. Try fixing this error by creating new network mapping or other solutions discussed in this blog.


The ‘local device name is already in use’ error occurs while accessing a network drive mapped to a shared network folder of a file server. Due to this error, your system may disconnect from the shared network drive and refuse to reconnect. This means you won’t be able to share your files to the shared network drive or access one from the same unless you fix the error. This blog lists all the workarounds for this error to help you re-initiate your work. But, before you dig deeper into the solutions, let’s find out the primary reasons behind it.
What Triggers The Local Device Name Is Already In Use Error?
The primary reason behind this error is incorrect network mapping or file and printer sharing settings. In addition, if the network-shared drive shares the same drive letter as other system drives, it may not let you perform your desired action and throw ‘the local device name is already in use’ error. This error may even trouble the users trying to connect remotely through a VPN.


Irrespective of the reasons, you may solve the error with the below-shared methods. Let’s proceed without any further ado!
How do I Fix The Local Device Name Is Already In Use Error?
Below, we’ve listed the methods that have helped many users fix this error on their system. Let’s start with the removal of existing network mapping.
#1 Remove Existing Network Mapping
Windows usually assign a drive letter to your network drive. However, that letter may resemble other drives’ letters on the system, causing visibility conflicts. Try removing the existing network mapping with the following steps:
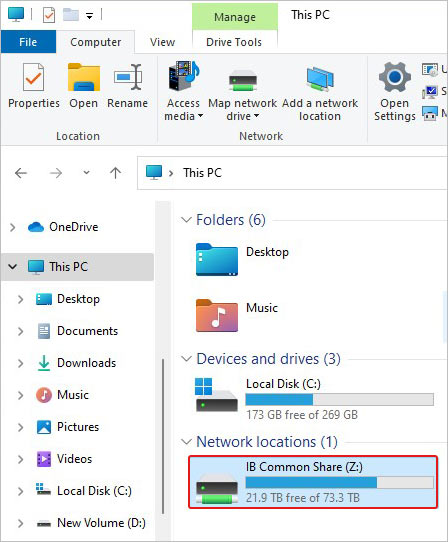
- Open File Explorer by pressing Windows + E.
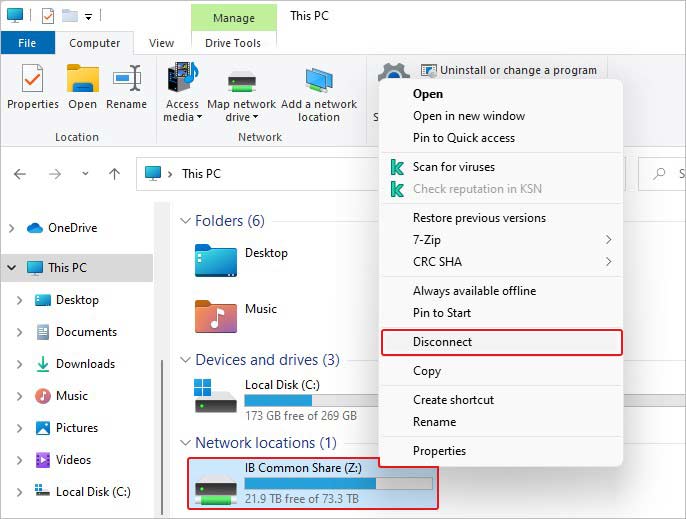
- Go to This PC and then, under Network locations, right-click on the drive you wish to remove.

- Now, select the Disconnect option.

- Once done, reboot your system and see if the issue is fixed.
#2 Create a New Network Mapping
Once you remove the existing network mapping, create a new one. Officially recommended by Microsoft, this method has proved to be the most effective solution for the problem. Follow the below-said steps:
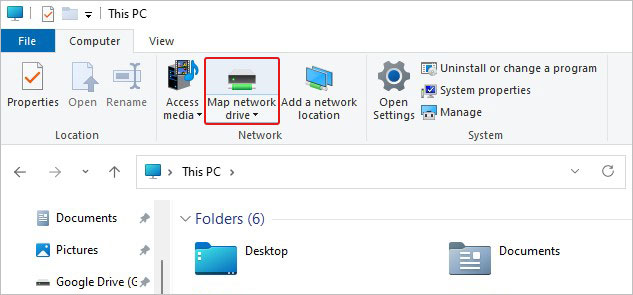
- Access Windows File Explorer and go to This PC.
- Next, go to the Computer tab in the Menu Bar and click Map network drive.

- Select a drive letter in the Drive list and type the path of the folder or computer in the Folder box. You can also click Browse to find the folder or computer.
- Select ‘Reconnect at sign-in’ to connect every time you sign in to your system.

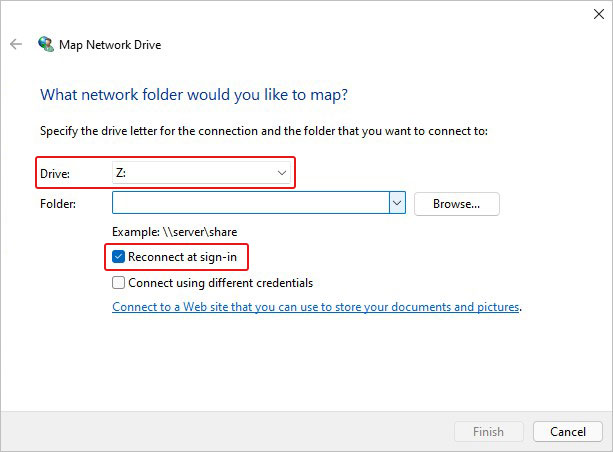
- Finally, click Finish to complete the network drive mapping process and see if the issue’s fixed.
#3 Remap the Network Drive with Command Prompt
Another way to fix the error is by remapping the network drive with the Command Prompt utility. Follow the given instructions to do so.
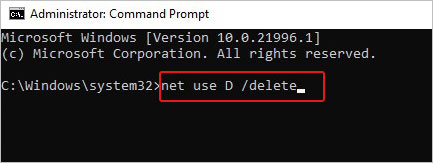
- Open Command Prompt (CMD) as administrator, and then in the elevated window, type net use D /delete and hit Enter. (Replace D: with the drive letter you want to remove.)

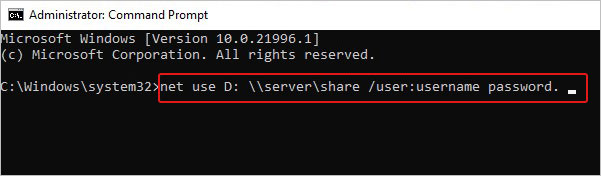
- Thereafter, remap the drive using net use D: \\server\share /user:username password command.
- Ensure you replace the drive letter with the network drive you wish to remap, along with user and username password details.

Once done, close the window and see if the error is fixed.
#4 Re-assign the drive letter
This method has also helped many users in resolving the error. Re-assigning or changing the drive letter may also help with issues, such as app crashing, unrecognized drive, etc., caused by similar drive letters. Follow the below steps:
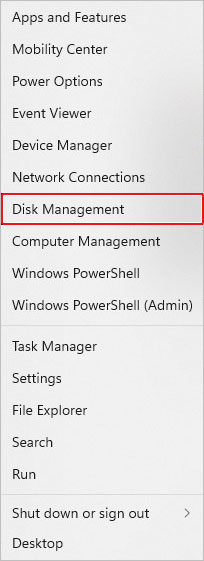
- Open Disk Management from the Start Menu.

- There, select the drive for which you want to re-assign the letter.
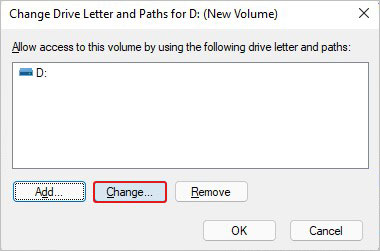
- Right-click on the drive and select Change Drive Letter and Paths.
- Now, select Change to proceed further.

- Select the drive letter from the drop-down list.

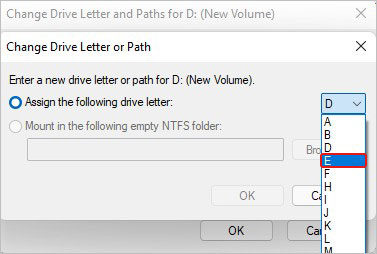
- Finally, click OK to complete.

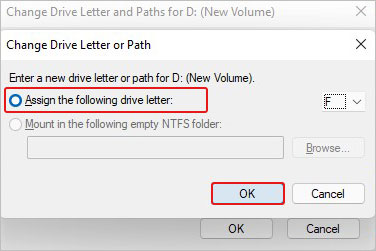
Finally, close the window and see if the problem is solved.
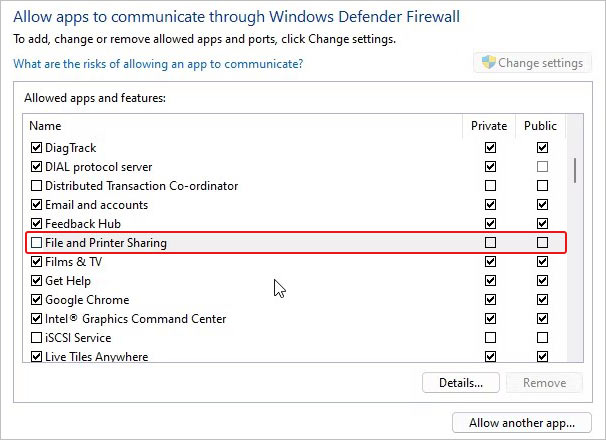
#5 Enable File and Printer Sharing
Sometimes, enabled firewall protection can interfere with the printer and file-sharing process. The conflicts arising from such interference could result in ‘the local device name is already in use error. But don’t worry. You can enable the file and printer sharing in the firewall settings. For the Windows Firewall program, use the following steps:
- Open Control Panel from Windows Search.

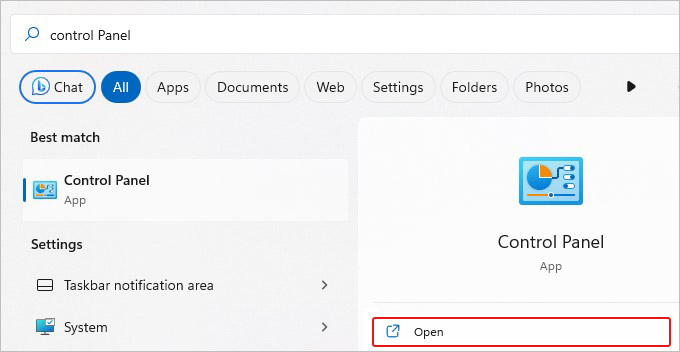
- If you see all the Control Panel items, look for Windows Defender Firewall.

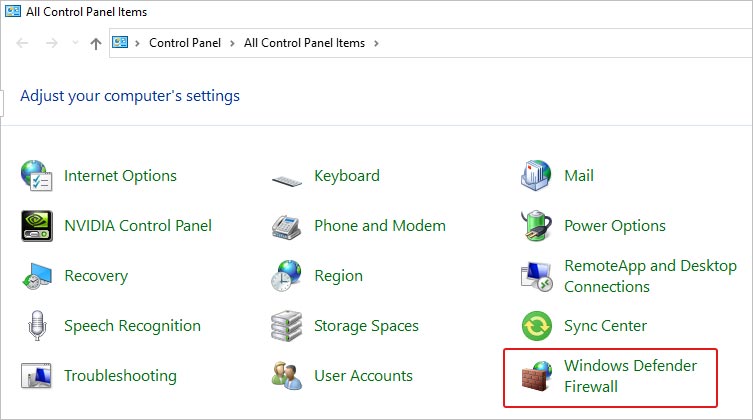
- Next, click Allow an app or feature through Windows Defender Firewall option.
- Further, click Change Settings and then click Public checkbox against File and Printer Sharing.

- Click OK to complete the process and save the changes.
Note: For those using third-party firewall protections, you’re recommended to refer to their respective user manuals o find the settings to enable it.
#6 Remove the MountPoints Registry Key
Delete the MountPoints registry Key in the Registry Editor if the error persists. This registry key saves the data about USB and other removable media drives. Removing it can help you fix conflicts in the drive letter assigning process.
Follow the given steps carefully:
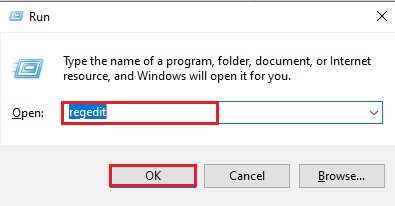
- Open Run dialog box by pressing Windows + R, type regedit and hit Enter.

- Navigate to the path – HKEY_CURRENT_USER\Software\Microsoft\Windows.

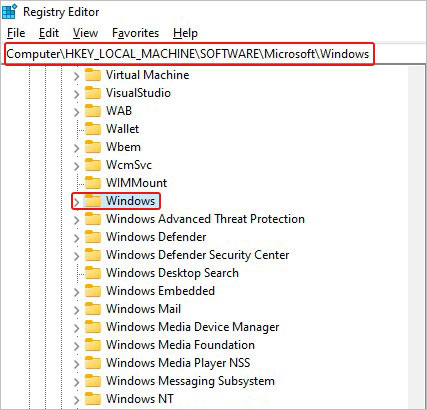
- Next, expand Windows and go to CurrentVersion.

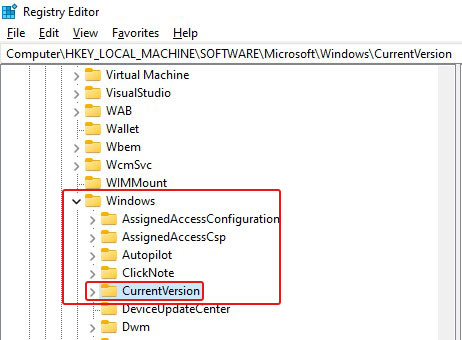
- On the next prompt, expand CurrentVersion > Explorer, and thereafter select MountPoints2.

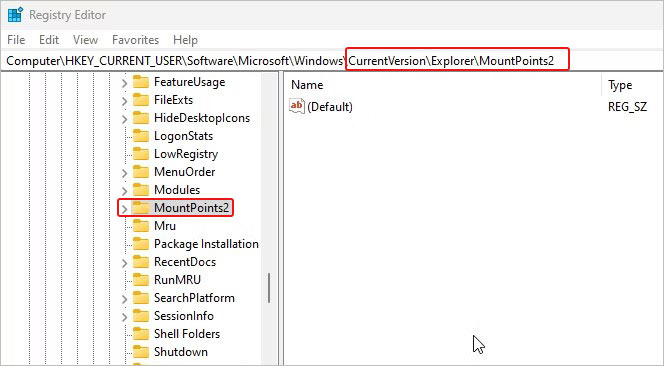
- Right-click on the MountPoints2 and select Delete option.
- Close the registry editor and see if the ‘local device name is already in use’ error is fixed.
The ‘local device name is already in use’ error can be fixed with the methods given in this blog. While troubleshooting the error, take care of the notes/cautions provided here to avoid any unexpected system crash or data loss. Moreover, don’t forget to check the space available on your network server.


