Many desktop and mobile users have recently complained about images not being displayed on the website. The problem occurs during a new post upload, or while revisiting a web page. The browser, instead of showing images, displays an alternative text. While a slow or interrupted internet connection is a major cause behind unavailable photos, several other factors can lead to this error. Let’s learn how to fix the photos unavailable error using the methods shared here.
But, first things first!
What Causes the “Images are not available” error?
To fix the “images not available” error, first determine if the problem is with your web browser/internet or the images you are trying to load.
The image file path is not correct:
Every image is stored on the database with a unique path. These path codes guide the website’s directory when loading the images. So, if the path for an image is wrong, you can face an image display issue.
Image is corrupted:
The file structure or content gets damaged or altered when an image is corrupted. This makes the image unreadable by your web browser, meaning the browser fails to interpret the corrupted image file and display it.
Wrong file extension:
If the wrong name is used for the image or its extension, the image will not display on the website.
Web Browser/Internet Errors
Uploading issue:
Sometimes, you may face issues when uploading an image to the website. The process may get interrupted due to network failure or any other reason.
Service Issue:
The site’s server hosting the image could be down, resulting in missing or unavailable images from its storage.
Database-related problems:
If your database, where the images are stored, is down or unavailable, your website may display bad or corrupt images.
Other problems:
If your browser has an issue, the file might not transfer entirely from its source. An unstable network connection, a virus infection, or a browser extension may block the display of those images.
Methods to Fix Images Are Not Available
Irrespective of the causes behind the “images are not available” error, you can fix it using the methods discussed below.
Method 1: Clear Cache and Cookies
Accumulated old cache data and browser cookies can be the primary reason for the ‘Images are not available’ issue. To resolve the problem, try clearing those cookies and caches from your browser. For example, if you want to delete Firefox cache and cookies, follow the given steps:
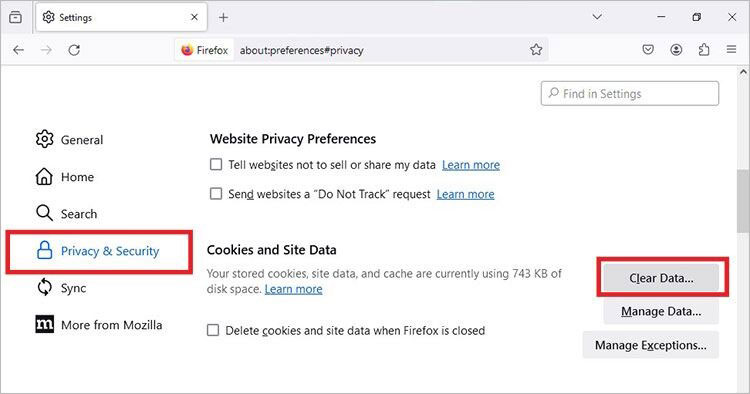
- Open Mozilla Firefox, click the Hamburger icon in the top-right corner and select Settings.
- Next, proceed with clicking Privacy & Security in the left pane.
- On the following Privacy screen, scroll down to the Cookies & Site Data section and click the Clear Data button.
- Scroll to the Cookies & Site Data section and click the Clear Data button.
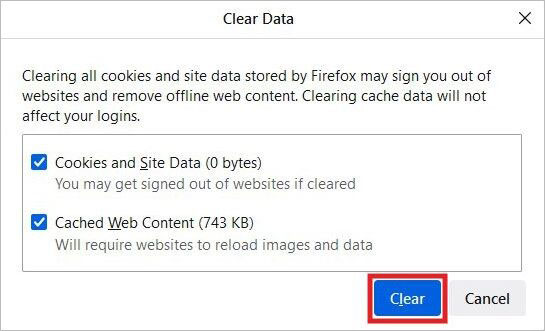
- Select what you want to clear on the next pop-up, and click Clear.
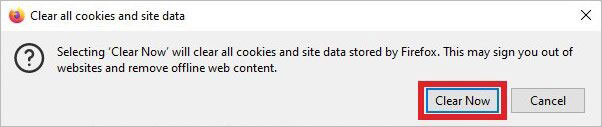
- On the final confirmation message, click Clear Now to complete the process.
Method 2: Check your Browser Configuration
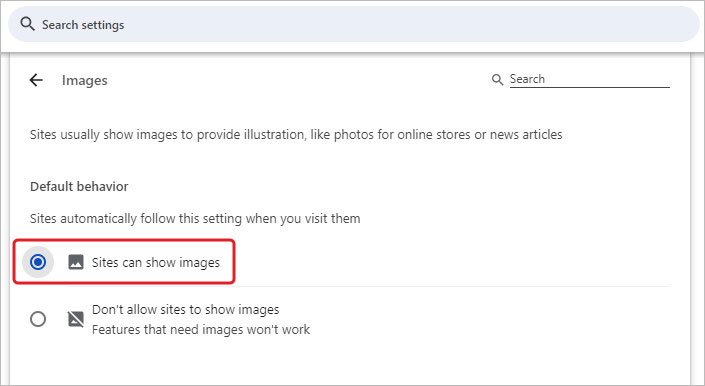
Your browser may be set to ‘Don’t allow sites to show images’ option. If so, you’ll face images display issue. You can disable this option and allow your browser to show the image. To enable Chrome to fix the images not available issue, follow the steps given below:
- Open Chrome, go to More icon, and then navigate to Settings.
- Next, locate and open Privacy & security.
- There, navigate to Site settings.

- On the following prompt, scroll-down to Images.
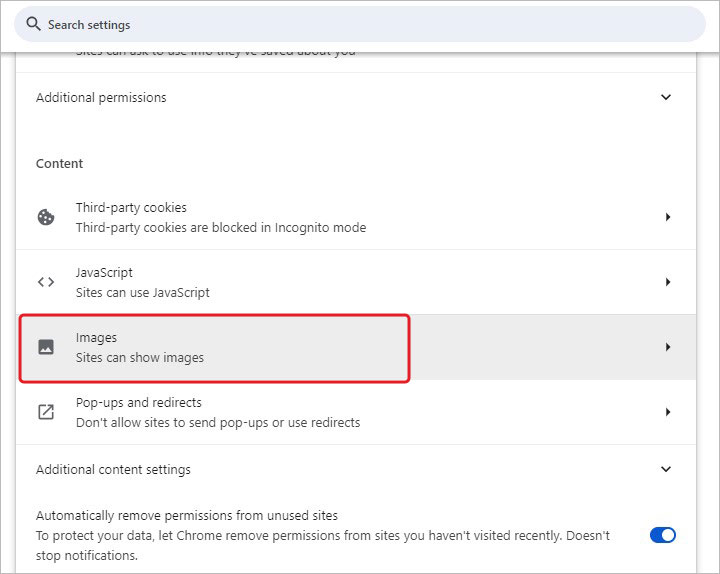
- After that, select Sites can show images option.
Exit the browser’s settings and see if the issue is resolved.
Method 3: Open Your Photo with Another Browser
There are times when you may face the ‘images are not available’ issue due to the bugs within your current browser. Also, if your browser is outdated, you may face a ‘broken images displaying’ issue. So, try using an alternative browser to see if the image loading issue is resolved. For example, if you face the ‘images not available’ issue in Google Chrome, try other browsers, such as Microsoft Edge, Firefox, etc.
Moreover, you can also try to update your browser. To update Google Chrome, follow the given steps:
- Open Chrome, and at the top right corner, click the three dots icon.
- Then, navigate to Help > About Google Chrome.
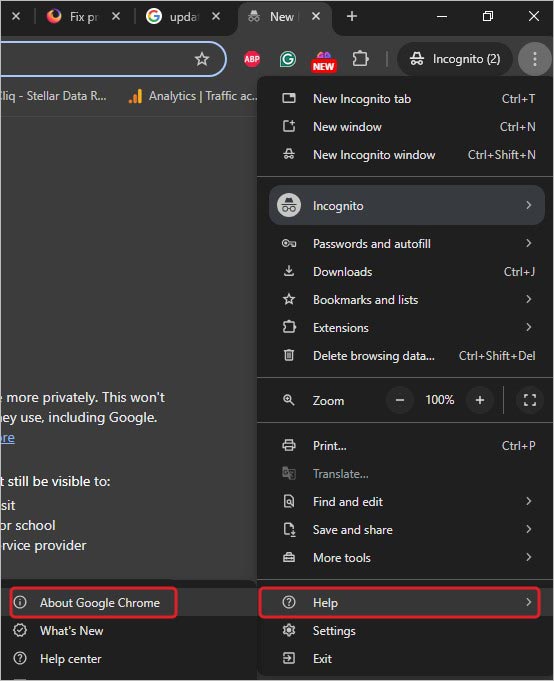
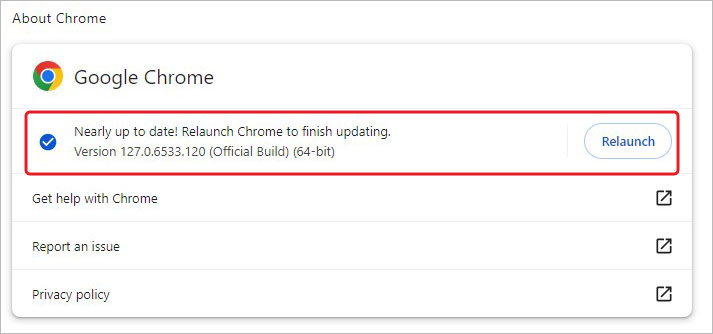
- Next, click Update Chrome. If you don’t find this option, your Chrome must be updated. Click Relaunch to complete the Update process.
Once done, reboot your system and see if the issue is fixed.
Method 4: Disable Unwanted Extensions
If you have added some extensions to your browser, such as Ad Blocker, they may stop loading the images on the website. Hence, try disabling the extension temporarily and see if the issue gets fixed.
Follow the steps given below to disable an extension in Chrome browser:
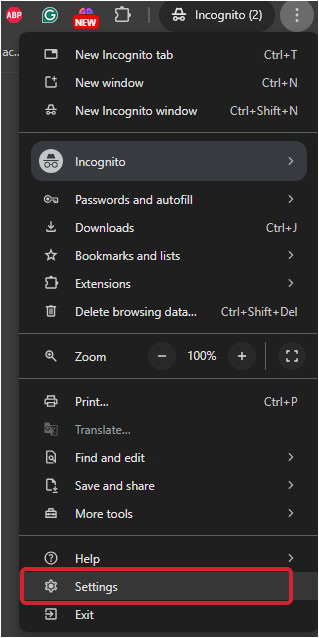
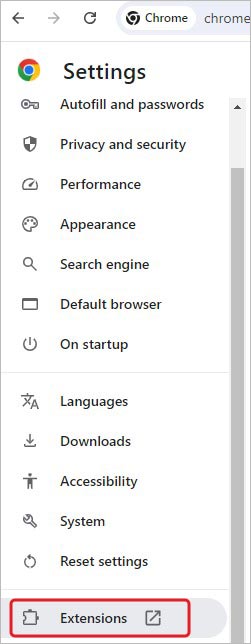
- Go to Chrome, click the three dots icon, and open Settings.
- Now, locate and open Extensions.
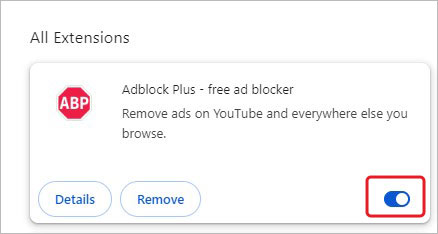
- Select the extension to turn off the toggle to disable it. For example, if you want to disable the Ad Blocker, turn off the toggle given against it.
Now, relaunch the Chrome browser attempt to load the images, and see if the problem is resolved.
Method 5: Delete Google Chrome Default Folder
If you have been running any browser for a while, some of its data may have been corrupted. In such a case, you may try deleting the browser’s default data from the browser. It will be downloaded again when you relaunch the browser.
For example, if you want to delete the Chrome’s default data, you can simply delete the Chrome’s folder by following the given steps:
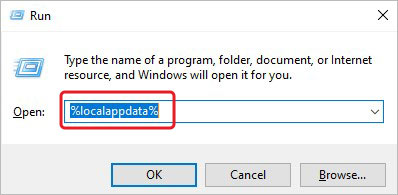
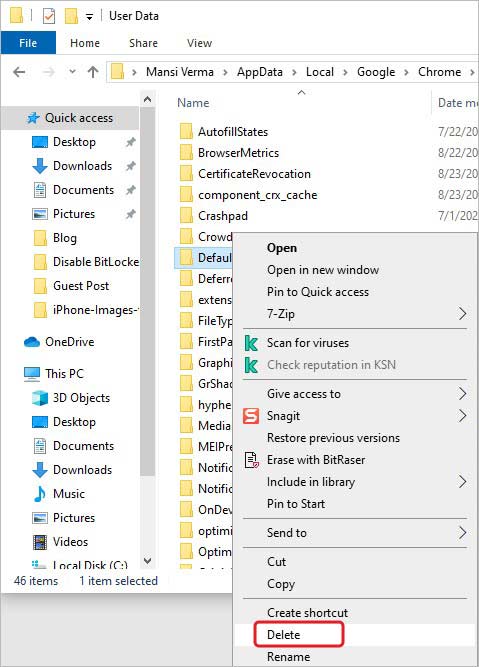
- Close Chrome and open the Run dialog box by pressing Windows + R.
- Enter the %localappdata% command to access the system’s local storage.
- There, locate Google > Chrome.
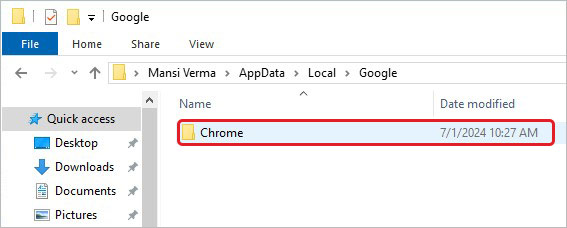
- Then locate User Data and rename or remove the Default folder.
Now, relaunch the Chrome browser and see if the problem resolves.
Method 6: Enable JavaScript to Display Image
Some users reported that enabling JavaScript helped them load images on the website. You can also try to enable the JavaScript and see if the “Images are not available” issue gets resolved. To do so, follow the given steps:
- Launch Chrome, go to Settings, and select Privacy & security on the following prompt.
- Scroll down and locate Site-settings.
- Next, follow JavaScript and select Sites that can use JavaScript option.
- Once done, relaunch the Chrome and check if the problem is now fixed.
Method 7: Try a Different DNS Server
You can also try a different DNS server to resolve the “Images are not available” problem. If your current DNS server doesn’t have the right IP address for local CDN (Content Delivery Network) servers, your browser may not load the images properly. You can try switching to the Google DNS server to determine and solve the issue.
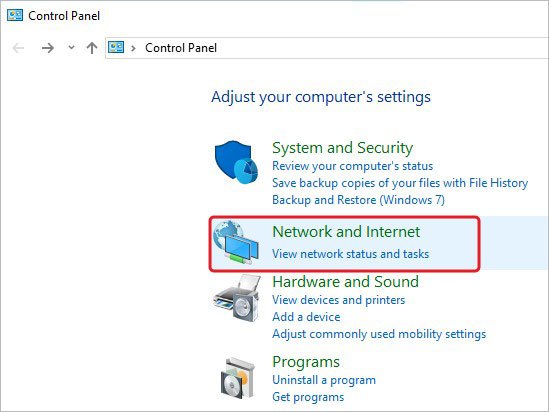
- Open Control Panel and go to View network status and tasks under Network and Internet.
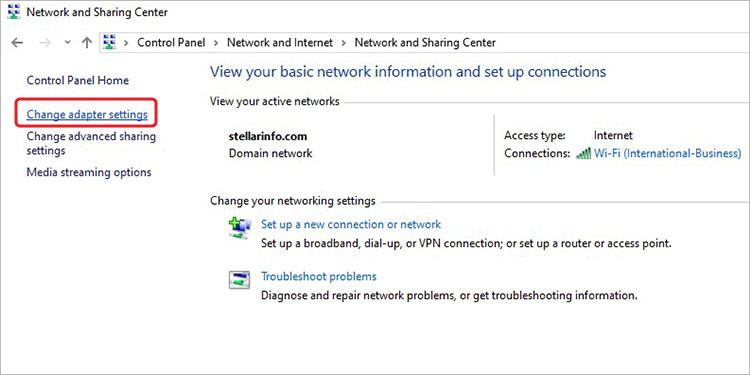
- Select Change adapter settings on the next prompt.
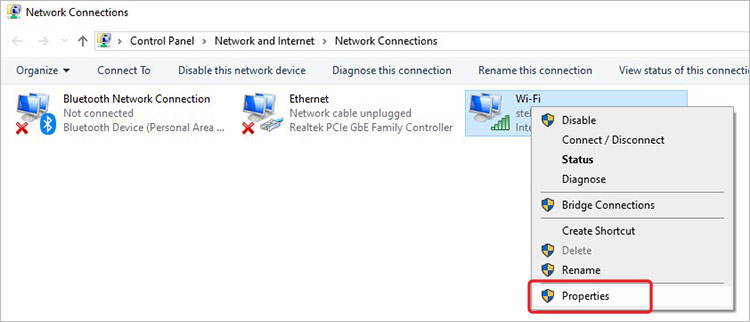
- Now, you’ll see all the network adapters. Right-click on the active network adapter and select Properties.
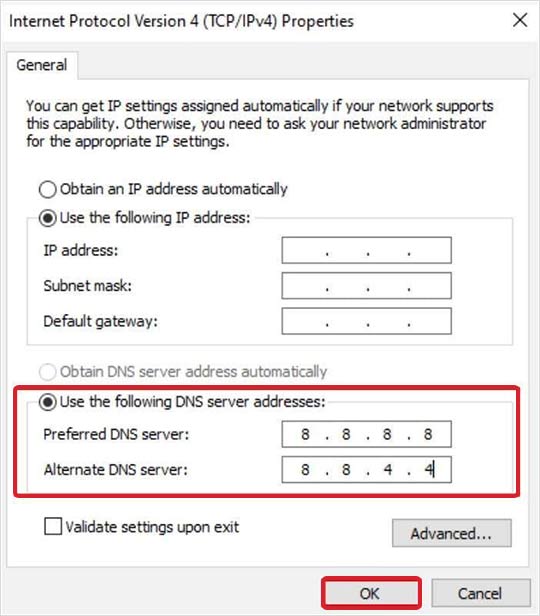
- Select Internet Protocol Version 4 (TCP/IPv4) under This connection uses the following items.
- Thereafter, click the Properties button.

- Select, use the following DNS server addresses. Enter 8.8.8.8 for Preferred, and 8.8.4.4 for the Alternate DNS server. Finally, click “OK.”
Once done, try reloading the images on the website to see if the problem is resolved.
Method 8: Repair Corrupted Photos with Photo Repair Tool
There are times when you can see and preview a corrupted image on your system. It could be due to its thumbnails or memory storage. However, when you upload such a corrupted image to a website, it fails to display or load. In such a case, it’s best to use a photo repair tool like Stellar Repair for Photo. This easy-to-use DIY tool helps repair and fix all types of corrupted images. The tool efficiently fixes disoriented, greyed-out, damaged, corrupted, or other RAW photo file formats. It supports repairing multiple corrupted images stored in all Windows & Mac HDDs, SSDs, USB flash drives, memory sticks, SD cards, as well as other storage media.
Moreover, you can preview the repaired photos before saving them. Once you are satisfied with the quality and the content of the photos, you can save them at the desired location (any drive partition or an external storage media).
- Here’s a rundown on how to repair buggy photos with this powerful photo repair tool:
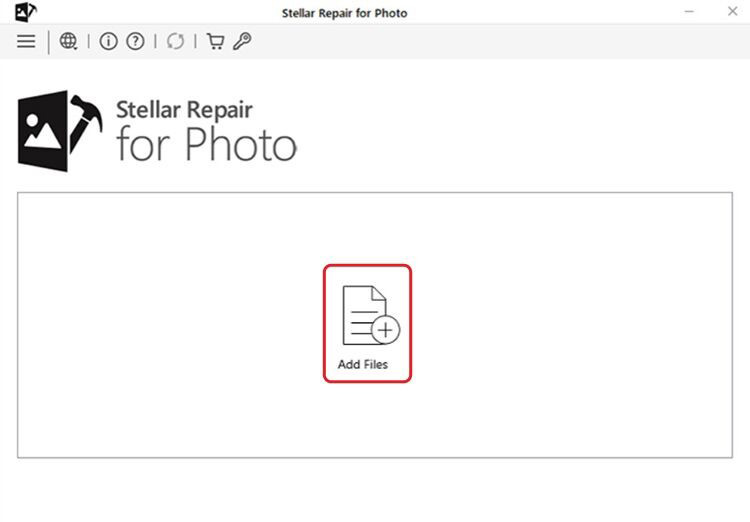
- Download, install, and run the software on your system.
- Click Add File to add the corrupted images on the main screen to fix the corrupted images.
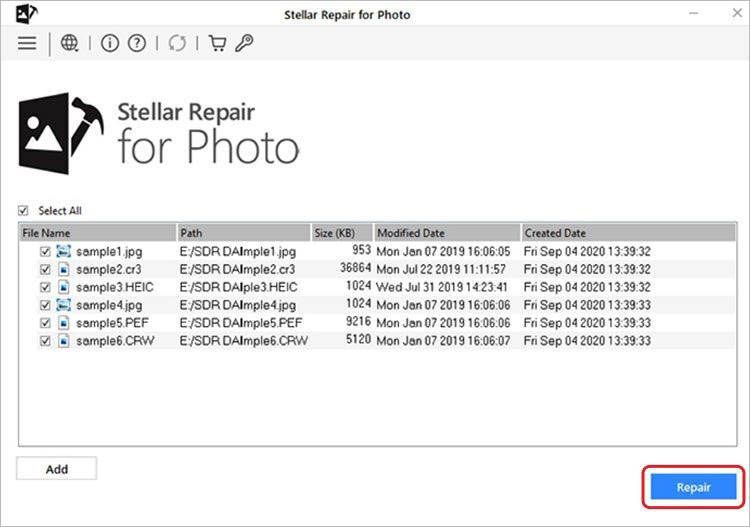
- Now, you can add multiple images simultaneously. Click Repair to start the process.
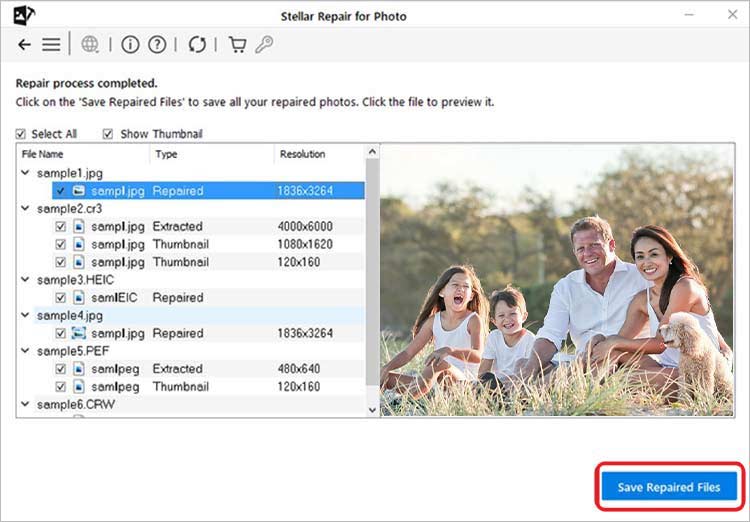
- Once the process is finished, you can turn on the preview to check the quality and content of the images.
- Once ensured, click Save Repaired Files.
- Choose the destination where you want to save the files. Finally, click OK and complete the process.
Conclusion:
So, by now, you know why images are not available on your website. Whether you clear the cache/cookie of your web browser, load images on another browser, or try a different DNS server, fixing this error is possible. You can also try opening the website in incognito mode and see if the images are easily displayed. However, if everything fails, there are chances that you’re dealing with corrupt images. Try Stellar Repair for Photo to efficiently repair corrupt, distorted, or other RAW photo file formats.
Was this article helpful?