POST or Power-On Self-Test is a diagnostic testing sequence that system BIOS (Basic Input Output System) runs as soon as you power on a PC or laptop. The POST checks the necessary hardware such as a processor, RAM, disk drive, and others before booting the OS.
If the POST finds everything OK, the OS boot process begins; however, if the connected hardware is faulty, defected, or not found, the BIOS displays an error message/code stating the issue with a series of coded beeps. Each error has its beep code, which also varies from BIOS to BIOS.
What Does a Continuous Beep Mean On a Computer?
For instance, a short single beep may be normal for some computers as they boot. However, variation in beep length (short, long, or continuous) or a number of beeps (0 to 12) should be considered as a warning message. A computer making beeping noise randomly indicates that there is something wrong with the system hardware.
And Here’s How To Fix Computer’s POST Beep Issue
Below are some steps that can help you make your system boot successfully and fix computer beep codes issue in all system powered by Asus, Gigabyte, MSI, Asrock, Dell, HP, etc.
NOTE: Now before following the troubleshooting steps, shut down your desktop and unplug it from the socket. In case of laptops, switch it off and then remove the battery. Do touch a bare metal or use anti-static band before touching any component in your computer to prevent static electricity from damaging your system’s hardware.
Step 1: Assess the POST
The first step is to check whether the POST is working properly. Simply pull out the video card and boot your system. If you hear one or two long beeps, it means POST is working. The beep code suggests that the video card is not connected. If you hear no beep and system doesn’t boot, it means the POST is not working.
Step 2: Check Connections
Check if all the cables (power cable and other cables) are connected to the respective hardware device (keyboard, storage drive, video card, etc.) on your computer. Check for any damaged or soiled cable; if found, replace them with a new one.
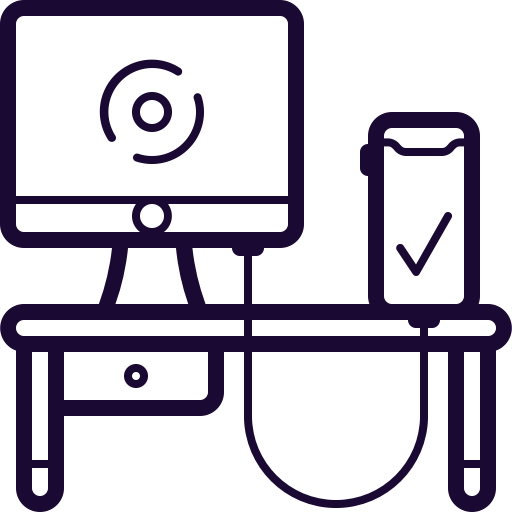 Figure 1: Check for loose connections and worn out connectors
 Also, check for any improper or loose connections in between the connectors of RAM, graphics card, SSD, & CMOS battery. When everything is connected properly – boot the system.
Step 3: Unplug USB Devices
Disconnect all USB devices connected to the system such as a printer, USB hubs, external drives, etc. and then boot the system. Let it boot and then connect the USB devices one by one to identify the faulty device.
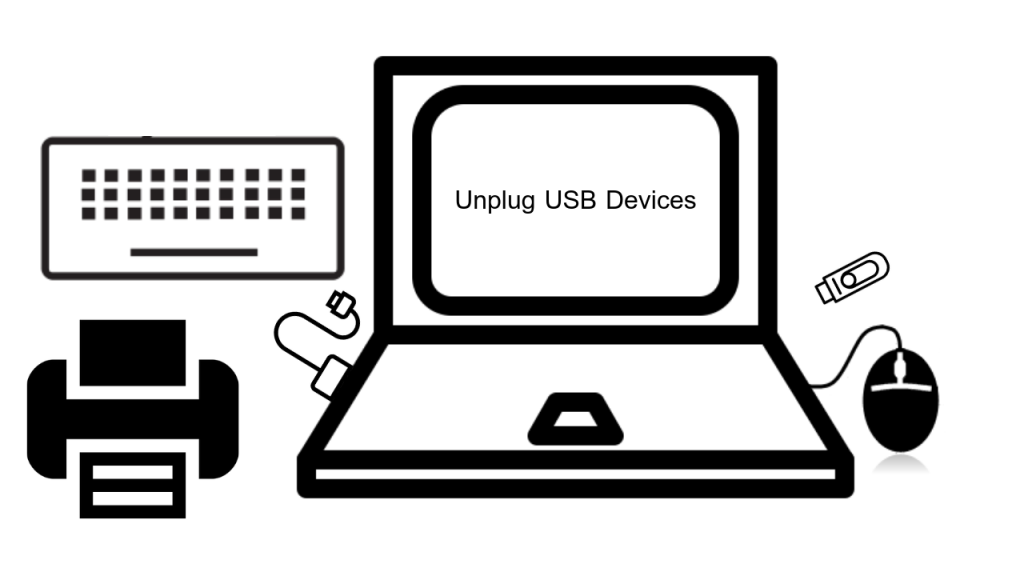 Figure 2: Unplug all USB Devices
 Step 4: Check Power Supply Unit
No beep sound may indicate power supply issue. Check Power Supply Unit (PSU) and try to replace it with a working PSU of similar power output. This lets you check the system’s PSU status and whether it needs replacement.
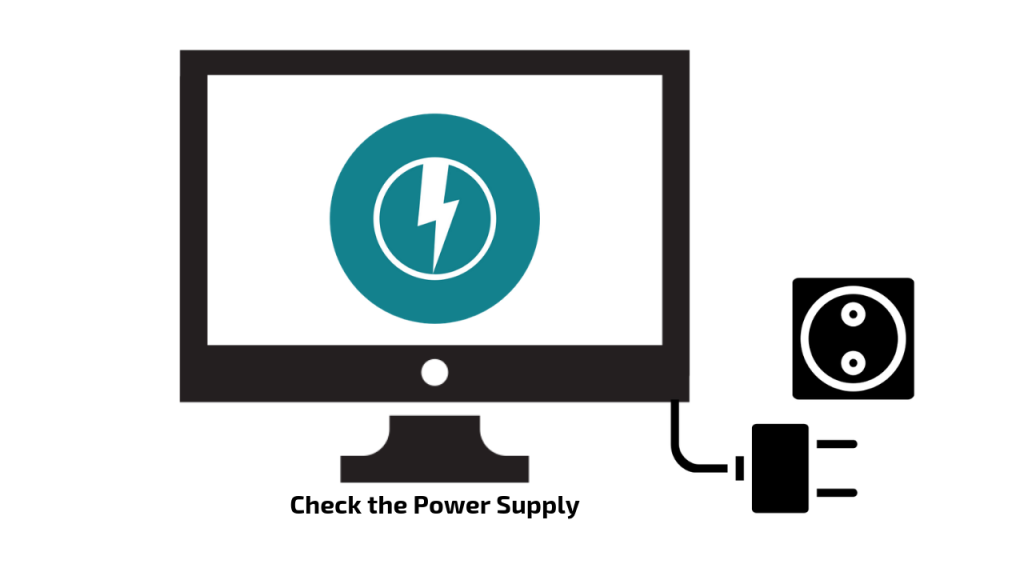 Figure 3: Check the power supply
 On the other hand – silence, long single beep, or series of short beeps is an indicator of issues with memory. A single short beep means POST ran successfully and your system should be able to boot normally.
Step 5: Remove RAM
If your system is equipped with two RAM sticks, consider removing one and then the boot the system. If the system still doesn’t boot, switch the RAM stick to the second slot and boot again.
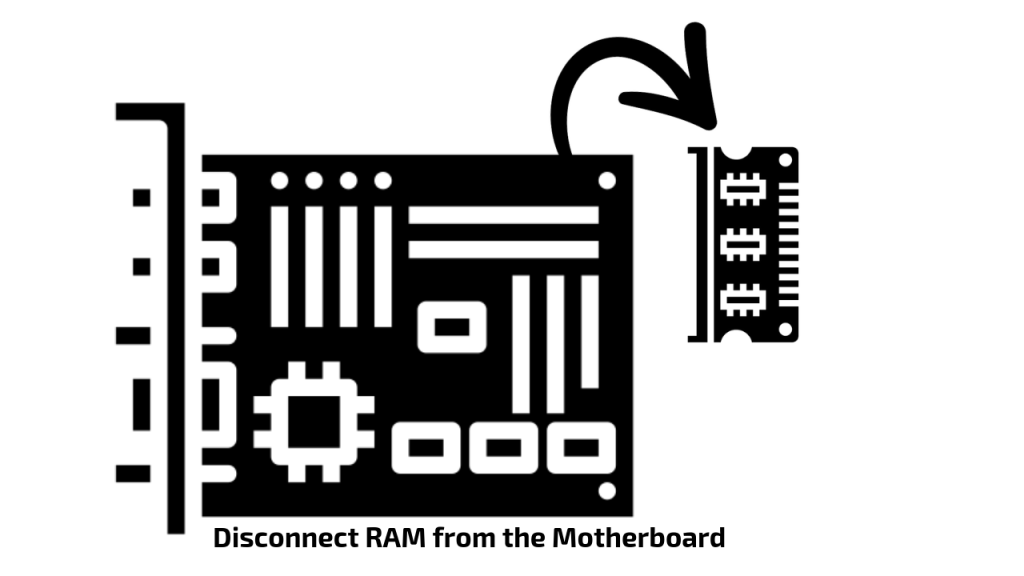 Figure 4: Disconnect the RAM or Swap the RAM to different slot
 Step 6: Check CPU & its Fan
Check whether CPU is installed correctly and the plastic guard is removed after CPU installation. Remove plastic guard from the CPU if it’s still there. Additionally, check if the CPU fan is up and running when you boot the system. Some motherboard do not boot when the CPU fan is not running to prevent it from overheating.
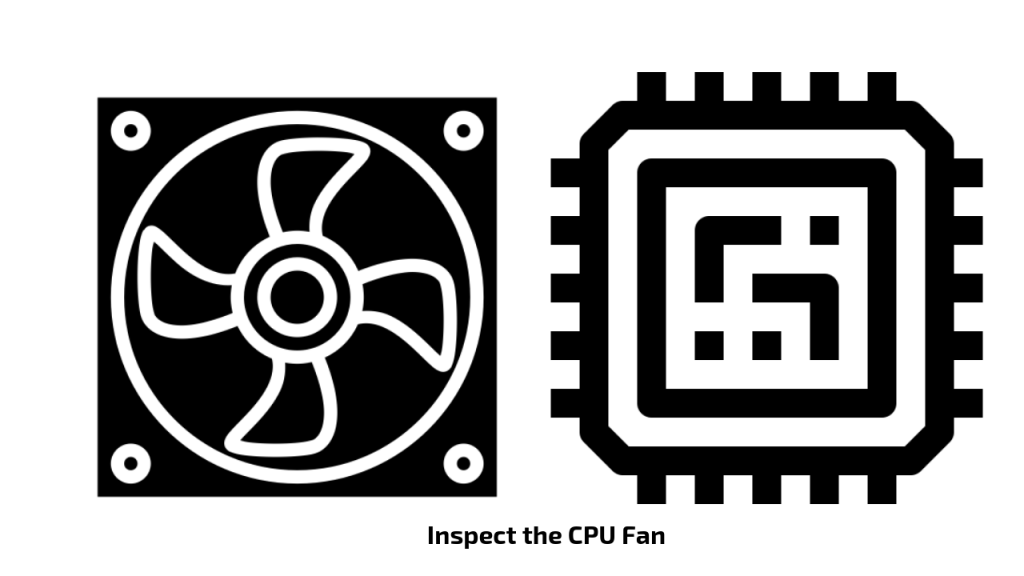 Figure 5: Check and inspect the CPU fan
Step 7: Check Wires
Check that no wire is going under the motherboard. The soldered components pins on the motherboard can pierce wire insulation. This can cause shorting. Consider moving all the wires from motherboard’s rear tray.
Step 8: Try Clearing CMOS – Refer to your system manual
Clearing CMOS means resetting the BIOS settings to their defaults. Find the user manual of your system/motherboard, or visit support site and contact support team to know how you can reset the CMOS on your motherboard.
 Figure 6: Remove and insert CMOS Battery to reset BIOS
After resetting/clearing the CMOS, reconfigure BIOS according to your hardware—only if it is required—and boot the system.
Problem With the Hard Drive?
In case the fault is in your hard drive, you should immediately remove it from the system (do not use the drive to avoid data corruption and data loss). After separating the hard drive from the system, connect it to another working PC via SATA to USB converter and then try to access it via File Explorer.
If you are able to access the drive, backup the data, format the drive, and then restore the data to the formatted drive.
If you can’t access the drive, probably it’s damaged or corrupt.
A logically failed, corrupt, or damaged hard drive requires immediate recovery. Therefore, use a reliable software such as Stellar Data Recovery Professional, which can help you securely recover your files and folders from a formatted, inaccessible, damaged, or severely corrupt hard drive and other storage devices including SSD.
In case the drive is severely corrupt, use the Disk Image option of the software to create the hard drive’s virtual clone on the system and perform the data recovery on the image file. This saves hard drive from further damage and speeds up the recovery process.
Conclusion
We discussed what POST is, why the computer keeps beeping on startup, and what does a series of beeps mean during the start of the boot process. We also mentioned several solutions that can help fix the computer POST beep issue.
POST beeps are warning signs and can be disastrous for the system and the data. Therefore, it’s critical to fix the issue to prevent further damage to the system, which can affect the hard drive and lead to data loss. However, one can easily recover data by using a data recovery software like Stellar Data Recovery Professional in case anything happens to the connected hard drive due to issues with system hardware or power supply.
Was this article helpful?