It’s a rarity that when a good hard disk comes up with one or more sectors, the disk goes bad; and, when such a situation occurs, often the data stored in the bad sectors may get lost, but the remaining data on the disk will remain unaffected. Above all, the disk is still in the functional state.
Indeed, we can mark them as unusable so that the Operating System will not attempt to store data over them. But, the major downside of this is a dip in the total disk capacity as this reduces the storage space amount.
There are scenarios when the cause of bad sectors could be a faulty drive head. In such cases, there is a likelihood of spreading the issue to several other sectors of the disk. Therefore, in situations where the hard drive experiences one or more bad sectors, it is highly advisable to backup the disk and try to repair bad sectors in the hard drive instantly.
Here, we guide you on how you can fix bad sectors in hard drive and recover data from it. However, before we look into it, let’s have a quick overview of the Bad Sectors, their symptoms and causes.
https://youtu.be/2vqwAXha3kI
What is a Bad Sector?
In simple words, it is a section in the hard drive that becomes inaccessible or corrupted. This tiny defective cluster of storage space won’t respond to any read or write requests. They are of two types—one that results due to a software error and other because of a physical damage.
What are the Reasons for Bad Sectors?
Broadly speaking, there are two major categories — Logical and Physical. The below table shows each category and their reasons—
| Logical Bad Sectors | Physical Bad Sectors |
| System Crash | Heat |
| Virus Infection | Dust |
| Software Conflict | Impact |
| Sudden Shutdown | Wear out |
| Reboot Of Computer | Defective Blocks |
| Sudden Power Outage | Overclocked PCI Bus Speeds |
What are Signs that Indicate Bad sectors in the Hard Drive?
The following are the common signs and symptoms that indicate bad sectors in a Hard Drive:
- Generation of strange noises on booting, especially at the time of read/write and hard disk drive opening
- Generation of Error Message— Files become corrupt while running a program or reading a file.
- System is consuming a long time to run a program or read a file.
- System showing a Blue Screen
- When your system shows warning message such as a "General error in reading drive C" or "Sector not found", even though it is not attacked by a virus
- When Windows fail to complete the hard disk drive format—Quick as well as Full
- When the System every time, upon booting, auto-runs the Scandisk to scan errors in the hard drive
If you see any of the afore-stated symptoms then you should repair bad sectors immediately for the sake of data security and integrity.
Let’s now look into Methods for bad sector repair in a hard drive:
https://youtu.be/mz8ggptJQm8
Method 1 - For HDD Bad Sectors Repair on the Hard Drive
Option 1: Manual bad sector repair Method for Windows 10/8 Users

1. Selection of the Search option
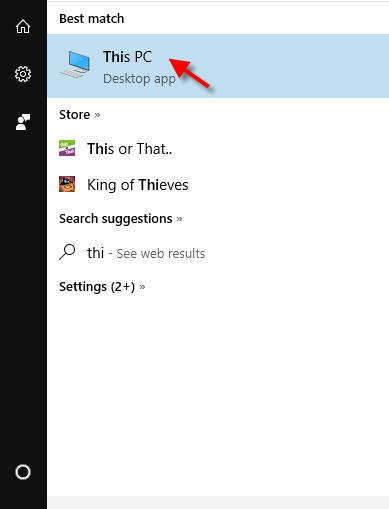
2. In the Search field, type This PC >> click This PC.
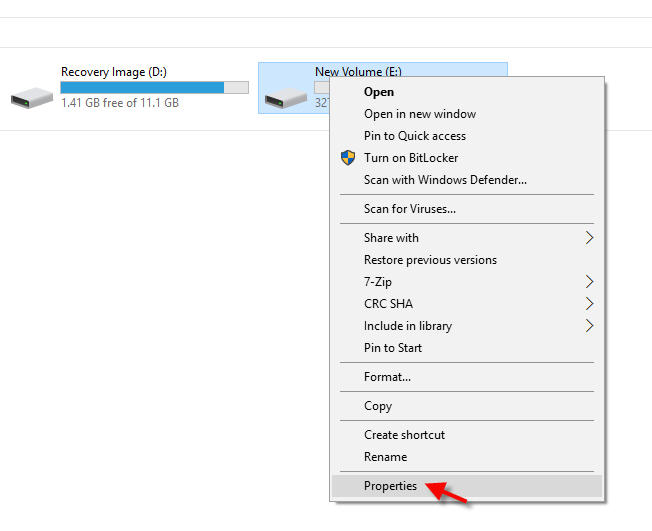
3. Select the drive you want to repair >> Right-click the drive >> click Properties.
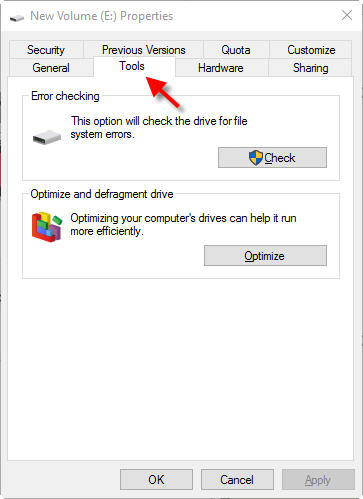
4. Allows you to Select the Tools tab5. Under Error checking section, click Check.
6. Allows you to Review the scan results
7. Click Scan and Repair drive option
8. Allows you to Schedule when to repair the file system.
9. Let Windows bad sector repair tool to Scan and Repair the Hard Drive Sectors
Option 2: Windows 7
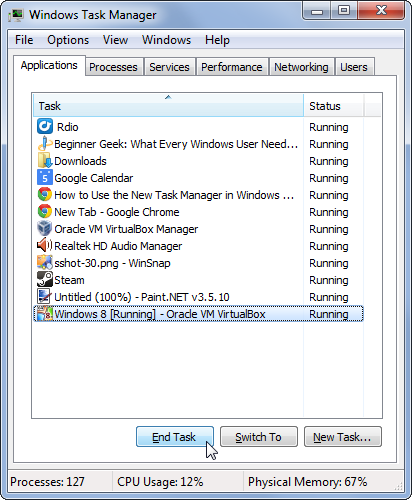
1. Close all running Programs and File
2. Go to Start >> Computer
3. Select the Hard Drive you want to check for Bad Sectors
4. Under Properties >> select Tools
5. Under Error-checking section, click Check now
6. Checkmark the Scan for and attempt recovery of bad sectors option
7. Click Start.
8. Indicates Windows attempts to fix errors
9. Review the Check Disk Report
The process is complete!
Now, the next important point of consideration that must be triggering in your mind is how to execute the hard drive recovery.
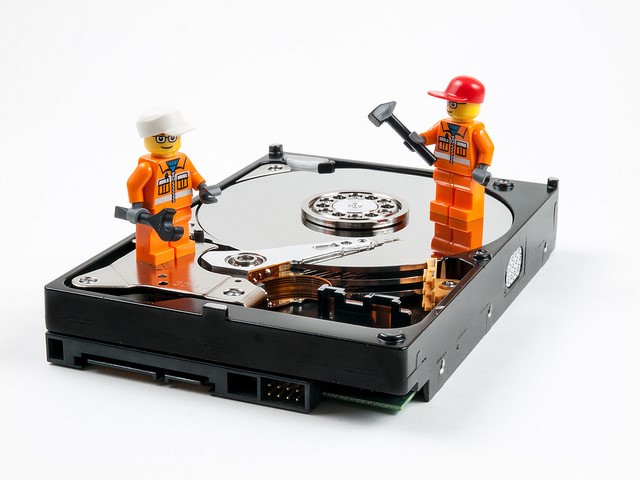
The One and Only Hard Drive Recovery Solution: A Software Approach
A software-directed approach is one of the best ways to leverage your lost, deleted, or inaccessible data. The Data Recovery marketplace is filled with multitudes of software that allows the user to regain data with 0% compromise. One such well-known tool is Stellar Data Recovery- Standard.

Powerful scan engine, state-of-the-art algorithms, and innovative features back this software and help the user in recovering the data that seemed inaccessible. In addition to being comprehensive and user-friendly, this data recovery software is 100% safe and reliable. It is compatible with Windows 10 and below versions. Simply download, install, and follow the step-by-step guidelines and the process is complete!
Systematic Approach for Recovery
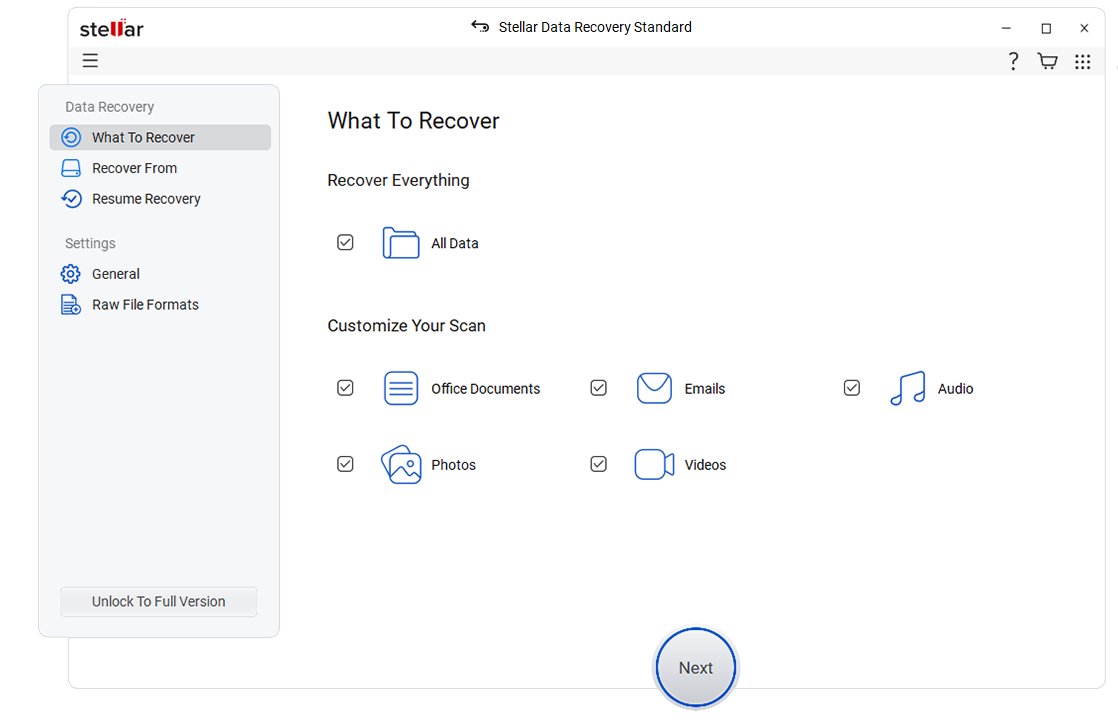
1. Launch & Select
- Launch Stellar Data Recovery- Standard for Windows software.
- Select the type of the data that you want to recover.
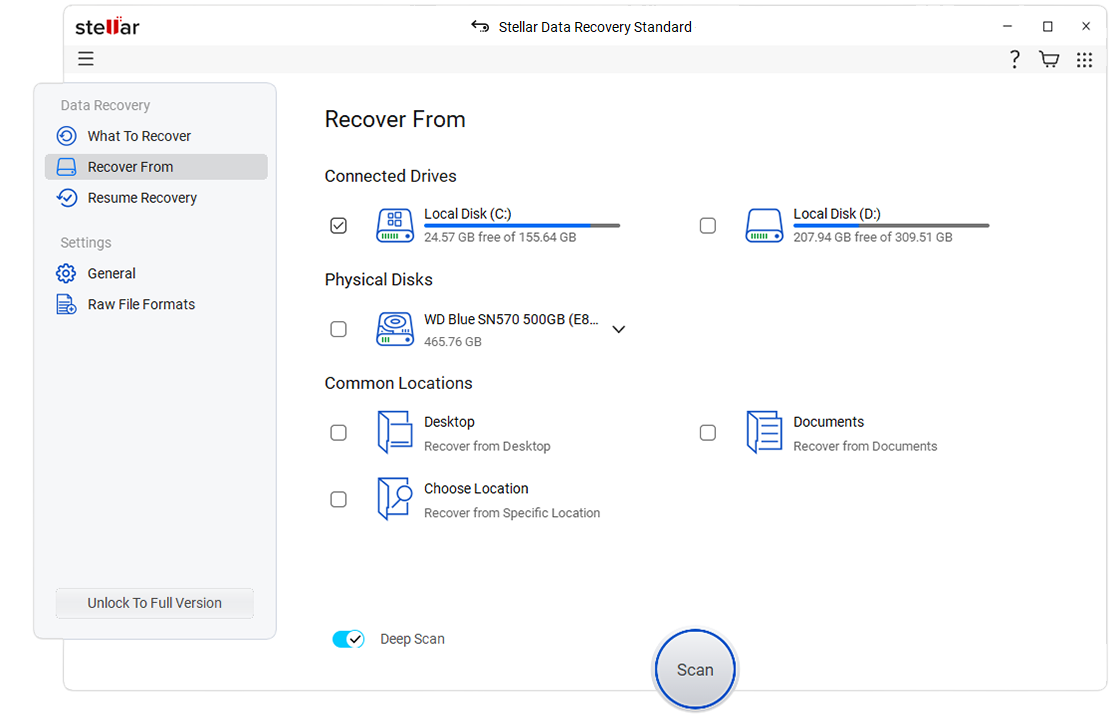
- Next, select the location from where you want to recover the data.
2. Scan & Preview

- Preview Files Simultaneously with Scanning
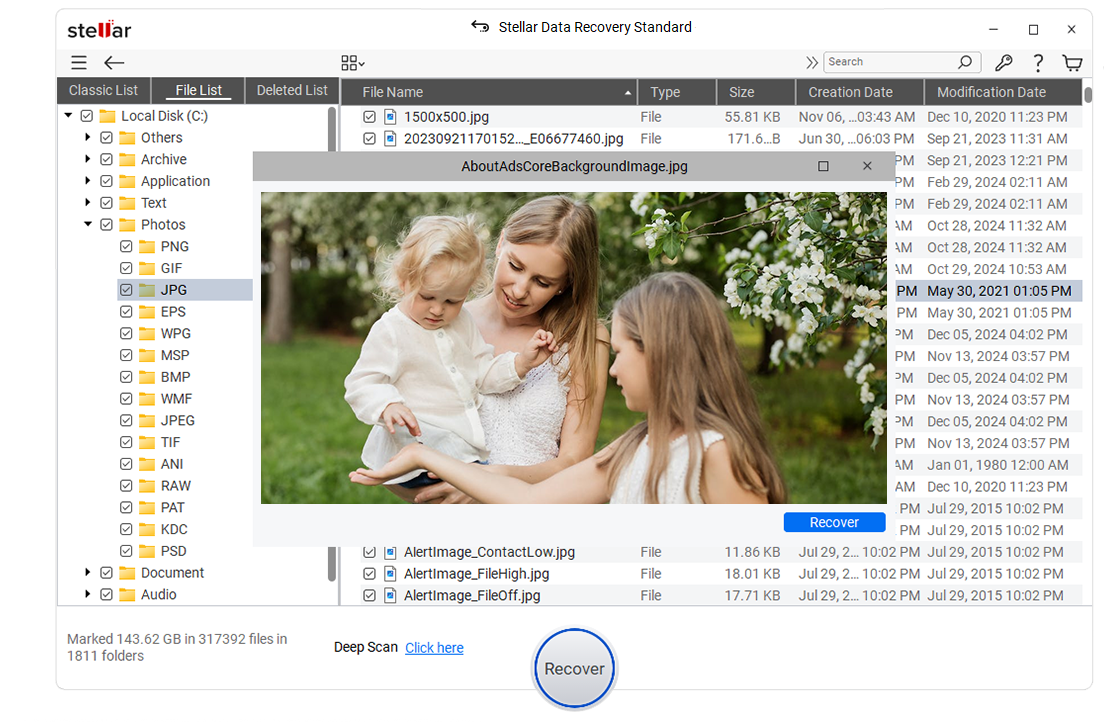
3. Sort & Save Recoverable Data
- Save the data upon successful completion of the scan process. To save, select the desired files and click Recover to store the recoverable files to the destination
The process is complete!
The Way Forward
When a hard drive comes up with bad sectors, then it turns inaccessible. As long as it does not increase, the data is secure and can be recovered easily. On the other hand, if it increases, then recovery becomes essential. Therefore, it is advised to remove bad sectors from hard disk in the initial stage to avoid data loss. Given that, the safe, secure and reliable Stellar Data Recovery- Standard for Windows is a viable option!
Was this article helpful?