Losing personal data stored on your Mac is the worst-case scenario for most Mac users. That is why macOS Time Machine is so popular within the Mac community. However, the Time Machine backup can overconsume your system resources. If you struggle with insufficient external drive storage, deleting Time Machine backups can be an effective fix.
This step-by-step guide will teach you how to clear Time Machine backups to free up extra space on your Mac.
When to Clear Time Machine Backups
Time Machine does a great job automatically removing old system backups. In such a way, it prevents the system from running out of space. However, occasionally, Mac users want to reclaim extra space for specific purposes.
Most users report the need to clear Time Machine backups when they need more space on external drives to upload other files. Another common scenario is when the Time Machine indicates a lack of free space and fails system backup.
You can clear Time Machine backups using Finder, Terminal, or the Time Machine utility based on your preference. Let’s dive in to find out more about each of the options.
How to Clear Time Machine Backups
You have three options to remove old Time Machine backups from your external storage disk.
You can delete unwanted backups using macOS Finder, Terminal, or the Time Machine app. Let’s focus on each solution for you to choose the best one.
1. Use Finder to Remove Time Machine Backups
One of the ways to clear Time Machine backups is to use macOS Finder, which allows you to move, copy, or delete different files.
Start with launching Finder. You can do it by clicking the Finder icon on the Dock panel.
 Dock Panel > Finder
Alternatively, you can use the Spotlight search.
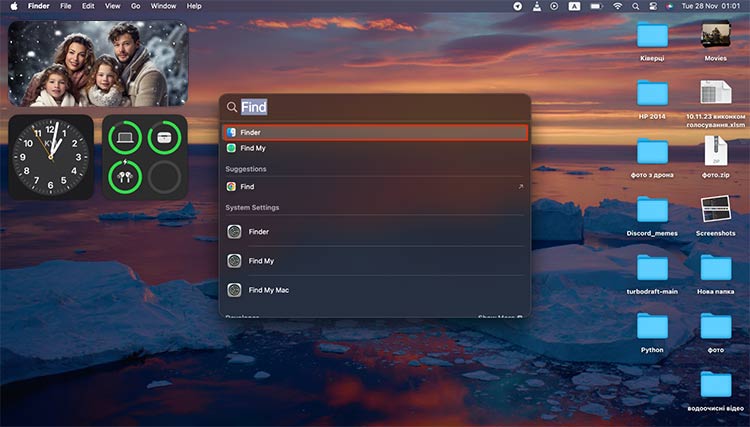 Spotlight > Finder
Now, you can delete Time Machine backups by following these steps:
- Connect your external device and wait for it to appear in the Finder sidebar.
- Go to your External Device and find “Backups.backupdb”.
- Open the folder and select a subfolder with the same name as your Mac.
- Check the saved backup list and right-click on the backup name you want to remove.
- Move the backup to the Trash folder.
- Empty the Trash.
2. Use Terminal to Clear Time Machine Backups
Many Mac users prefer to control their devices using a command prompt. If you find macOS Terminal more comfortable, delete unneeded Time Machine backups with a command line.
To open the macOS Terminal:
- Open it via Launchpad.
 Launchpad > Terminal
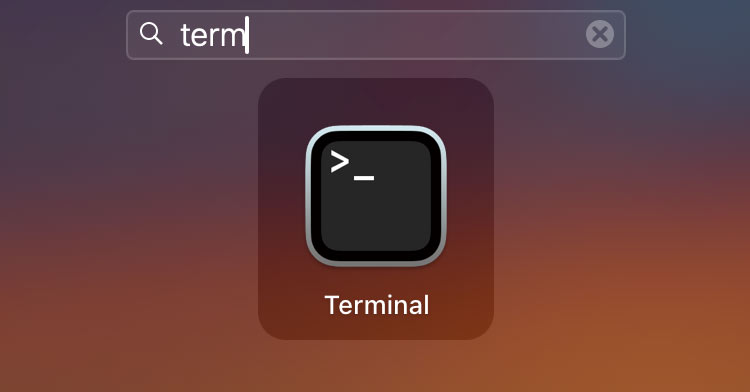
- Use the Spotlight feature.
To remove Time Machine backups through Terminal:
- Type tmutil list backups and hit Enter on your keyboard.
- Check the list of backups sorted by date.
- Find the backup you want to remove.
- Copy the directory path of a needed backup.
- Type sudo tmutil delete + backups directory.
- Hit Enter to remove the backup.
3. Use Time Machine to Delete Its Backups
Finally, you can access and remove old Time Machine backups from your Mac with the help of the Time Machine functionality itself.
To clear unwanted backups using Time Machine:
- Connect the external device with Time Machine backups.
- Access Time Machine via Launchpad.
- Find the backups that you want to remove.
- Click the Gear Icon located at the top of the folder.
- Choose to Delete Backup/ Delete All Backups.
- Enter your administrative password when prompted to confirm the deletion.
What Should You Do if You’ve Lost Files Due to Time Machine Backup Deletion?
Removing old, unneeded Time Machine backups is a valid option if you suffer from insufficient external disk space. However, you should remember that any file deletion may lead to accidental loss of essential data from your Mac. Luckily, you can recover unintentionally deleted files using data recovery software.
Stellar Data Recovery Professional for Mac is an excellent choice for those Mac users who need to restore lost files from external devices.
It can effectively retrieve data from such external devices as:
- HDD/SDD and Fusion Drive
- USB storage media
- High storage capacity Mac storage drives
To restore data with Stellar Data Recovery Professional for Mac:
- Download Stellar Data Recovery Professional for Mac.
- Launch the program from Launchpad.
- Select what type of files the app should recover.
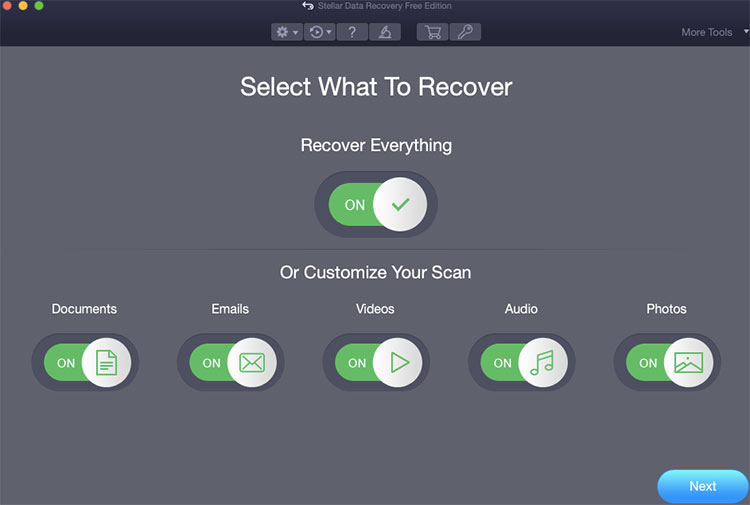 Stellar Data Recovery > Select What To Recover
- Select the volume to retrieve data from.
 Stellar Data Recovery > Recover From
- Scan the volume to identify the files to recover.
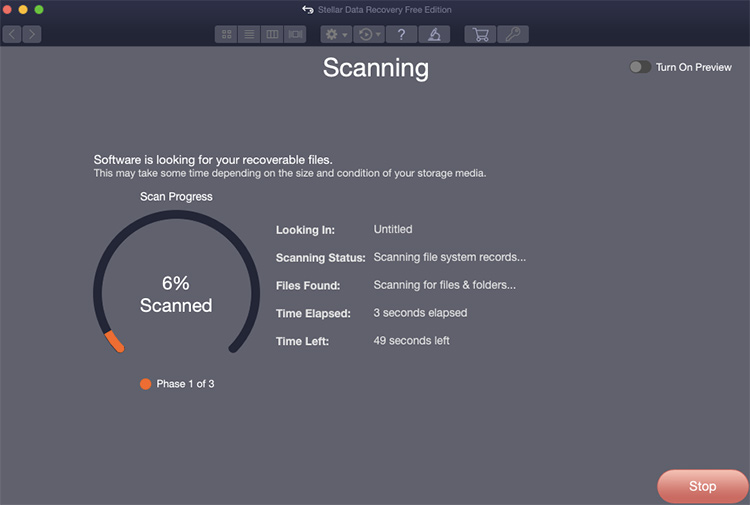 Stellar Data Recovery > Scan
- Check the list of the found files and choose those to restore.
- Click on the Recover button to bring back the lost files.
Bottom Line
Though Time Machine backups are great for keeping your data safe, you might face situations where you need to remove these backups from your external drive. You can do it using various methods. One of them is to clear Time Machine backups via Finder or the Time Machine application. Alternatively, you can use the Terminal commands to do it more quickly. However, if the backup deletion results in data loss, consider using data recovery tools to restore the lost files.
Read more:
Was this article helpful?