Why is Mac Giving You the “Couldn’t Unmount Disk” Error
Can’t unmount disk on Mac usually happens when you try to do some manipulations with the external or internal drive. The system won’t allow you to do anything if some other application or process uses the drive. You are also unable to partition, reformat or erase the disk you are currently booted from. Trying to perform any drive modifications would fail to give you the “couldn’t unmount disk” error message.
Before Fixing the “Couldn’t Unmount Disk” Error
We all know that it is recommended to do regular Mac backups. This becomes especially important whenever you try to fix any disk-related problems, including when you can’t unmount the disk on Mac. Make sure to use Time Machine or other third-party services to backup your Mac and protect your files. Use Stellar Data Recovery Professional for Mac if you encounter any kind of data loss and are in need of a quick and easy data recovery solution.
How to Fix “Couldn’t Unmount Disk” Error on Mac
There are several different ways to fix the “couldn’t unmount disk” error message on Mac. This includes using Stellar Partition Manager software, Disk Utility, or Terminal. For your convenience, we have structured instructions into step-by-step guides that are easy to follow.
A. Fixing with Stellar Partition Manager Software
Stellar Partition Manager is an alternative to Disk Utility that allows performing various types of disk manipulations: create, hide, delete, resize and mount a volume. Use Stellar Partition Manager when macOS can not format, erase and repair the Mac hard drive or a volume due to the “couldn’t unmount disk” error. Formatting the hard drive or partition scheme will recreate a new HFS file structure on the hard drive, which will be free from cryptic errors. You can also use this software to create a bootable DMG and load the system from it instead of the external drive.
To format the drive with Stellar Partition Manager:
- Install and run the software from the Applications folder.
- Choose the hard drive on the left.
- Click on Format on the top toolbar.
- Wait until the process is ready in the Task to-do list on the right.
- Choose the task and click on Start.
- Wait until the formatting process is done.
B. Using macOS Utilities
The system can’t unmount the disk you are currently booted from. So you need to start from a different volume to modify the internal drive. This can be achieved by booting your Mac from an external hard drive or macOS Recovery. After that, you can open Disk Utility from macOS Utilities to unmount the drive.
The instructions to boot into the Recovery Mode are different for Intel-based and Apple silicon Mac models, but they are the same on any OS, so you can follow these instructions even if you are using the newest macOS Monterey.
To open macOS Utilities on Apple Silicon:
- Shut down your Mac.
- Press and hold the Power button.
- Release the button once you see ‘loading startup options’ on the screen.
- Click on Options and Continue.
- Type in username and password.
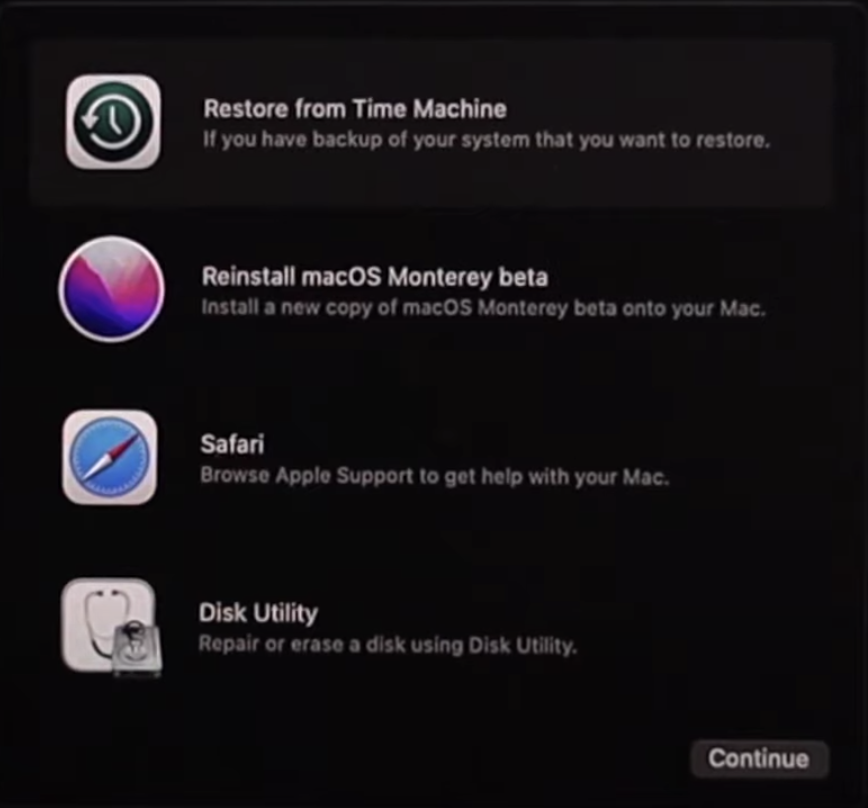 macOS Utilities on Apple Silicon
 To open macOS Utilities on Intel Mac:
- Shut down your Mac.
- Wait for a few seconds.
- Power your Mac while holding Command + R on the keyboard.
- Release the buttons once you see the Apple logo.
Once you follow these instructions, you will see the macOS Utilities window. From there you can open Disk Utility which allows you to unmount the drive and perform various types of other disk-related actions.
C. Unmount a Disk Using Terminal
If previous steps didn’t work, you can use Terminal to fix “can’t unmount disk” on Mac. Open Terminal from the Recovery Mode if you need to unmount the drive you are currently booted from. You can use it from the Normal Mode if you want to unmount any external drive.
To unmount a disk in Terminal:
- Open Terminal in Applications > Utilities or choose Terminal from Utilities in Recovery Mode.
- Type diskutil list in the Terminal window.
- Press Return to see the list of connected disks.
- Note or copy the name of the disk you want to unmount. The identifier example: ‘disk0s1’.
- In Terminal type sudo diskutil unmountDisk /dev/disks1 (make sure to change ‘disks1’ with the name of the drive).
- Press Return and enter the admin password.
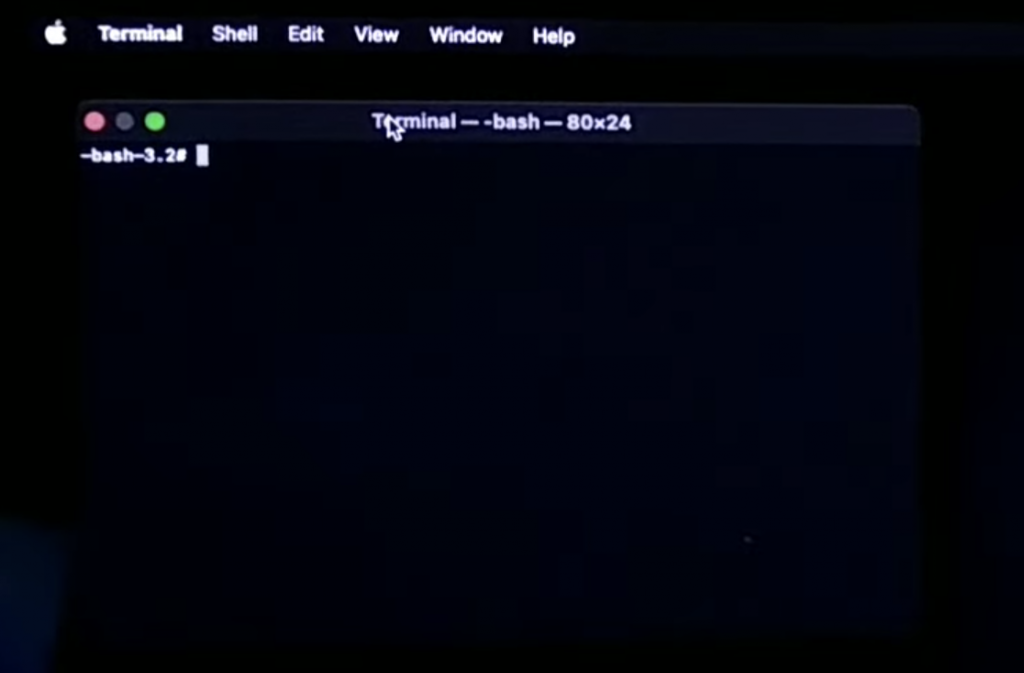 Terminal > sudo diskutil unmountDisk /dev/disks1
 FAQ
How Do I Force Unmount Macintosh HD?
The system can’t unmount the disk on Mac that you are currently booted from. To force unmount Macintosh HD you need to start from an external drive, bootable USB, or Recovery Mode. After that, you can use Disk Utility or Terminal to unmount the internal drive.
What is the Mount on Mac Disk Utility?
Mounting the disk means making its content available for macOS to read and write. Usually, the mounting process happens by the system automatically, but you can also manually mount and unmount a drive in Dist Utility.
How Do You Unmount a Disk on a Mac the Right Way?
Open Disk Utility, choose the needed drive, and click on Unmount to unmount a disk. To eject any external drive, you can use Finder. Choose the drive on the left of the Finder window and then right-click and choose Eject. You can also unmount an external drive by dragging the icon into Trash.
How Do I Fix an External Disk that Won’t Unmount?
Usually, you will see “can’t unmount disk” on Mac when some application or process is using the drive you are trying to unmount. Use Force Eject to fix an external disk that won’t unmount. Another option is to find the application using the disk and quit it. After that, you can try to unmount the drive once again. This way is safer, as using Force Eject may damage the drive or data on it.
Was this article helpful?