Exchange Server provides a feature, called federation trust that allows to establish trust relationship between Microsoft Exchange organization and Azure Active Directory (AD) authentication system. When you configure federation trust, it allows sharing with other federated Exchange environments for sharing calendar free/busy information, among the recipients. You can configure federated sharing between two federated Exchange organizations or with a Microsoft 365 (Office 365) organization.
You need to configure federation trust when you want to share free/busy information between organizations. For more clarity, let’s take an example. A company has acquired another company. One company (parent) was using Exchange Server and the other Office 365. The parent company would like to keep the business going before full migration of both companies to Office 365. So, until the migration is complete, they want to share their free/busy information with each other and give access to calendars. To do so, Exchange Server offers the federation trust feature.
For Hybrid configuration check How to Address Federation Trust Issues in Hybrid Configuration Wizard article.
Before you begin, you need to fulfil the following prerequisites:
- You (the user) must have the Exchange Server privileges as you need to modify the configuration of the Exchange Server locally.
- You must have the global administrator privileges of the Office 365 tenant as you need to modify both parties.
- You need to have access to the DNS zone of the Exchange Server (local) as a TXT record need to be added.
- Ensure that the Auto Discover service on the local Exchange Server is working with no issues.
Once you have fulfilled the above, you can proceed with the setup.
Steps to Configure Federation Trust on Local Exchange Server
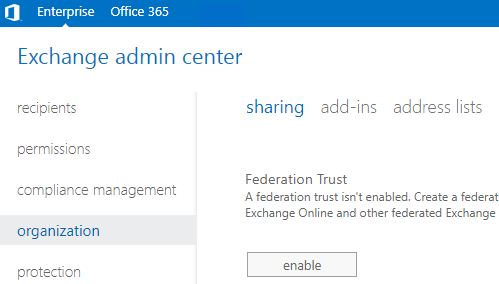
- Click on Enable.
- Under the Organization Sharing, click on the Add button.

- Enter the name of the relationship and the domain name to share with. There are some sharing options to choose from. You can even restrict the sharing with specific security groups. Once ready, click on Save.
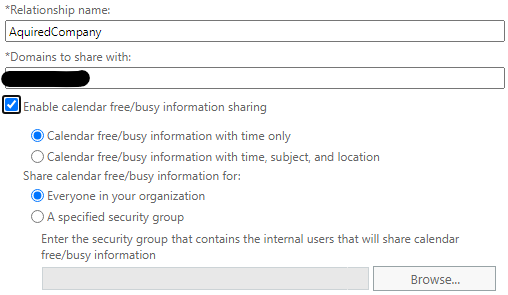
- After the operation is complete, the domains of the Office 365 tenant will be automatically added under the Domains section.

Steps to Configure Federation Trust on Office 365 Tenant
- Log in to the Office 365 Admin Center as global admin.
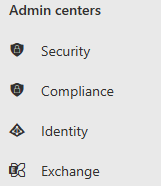
- Under the Admin centers, click on Exchange.
- Click on Organization and then click on Sharing.

- Click on Add organization relationship.

- Enter the name of the relationship, along with the primary domain used by the company, and click Next.
- Enable the Calendar free/busy information sharing option and click Next.
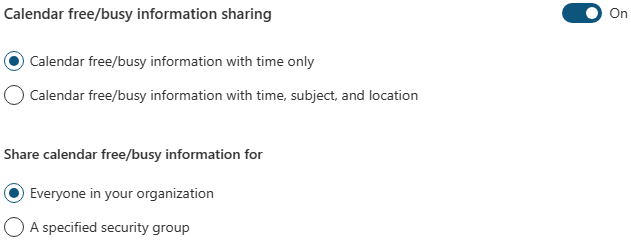
- Review the information you have selected and then click the Next button.
Once the process is finished, the users will be able to share calendar events and see free and busy status with the selected information.
Troubleshooting the Issues
While running the process on the Office 365 tenant, you may get the relationship creation failed error.
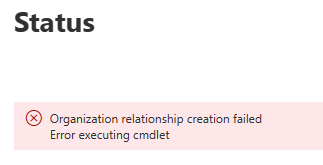
In such a case, you can check if there are any issues with the service or if there is any degradation of service. Retry the process at a later stage. If the issue persists, then consult with your CSP provider to open a case with Microsoft.
But, before opening a case with Microsoft, you must ensure that the local server is reachable and accessible from outside with no issues as well as the Auto Discovery service. This can be tested using the Microsoft Remote Connectivity Analyzer. Open the tool and click on Exchange Server.
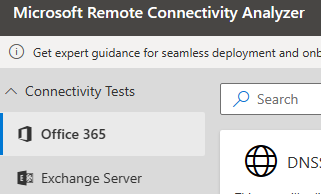
Here, you can perform different types of tests to confirm that all services are operational and accessible.
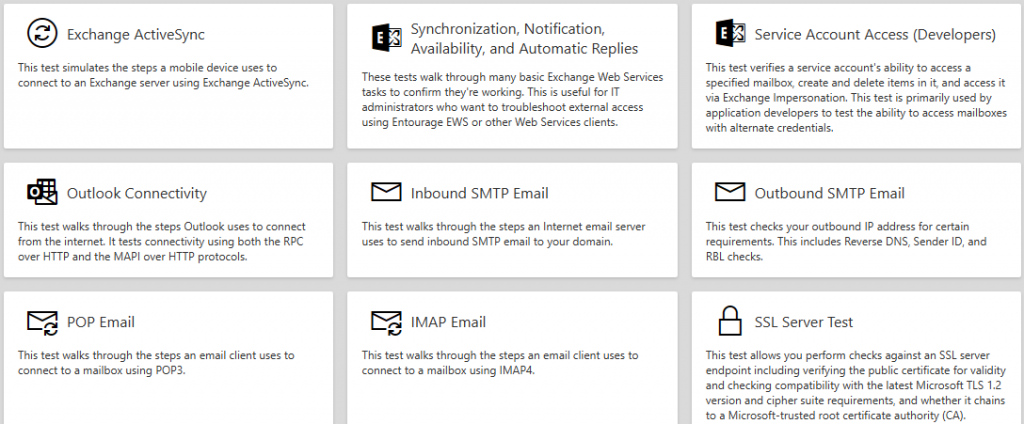
If the problem with the configuration of the federation trust doesn’t work on the local side, check that there aren’t any ports or traffic being blocked between the local server and the Office 365.
You must also check if the Office 365 is reachable from the Exchange Server. You would need to consult with the local network team to ensure that all is unblocked and traffic is allowed from the local Exchange Server to Office 365.
If all is configured well and still the free/busy information is not visible, you can try to restart the World Wide Web Publishing Service (IIS) from the Services control panel on the local Exchange Server. Sometimes, this is needed to get the federated services working.
To Conclude
There are different methods to consolidate the local Exchange Server with the Office 365 tenant. You need to consider the domains, along with the cleanup of mailboxes before the move. Migration of data can be simple or complex, depending on the method you use. You need to also consider the cost of migration and the resources needed for the operation.
With applications, such as Stellar Converter for EDB, the migration process can be simplified, with minimal impact and resource requirements. With the EDB to PST Converter application, you can easily open EDB files from any version of Exchange Server. Apart from granularly exporting to PST and other file formats, you can use the application to directly export user mailboxes/archives, shared mailboxes, disabled mailbox, and public folders to another live Exchange Server or Office 365 tenant. The application can help you migrate a complete Exchange Server or standalone EDB file with ease and with minimal impact, thus reducing cost and migration time.
Was this article helpful?