Startup Repair or Automatic Repair is a built-in Windows functionality that comes in handy when a Windows computer fails to boot correctly. As this feature is used in scenarios, like fixing blue screen errors and various startup issues, it is hardly expected to run into errors. But sometimes, you receive a message showing ‘Automatic Repair couldn’t repair your PC.’
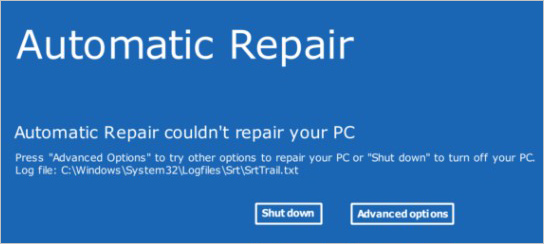
Note – With Windows 7 or older Windows OS, the error message might appear as – Startup Repair couldn’t repair your PC.
In some cases, users also reported their PCs getting stuck in an endless Automatic Repair loop. Restarting the computer brought no fruitful results. If you are facing an endless Automatic Repair loop, it could be a result of widespread system file corruption or severe Windows image errors.
Listed below are some reasons behind a PC showing the ‘Automatic Repair couldn’t repair your PC’ error message –
- Boot sector corruption
- Corrupted Master Boot Record or MBR
- Issue with the partition boot sector code
- Corrupted BCD or Boot Configuration Data
Let’s look at this error in detail and learn some methods to resolve it.
Methods to Fix the Automatic Repair Couldn’t Repair Your PC Error Message
To an ordinary user, the Automatic Repair couldn’t repair your PC error message could seem like an unfixable error code. However, there are methods you can try to resolve this issue on your own. Let’s see these methods in detail.
Do this before proceeding –
According to some users, disconnecting unnecessary peripheral devices like joysticks, printers, etc., from the computer helped fix the ‘Automatic Repair couldn’t repair your PC’ error message. If this doesn’t seem to be a peripheral issue, move on to the methods ahead.
Method 1: Run Bootrec Commands
Bootrec is a utility that runs via the command prompt in the Windows Recovery Environment (WinRE). It fixes startup or boot issues caused by a corrupted MBR, boot sector, or BCD. Carefully follow the steps below to use this command –
- Restart your PC, and as soon as the Windows logo appears, press and hold the power button for around 10 seconds until the PC shuts down.

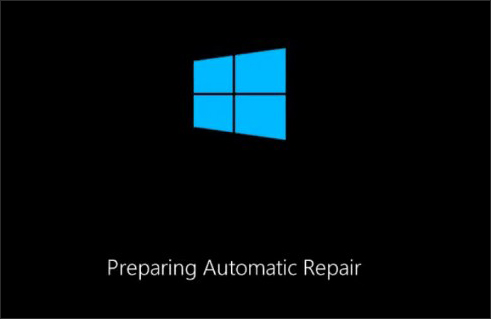
- Repeat step 1 a few times until you see the Preparing Automatic Repair screen.
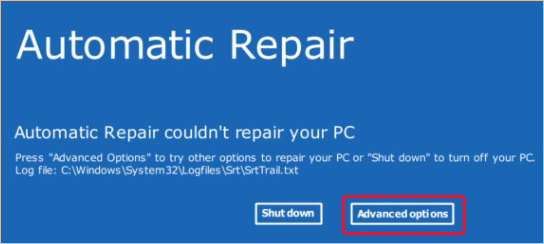
- Once you see the ‘Automatic Repair couldn’t repair your PC’ message on the Automatic Repair screen, click on advanced options.
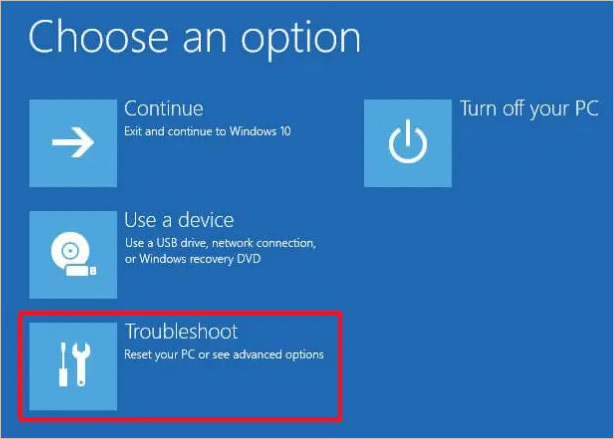
- Then, click on Troubleshoot.
- Click on Advanced Options.
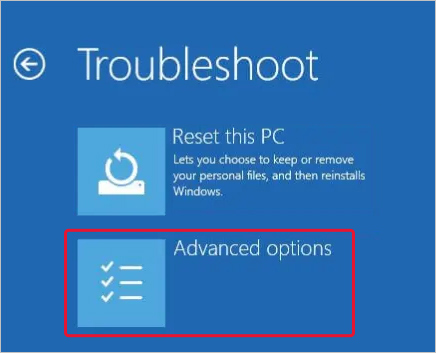
- On the next screen, click on Command Prompt to launch it.

- Once inside, execute the following commands in the given order:
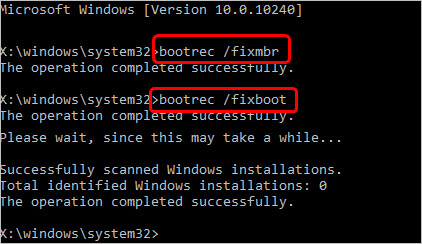
- Once you have successfully executed the commands, type Exit to close the command prompt window. It will return you to WinRE.

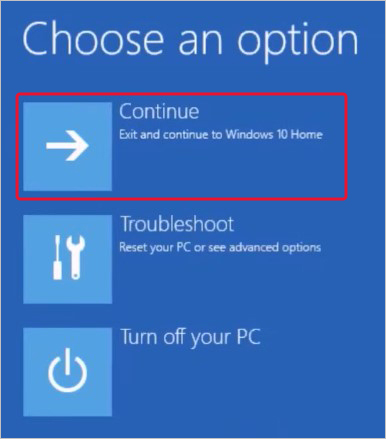
- Click on Continue to reboot your system.
Running the Bootrec commands will help you fix corruption with the MBR and the boot sector.
Method 2: Run CHKDSK
In some cases, bad sectors in the disk could be behind startup issues generating the Automatic Repair couldn’t repair your PC error message. In such a case, running the CHKDSK command might help you repair the disk errors.
However, running the CHKDSK command can also result in permanent data loss. Hence, we would recommend taking a complete backup of your data beforehand.
If your system is bootable, a free Windows data recovery tool like Stellar Data Recovery Free Edition will help you safely recover data and files. The best part is, it allows you to recover up to 1GB of data for free. However, if your system is unable to boot or is stuck in the Automatic Repair loop, upgrade it to the Professional edition to recover data from a crashed or unbootable system.
Once you have your data on an external drive, use the following command in the command prompt –
- Type CHKDSK X: /f /r and press Enter.
Note – Replace X with your drive letter.
Method 3: Run System File Checker
SFC or System File Checker is a command executed via the command prompt. It checks and repairs corrupted or missing system files. In case your Windows PC is showing the ‘Automatic Repair couldn’t repair your PC’ error message due to missing system files, run SFC to fix this issue. However, be sure to first boot your system in Safe Mode.
Once your system boots in Safe Mode, follow the steps below to use the SFC command –
- Run CMD as administrator.
- Type SFC /scannow.
- Press Enter and wait for the scan to end.

No More Boot Errors
It is extremely annoying when we encounter a problem while trying to fix another issue. The Automatic Repair couldn’t repair your PC is a typical system error that users encounter when there is a problem with the MBR, BCD, or the boot sector. Such peculiar errors usually leave the users confused. But using the abovementioned solutions, one can easily fix such typical issues without much hassle.
Tip – Always keep your data backed up on an external drive or a cloud server as it might come handy anytime.
FAQ
What if Startup Repair fails to initialize?
If a PC fails to boot into the OS multiple times, it could prevent Startup Repair from initializing. If this happens, use the Windows installation media to go into WinRE and perform Startup Repair.
Was this article helpful?