Write-protection on SD card and some thumb drives can be turned ON or OFF by using an attached physical switch. However, unlike SD cards, there is no such switch to enable or disable write-protection in a hard drive. Numerous queries on Google on how to remove write protection from hard drive explain that situation can be creepy.
Thus, if an external hard drive or internal drive volume becomes write protected, you need to rely on Windows troubleshooting steps to remove the write protection. But before you head to solutions, here are a few common reasons that enable write protection on a hard drive:
- Hard drive corruption
- Alteration in registry or permissions by user or malware/virus
- Encrypted hard drive
- Bad sectors
- Read-only attributes
A write-protected hard drive allows you to access the data in it (if the drive is not corrupt), but you cannot write or paste new files and folders, which makes the drive literally unusable. To make it usable, you must remove write protection from the hard drive.
How to Remove Write Protection from USB Drive or Hard Drive in Windows
Following these steps to remove write protection from your hard disk or USB drive in Windows.
NOTE: If the drive is corrupt or inaccessible, skip to Step 5 and immediately use a data recovery software such as Stellar Data Recovery to get back data from the RAW drive and safeguard it from further damage.
Step 1: Check and Fix Hard Disk Error
Before proceeding with any fix, we need to figure out if the affected hard drive is corrupt. Follow these steps to determine and fix the hard drive error:
- Open File Explorer and then right-click on the write-protected drive
- Select ‘Properties’ and then click the ‘Tools’ tab
- Under the ‘Error Checking’ option, click the ‘Check’ button. A pop up appears
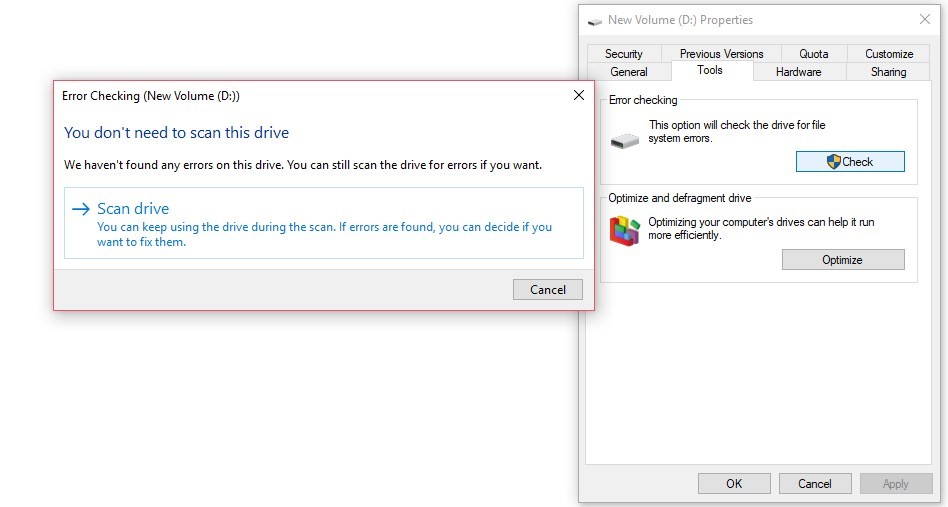
- Click ‘Scan’ and let the system scan and fix your affected drive
In case errors are found, but Windows is not able to fix them, proceed to the next step to remove write protection on hard drive or USB drive.
Step 2: Remove Encryption
Check if the drive is encrypted by using Bit locker or other third-party tools. Decrypt the hard drive and remove write-protection by using the same tool that was used for encryption.
Decrypting hard drive or turning off encryption may remove write protection, and then you may be able to access and transfer files between your system and the connected hard drive.
Step 3: Remove or Clean Attributes
To remove disk attributes that enable write-protection on a hard drive, use DIKSPART utility. On your Windows PC, connect the write protected hard drive and open CMD Windows. Then,
- Type diskpart and hit ‘Enter.’
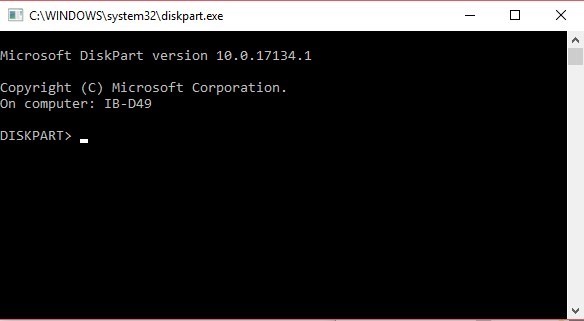
- Grant admin access when prompted
- Type ‘list volume’ and press ‘Enter’ to list all volumes
- Note the write-protected volume disk number and type
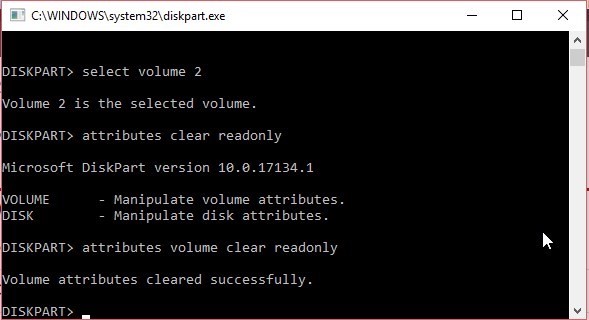
select volume X
where letter ‘X’ is the volume number of affected hard disk
- Press ‘Enter’ to select the volume in the DiskPart tool
- Type following command and press ‘Enter’ to remove the read-only attribute from the drive
attributes volume clear read-only
- Finally, type ‘Exit’ to close the DISKPART utility
Disconnect your hard drive and connect it again to check if write-protection is disabled. If not, follow the next step.
Step 4: Edit Registry
- Connect the write-protected hard disk to your Windows PC
- Press ‘Windows + R’, type regedit and hit ‘Enter’ to open ‘Registry.’
- Open Registry to fix write protected error on USB, SD or internal/external hard drive
- Navigate to HKEY_LOCAL_MACHINE >System>Current Control Set>Control and click ‘StorageDevicePolicies’
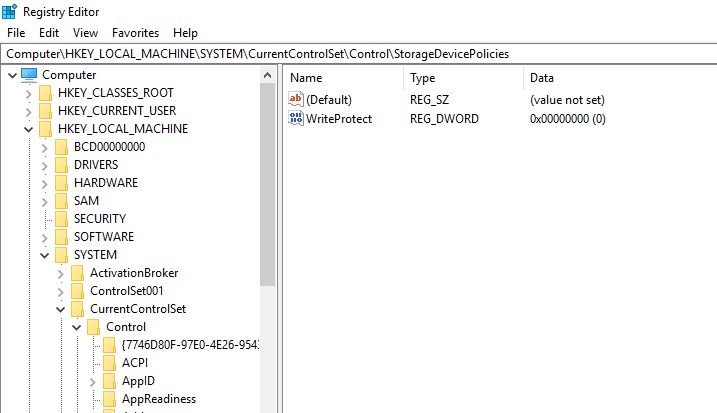
Double-click on WiteProtect and change the value in the DWORD field to ‘0’
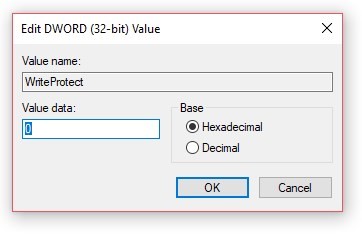
- Click ‘OK’ to save the changes
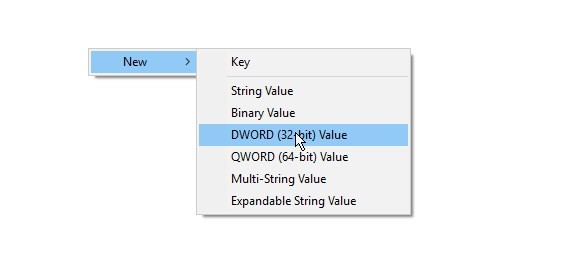
- If WriteProtect is not visible, right-click on the white space and choose New>DWORD (32-bit) Value
- Name it WriteProtect and set its value to 0
- Close the Registry Editor window and reboot PC to apply all changes. If you are wondering how to remove write protection from USB drive in Windows 10, then step 4 of this tutorial may cone in handy.
Step 5: Recover Data and Format the Disk
In case the drive is corrupt and inaccessible, use a data recovery software immediately as files cannot be read or written on the affected hard drive. Follow these steps to remove write protection from USB drive, hard drive, or external disk in Windows 11, 10, 8, and 7.

- Connect the affected drive to a Windows PC
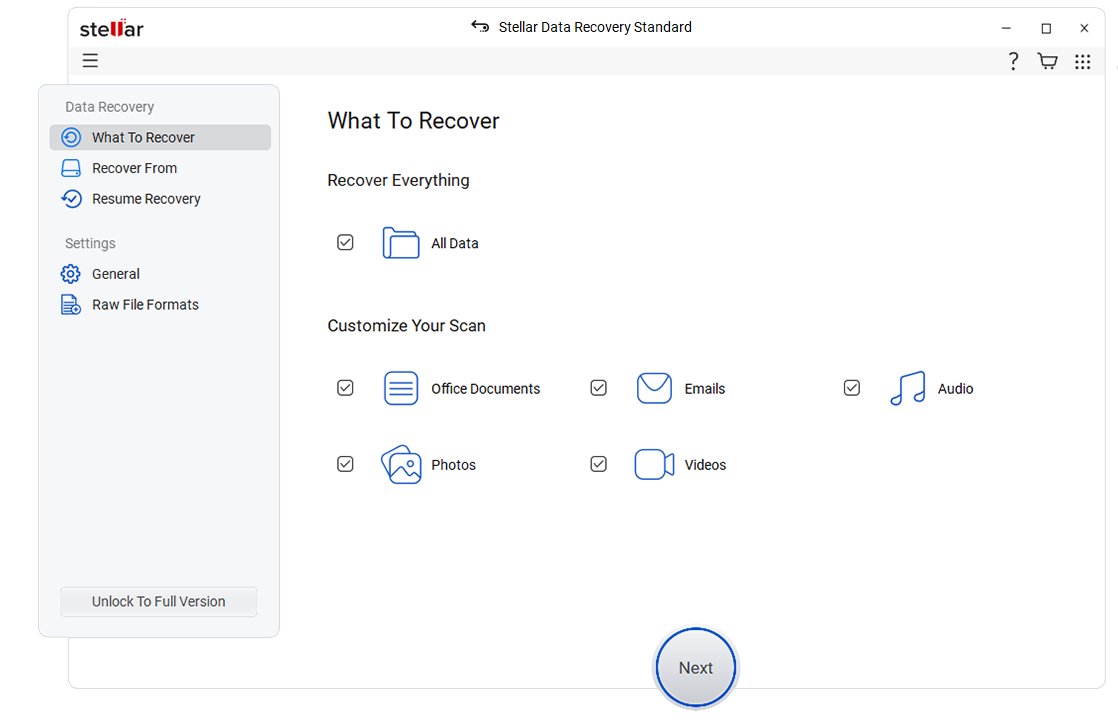
- Download, install and run the Stellar Data Recovery- Standard for Windows software. You can use it to remove write protection on your hard drive, USB drive, or external hard disk.
- Choose ‘All Data’ and press ‘Next.’
4. Under ‘Connected Drives’, choose the affected drive/volume
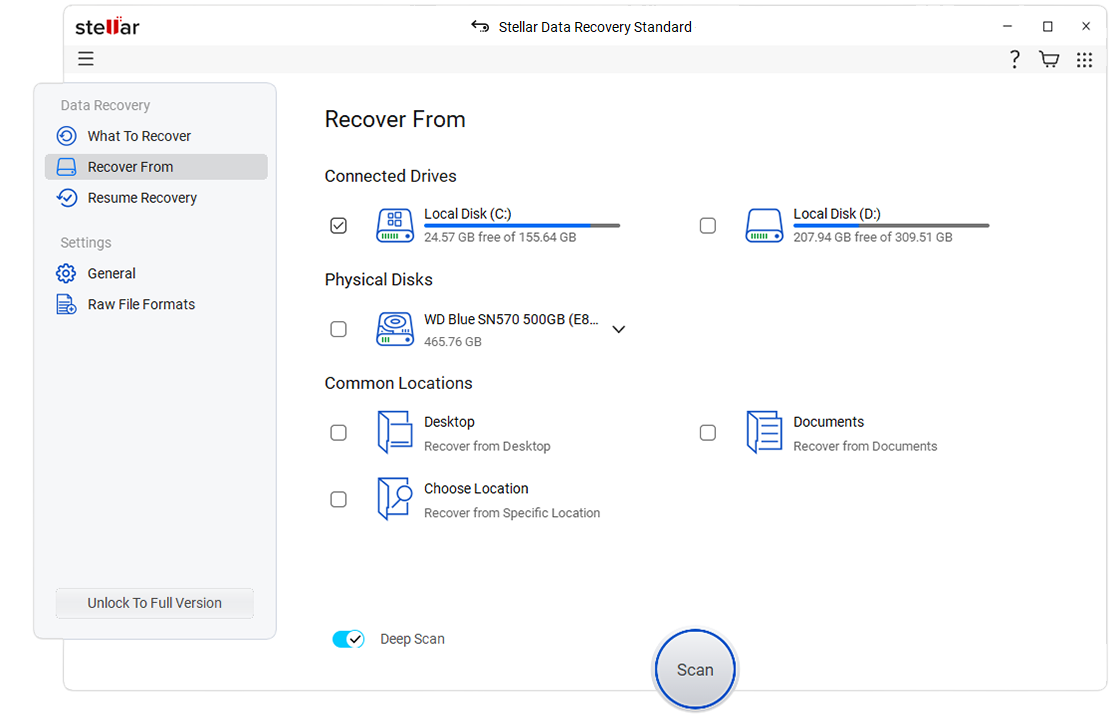
5. Turn on the ’Deep Scan’ toggle switch at the bottom-left
6. Click ‘Scan’ and wait for the scan to finish
7. After the scan, results are displayed in the left tree-view pane
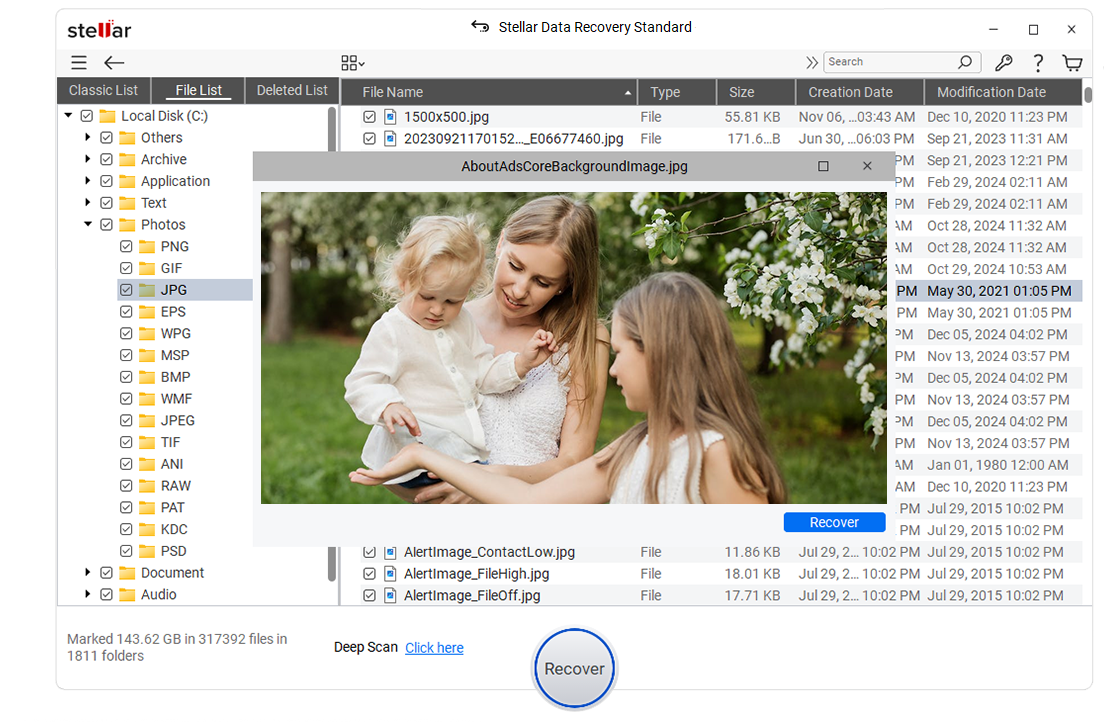
8. Select all data that you need to recover and press the ‘Recover’ button. You can also use ‘Search Bar’ to locate files quickly
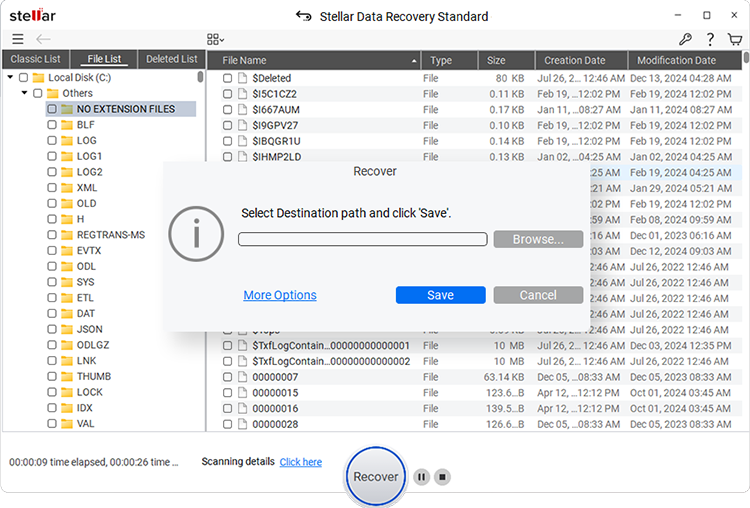
9. Click ‘Browse’ and choose a location on a drive with enough space
10. Finally, click ‘Start Saving’ and wait for the software to finish saving your recovered data from a corrupt write-protected hard drive
After data is recovered, use DiskPart or Disk Management tool to format the disk. You may also use a third-party tool such as HDD LLF to low-level format the drive.
How to Remove Write Protection from Hard Drive: The Conclusion
It’s a good practice to use write-protection switch on SD cards, and it does have a purpose. It helps protect the card from malware or virus infection and data loss. However, when it comes to a hard drive, things change, as there is no physical switch to toggle write-protection in hard drives.
Thus, when a hard drive becomes write-protected, it most likely indicates a severe virus or malware infection and corruption. In such cases, you must immediately use a reliable data recovery software such as Stellar Data Recovery Standard for Windows to safeguard data before heading to fixes.
The software can retrieve deleted, corrupt, and formatted files from all kind of storage media, even if they have turned inaccessible due to write-protection! But if the drive is accessible, back up the data and follow the troubleshooting steps to remove write-protection from the hard drive.
Was this article helpful?