A sudden spike in CPU usage is common when you’re playing a video game or performing a resource-intensive task. However, there are times when, after installing Windows updates, a third-party application, or even while watching online videos, you may see CPU utilized at 100% with the WMI Provider Host.
The WMI (Windows Modules Installer) Provider Host (WmiPrvSE.exe) is a critical Windows component that enables applications to connect with system hardware and information. High CPU usage issues with this service are usually caused by some particular app or service running in the background and developing excessive WMI queries.
When the WMI Provider Host high CPU usage issue occurs, your system may freeze for a few seconds or become sluggish, disrupting the workflow. Other reasons include a large or corrupted WMI repository, faulty RAM, or malware infection on your system.
Fortunately, the error is fixable. We have compiled proven workarounds to solve the Windows Management Instrumentation High CPU issue. Let’s try out these fixes right away!
Methods to Fix WMI Provider Host High CPU Usage Issue
Before proceeding with the methods, ensure that you have a data backup available. Any mistake while following the methods might damage your system and put data at risk.
#1 Perform Clean Boot
Clean boot starts your system with limited startup applications and drivers to help you identify if any background program is causing the issue. It is somewhat similar to booting your PC in Safe Mode but gives you more control over which service or program runs at startup. This way you may find out and isolate the cause of the problem.
In case fixing the WMI provider host is reflecting a High CPU Usage issue, performing a clean boot can help you identify the background program interfering with the TiWorker.exe process. To do so, follow the given steps:
Sign in to your system with admin credentials, or if you have admin rights, follow the given steps immediately. (Without admin rights, you’ll not be able to perform the following steps.)
- Press Windows + S, and it will open the Windows Search.
- Type msconfig in the Search bar, and when you see System Configuration in the result, click Open.

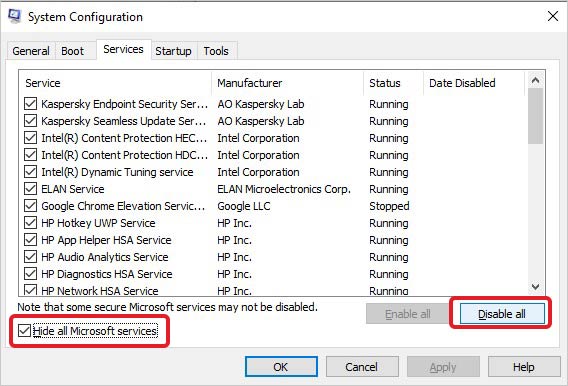
- Go to the Services tab of the System Configuration, select Hide all Microsoft services, and then select Disable all. Click Apply and then OK.
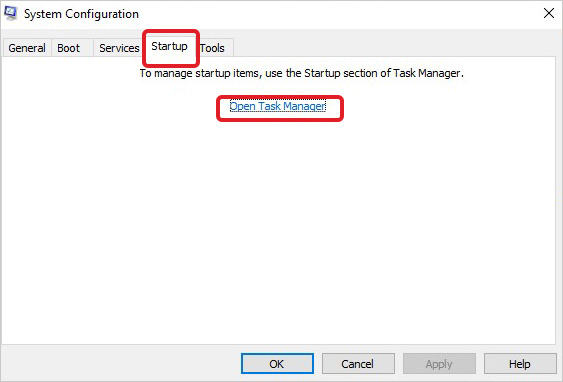
- Now, move to the Startup tab and click Open Task Manager.
- Now, select each Enabled item and click Disable one by one.
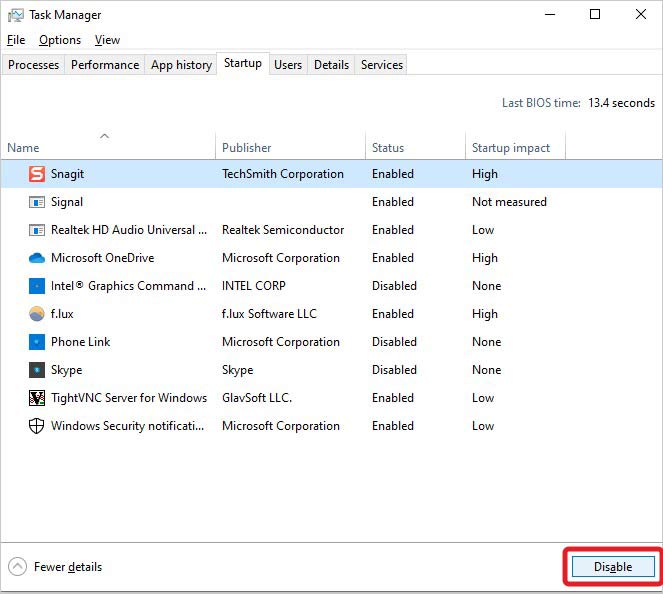
- Now, close Task Manager. On the Startup tab of System Configuration, select OK and reboot your system.
- After reboot, your system will be in a clean boot environment.
#2 Use Event Viewer to identify WMI queries
High CPU usage by WMI Provider host service can be due to any application or service in your system creating unnecessary WMI queries. You can check the Event Viewer to find the WMI queries related to a particular application or service that may be causing high CPU usage. To do so, follow the steps given below:
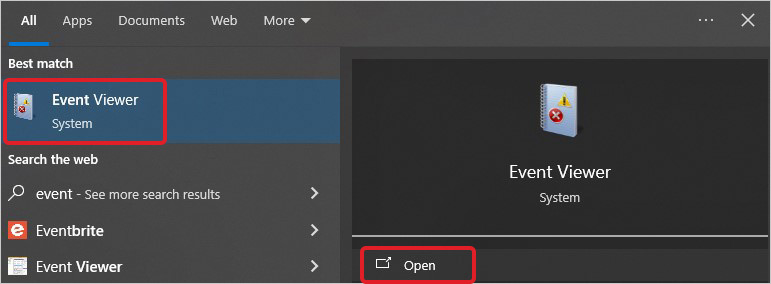
- Open Event Viewer from Search.
- Go to Applications and Services Logs.

- Now, navigate to Microsoft and then select Windows.

- Expand the Windows category there, and then open WMI-Activity.
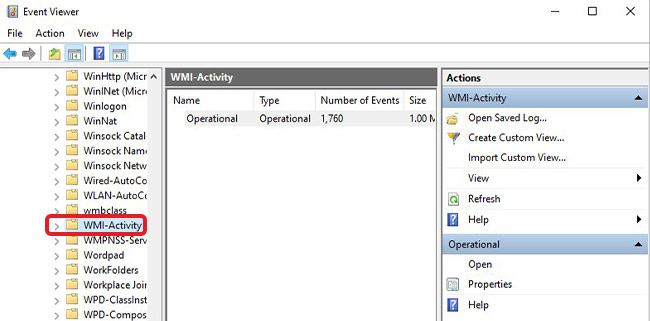
- Next, open Operational logs under WMI-Activity and look for Errors there.
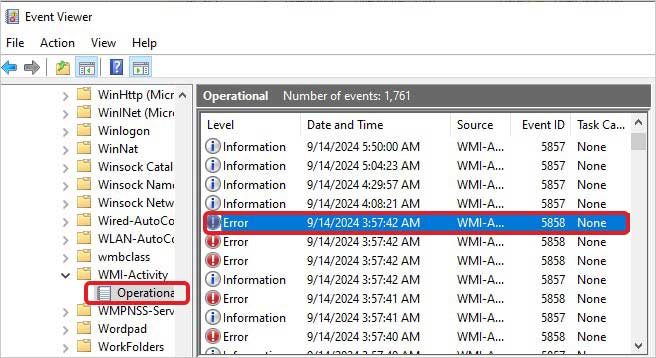
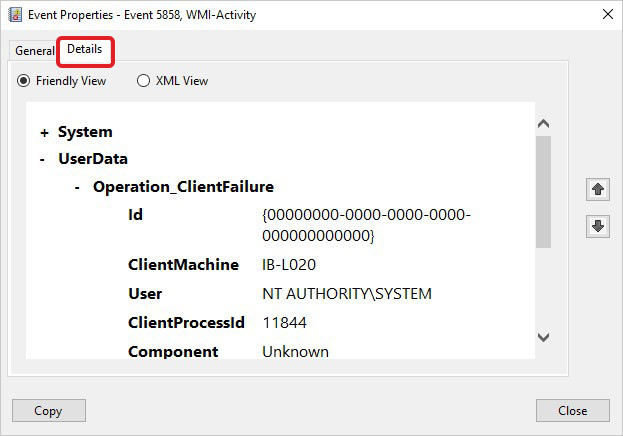
- You can double-click the Error and then go to the Details tab to learn more about what specific application or service failed or is making problematic queries.
#3 Restart WMI Provider Host Service
Sometimes, WMI Provider Host Services may occupy too much of your system resources, leading to crashes in the worst scenarios. However, since it is a crucial Windows component that works as an intermediary between the hardware and software, allowing applications to access the system information. So, stopping it is not advised. But you can restart it and see if it impacts CPU usage. To do so, follow the given steps:
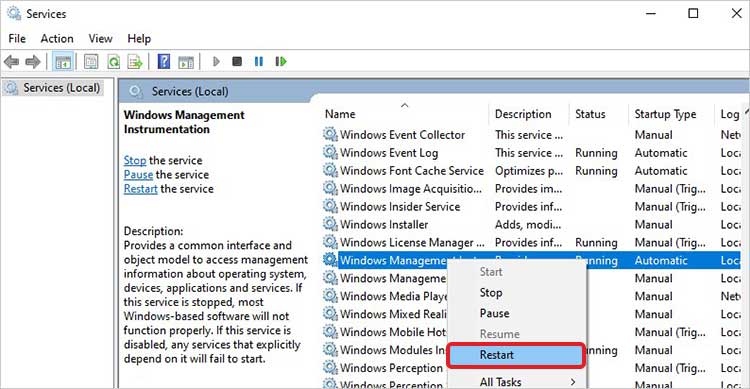
- Go to Search, and Open the Services from the result.
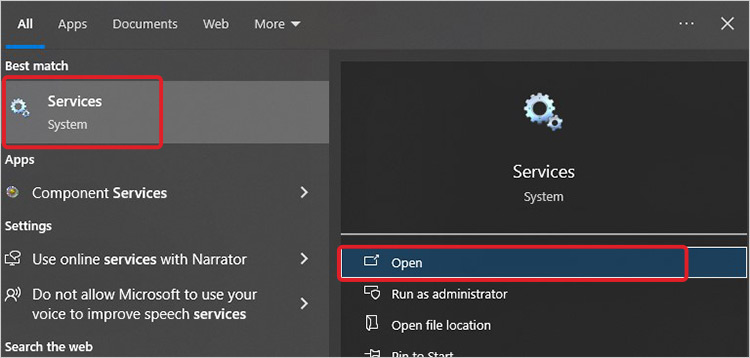
- Locate Windows Management Instrumentation services, right-click on it, and select Restart.
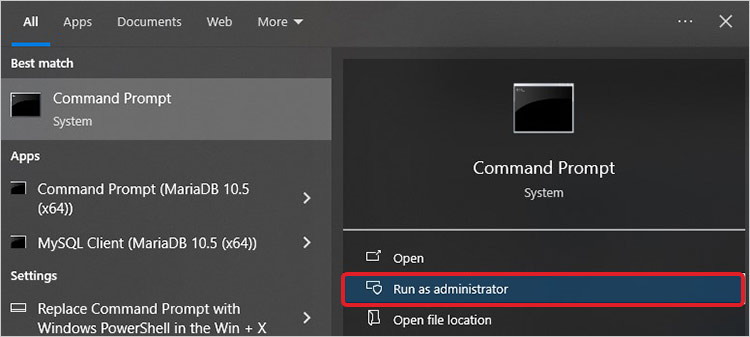
- Now, open Command Prompt and run it as administrator.
- Type the following commands one by one and hit Enter after each command.
net stop iphlpsvc
net stop wscsvc
net stop Winmgmt
net start Winmgmt
net start wscsvc
net start iphlpsvc

Once done, reboot your system and see if the WMI Provider Host High CPU usage issue is fixed now.
| Note: Be careful while running these commands, as one mistake can disrupt the whole process and cause system to malfunction. Ensure that you have a backup ready. Else, use a professional data recovery software, such as Stellar Data Recovery Professional. This DIY software efficiently recovers all data types from Windows PCs and supported storage media drives. It can also restore data from unbootable, crashed, or BSoD-affected systems. |
#4 Set Windows Installer Startup to Manual
Windows Modules Installer Worker updates automatically, leading to high CPU consumption. To prevent this, you can set WMI Startup to Manual. This will help you get important updates at your convenience or when you have the system resources to spare. Windows automatically notifies you when an update is available to install.
The steps to set Windows Modules Installer Startup to Manual are as follows:
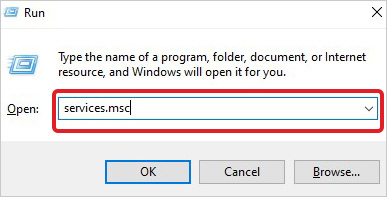
- Open Run dialog box (press Windows + R), and type services.msc. Click OK or press Enter. (You can also access Services from Windows Search).
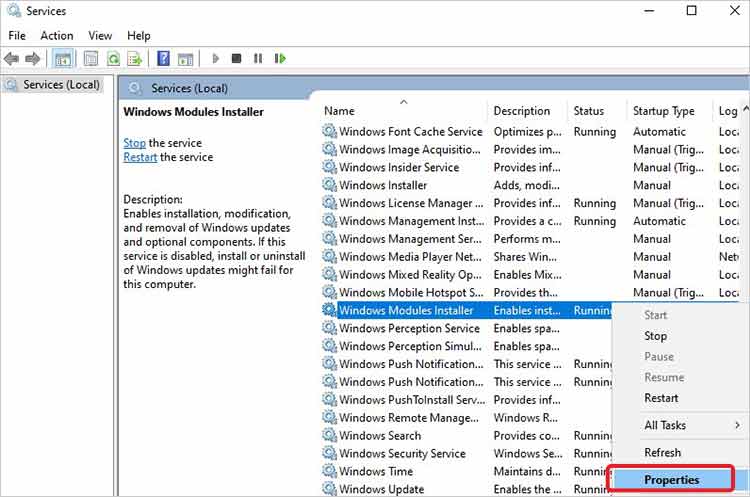
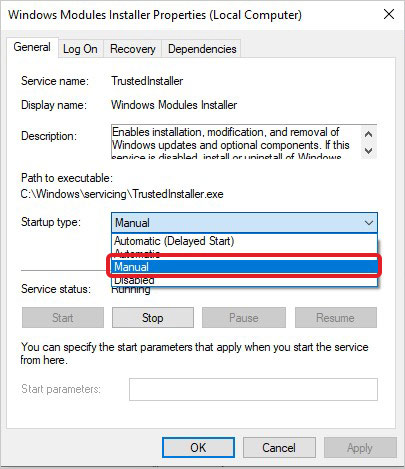
- Locate Windows Modules Installer there, right-click on it, and select Properties.
- Now, in the Startup type, select Manual from the drop-down list. Click Apply to confirm the changes.
Once done, reboot your system and see if the issue is resolved.
#5 Run Memory Diagnostics
Some users stated that faulty RAM was the real culprit behind Windows Modules Installer Worker’s high CPU usage issue. You can also run Windows Memory Diagnostics, a built-in tool to test the RAM and rectify the problem.
Steps to run Windows Memory Diagnostics are as follows:
- Go to Search, type Memory Diagnostics and click Open when you see Windows Memory Diagnostic in the search result.
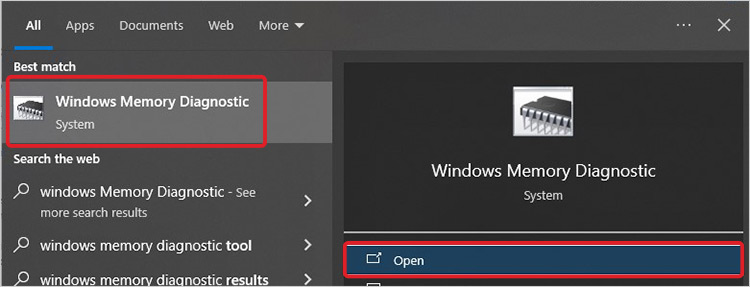
- You can alternatively open Memory Diagnostic by running it from the Run dialog box by typing mdsched.exe command and Enter.

- Select Restart now and check for the problems on the following prompt.

- Now, the system will reboot with the test window.
- Let the test complete and see if any issues are found in the result.
If the result shows that your RAM has gone bad, replace it with a new one. If its status appears fine, proceed with the next method and try to resolve the issue.
#5 Run a malware scan on your system
Sometimes, malware or virus on your system can be the real culprit behind the WMI provider host high CPU usage. You can run a malware scan on your system to ensure that there is a virus causing the problem. To do so, follow the steps below:
- Open Settings, go to Update & Security, and then go to Windows Security.
- There, click Virus & threat protection.

- Follow the further prompts to scan your system for malware.
- If there are no signs of malware, proceed with the following method.
#6 Uninstall Problematic Windows Update
Many users have reported that after installing some Windows updates, they started experiencing issues with WMI provider host consuming high or even 100% CPU usage. This even led to the system freezing completely, disrupting the whole work. So, in this case, boot your system into Safe Mode with Networking and then uninstall all the recent Windows updates.
Steps to uninstall the recently installed Windows Updates are given below:
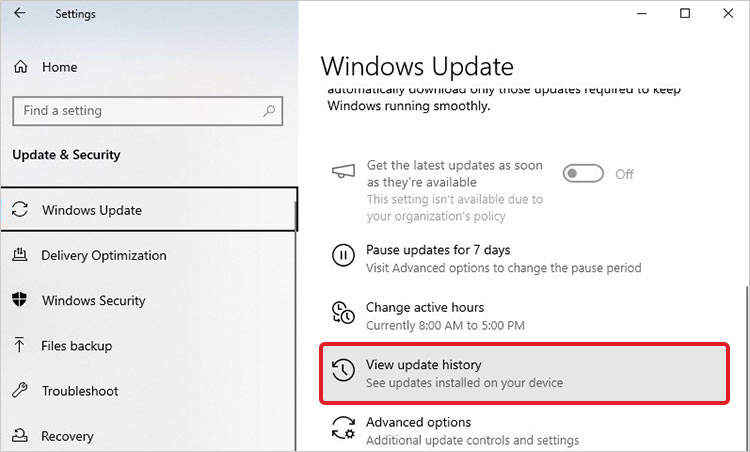
- Go to Settings (Windows + I), and then go to Update & Security.

- Now, go to Windows Update and then open View update history.
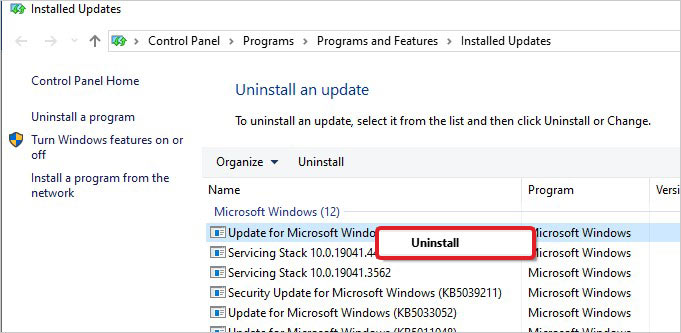
- On the next prompt, click Uninstall updates.

- Select the update you installed recently, right-click on it, and then click Uninstall.
Once installed, check if the Windows Modules Installer Provider Host High CPU Usage consumption issue is resolved.
#7 Uninstall Buggy Drivers
Outdated or incompatible drivers may also cause this problem. If you have started facing the issue after installing a particular device driver, try uninstalling it and see if it gets resolved.
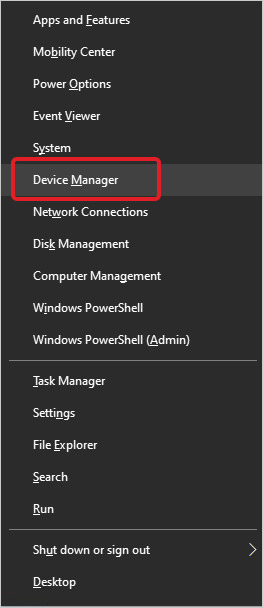
- Access the Start Menu by pressing Windows + X, and then open Device Manager.
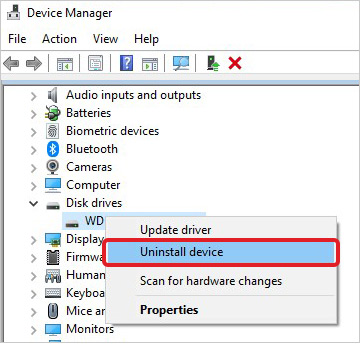
- Now, select and expand the category for which you might have installed the drivers recently. For example, we’ve expanded the Disk Drives category.
- Right-click the driver in the category and then click Uninstall device.
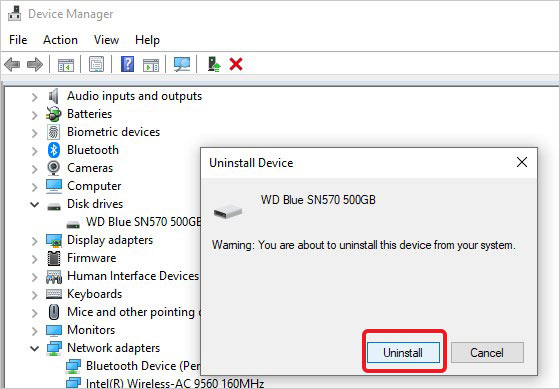
- On the next prompt, click Uninstall again.
The driver for the selected device will be uninstalled. Once done, see if the issue is resolved.
Conclusion:
The WMI Provider Host’s High CPU Usage issue can be fixed with the methods discussed above. However, if a particular WMI provider seems to be causing a high CPU usage issue, isolate it using the wmic command to run it in its own process. If there is a large or corrupted WMI Repository, don’t start rebuilding it right away, as it may severely damage your system, putting data at risk. First, back up your system data and then proceed with the troubleshooting methods. If you encounter data loss after performing any troubleshooting method, use professional data recovery software to recover data efficiently.
Let us know which methods helped you fix the issue. If you have any queries or suggestions, let us know in the comment section below!
Was this article helpful?