If you are a Mac user, you might have seen a process called sysmond in your Activity Monitor. Sysmond stands for System Monitor Daemon, whose role is to collect and display different systems metrics in Activity Monitor. Sysmond is supposed to work in the background without causing any problems, but it can consume lots of CPU and memory resources, making your Mac laggy, hot, and noisy. However, in some situations, a sysmond high CPU process may even bring a kernel panic that would cause your Mac to crash unexpectedly.
In this article, we will tell you how to resolve the sysmond high CPU problem on your Mac and how to keep it from happening again.
What Causes Sysmond to Use High CPU?
Typically, the sysmond process shouldn’t consume many CPU resources. Nevertheless, there are cases where it can glitch and use more CPU resources. This can happen due to various reasons, such as:
- A bug in the sysmond process itself or in the Activity Monitor app.
- Corrupted or outdated system files.
- A malware that hijacked the sysmond process.
- A wrongly configured, unsuitable app or service that interacts with the sysmond process.
Your system may experience poor performance and instability when the sysmond high CPU issue persists. This may also result in quicker battery draining and a louder fan operation. That’s why it is important to deal with this issue.
How to Fix Sysmond High CPU Problem on Your Mac
There are different ways and methods to resolve the issue. Let’s talk about each in more detail.
Solution 1: Quit Unnecessary Apps and Processes
One of the possible reasons why sysmond process consumes a lot of CPU is because your Mac has too many applications and processes running. Sysmond may be forced to work a lot, hence overloading the system. You could force quit the apps and processes that you are not working with or those that are consuming a lot of resources. Here is how to do that:
- Go to Activity Monitor from Applications > Utilities.
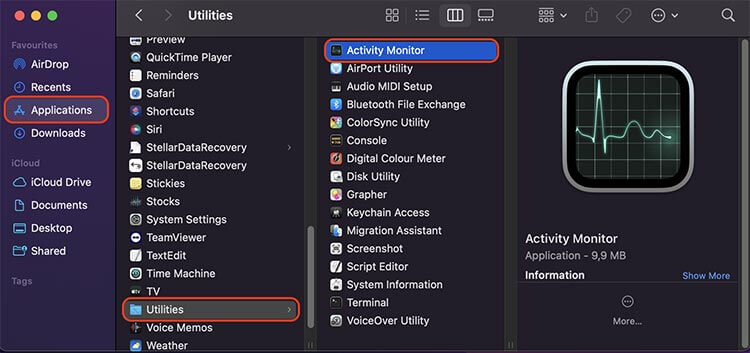 Open Activity Monitor
- Click on the CPU tab and sort the processes by % CPU.
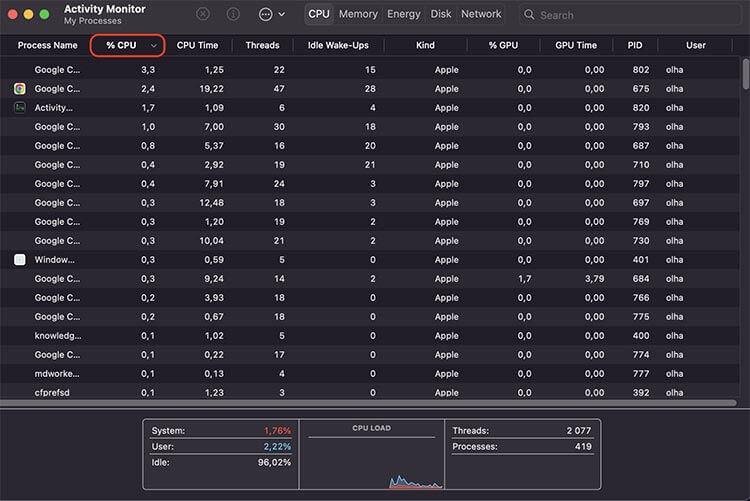 Go to %CPU tab and sort processes
- Look at the processes and choose the one that you want to quit.
- Click on the X button at the top-left corner and confirm the action by clicking Force Quit or Quit.
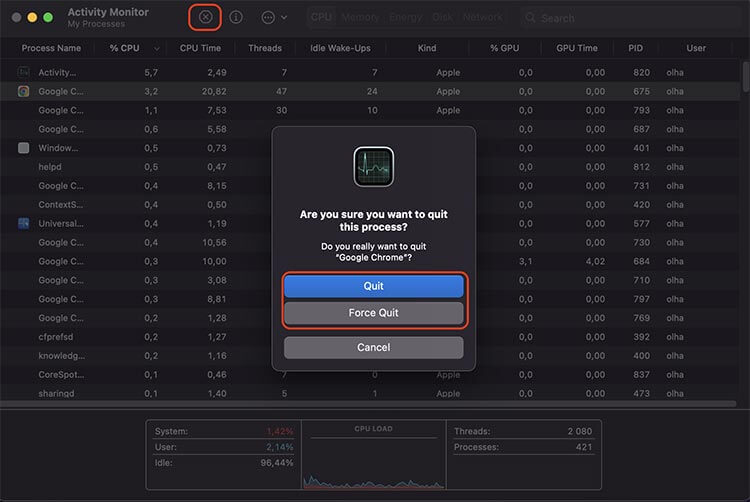 Choose the app > click Quit or Force Quit to stop it
Alternatively, you can click on the Force Quit button from the Apple menu to close the application that is not responding or just those you don’t want running. To do that:
- Click on the Apple Menu.
- Select Force Quit.
 Go to Apple menu > Force Quit
- Select the needed app and click Force Quit.
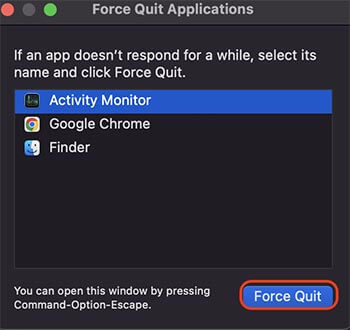 Choose the app > click Force Quit
Solution 2: Quit and Restart the Activity Monitor App
Another simple solution to fix the sysmond high CPU issue is to restart the Activity Monitor app. Activity Monitor may sometimes glitch or not respond because of the high CPU usage. Try to quit and then restart the app to see if it would fix the problem.
Follow the next steps to restart the Activity Monitor:
- To quit the Activity Monitor app, select the Quit Activity Monitor from the menu bar.
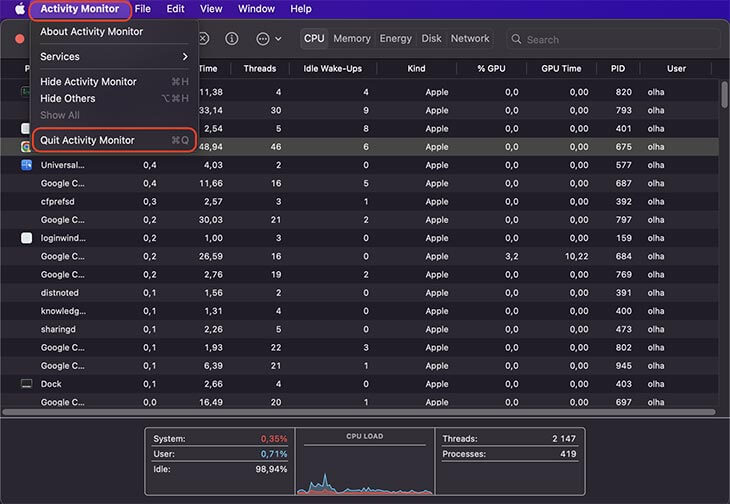 Activity Monitor menu > Quit Activity Monitor
- To restart the app, go to Applications > Utilities > Activity Monitor in Finder.
 Open Activity Monitor
Solution 3: Change the Update Frequency of the Activity Monitor App
The other fix can be to modify the update frequency for the Activity Monitor app. The update frequency specifies the intervals at which the data in Activity Monitor is refreshing. The higher the update frequency, the more data requests are sent; therefore, the more CPU is used.
To change the update frequency of the Activity Monitor app, follow these steps:
- Open Activity Monitor.
- Select the View option from the menu bar > click on Update Frequency.
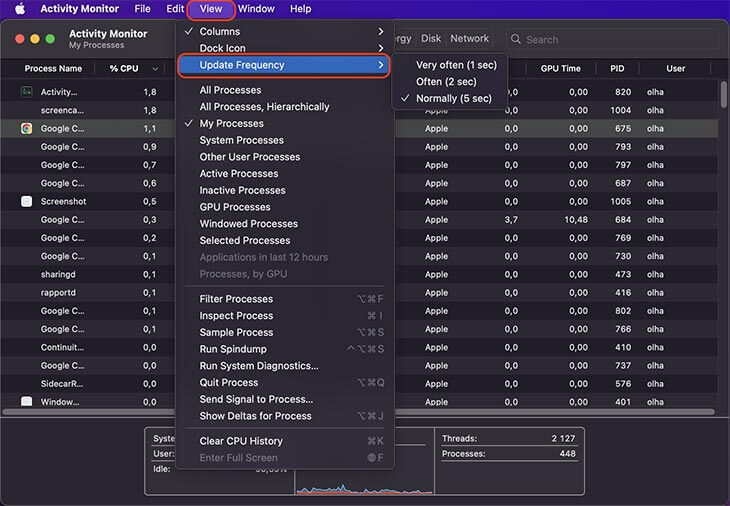 Click View on the menu bar > click Update Frequency
- You will see 3 options: Very Often (1 sec), Often (2 sec), Normally (5 sec). Try selecting another option from the select one.
Solution 4: Force Quit and Restart the Sysmond Process
One more solution may be to restart the sysmond process. In some cases, the sysmond process may suffer from a bug or corruption, which is why it requires high CPU consumption. But you can try by force quitting and starting it back again, which might restore its proper functioning.
Here is what you need to do:
- Open the Terminal from the Applications > Utilities > Terminal in Finder.
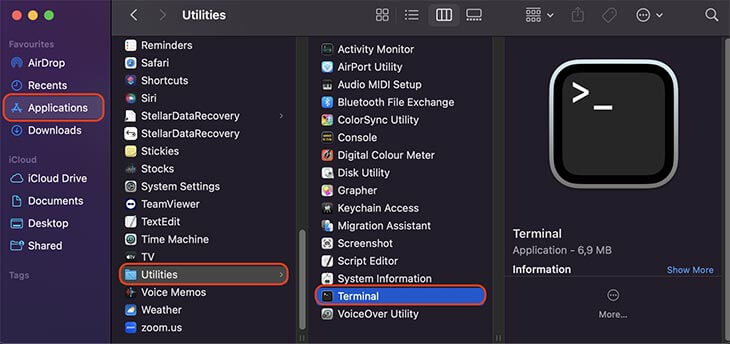 Open Terminal
- In the Terminal window, type the following command sudo killall sysmond and press Return.
 Enter the command in the Terminal window > sudo killall sysmond
- Enter your administrator password.
- The command will quit the sysmond process and relaunch it automatically.
Solution 5: Manual Removal of Sysmond High CPU on Your Mac
There may be situations when the sysmond process is hijacked by the malware, so one more method to fix the issue connected to sysmond high CPU usage is to remove related files that could probably be infected. To remove them:
- Go to the menu bar and click Go.
- Select Go to Folder… and enter the path from the folders below.
 Select Go from the menu bar > Go to Folder
The files connected with sysmond process may be located in various folders on your system, such as:
- /Library/LaunchAgents
- /Library/LaunchDaemons
- /Library/Application Support
- /Library/Preferences
- ~/Library/LaunchAgents
- ~/Library/Application Support
- ~/Library/Preferences
 Go to Folder window
- Open the folders one by one and search for suspicious files.
Note: Delete the files only if you are sure they do not influence the performance of your Mac.
Solution 6: Update macOS
Outdated system software can sometimes lead to problems like sysmond high CPU usage. Ensure your macOS is up to date by following these steps:
- Open System Settings from the Apple menu.
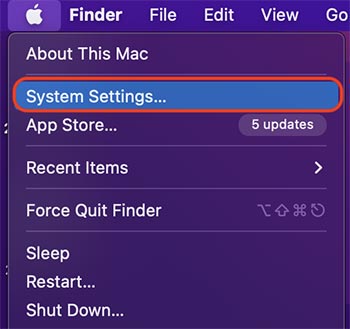 Go to System Settings
- Go to the General tab and select Software Update.
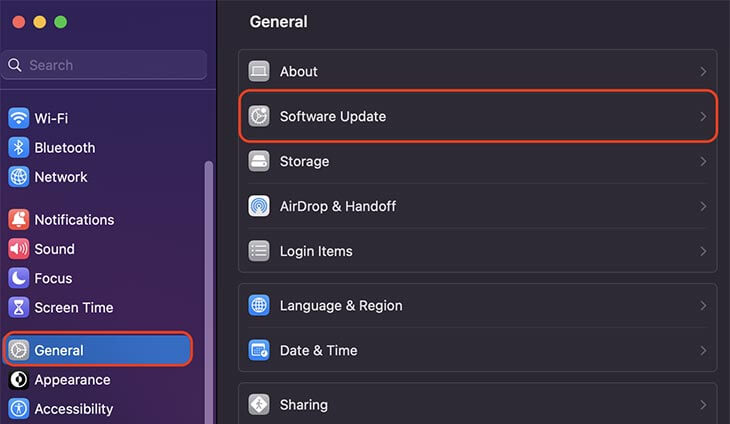 Open General > Software Update
- Click on Upgrade Now if there are updates available.
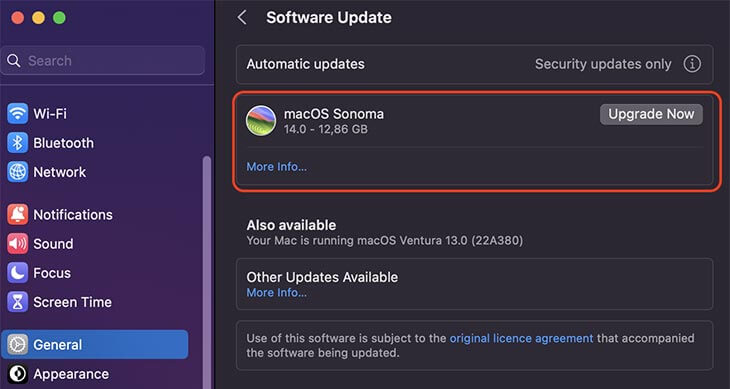 Upgrade your Mac if there are available updates
If necessary, look into asking for help from Apple Support online. They will identify the problem and prescribe an appropriate remedy based exactly on what is going wrong with your Mac.
How Can Stellar Data Recovery Professional for Mac Help After Fixing the Issue?
As one of the methods to fix the sysmond high CPU problem includes manual file removal, there may be situations when you accidentally remove some of your personal data. Here is where Stellar Data Recovery Professional will be helpful; with the help of the app, you will be able to recover your files quickly and easily.
To use Stellar Data Recovery Professional for Mac to recover data, follow these steps:
 Stellar Data Recovery Professional website
- Start the software and specify the data you want to recover. You can click on Recover Everything or select specific file types like documents, photos, videos, and others.
 Stellar Data Recovery Professional > Select what to recover
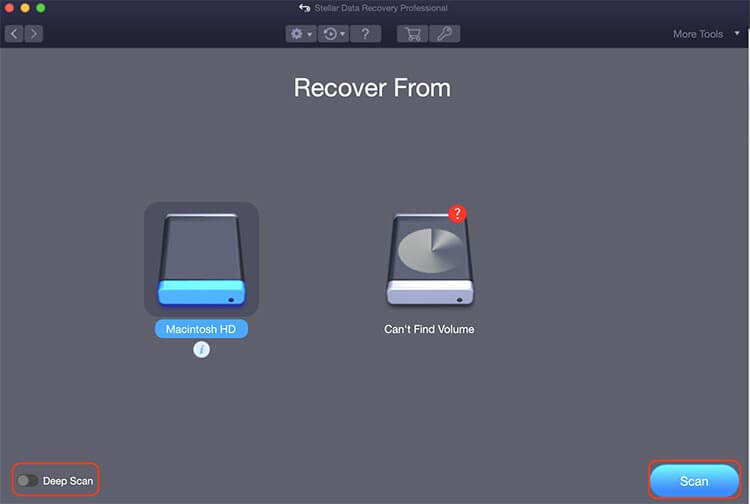 Stellar Data Recovery Professional > Run the scan
- Preview files and select those you want to recover after the scan.
- To recover, click on Recover and then choose the location where you would like the recovered documents to be saved.
Wrapping Up
We hope that our guide has been helpful in solving the issue of the sysmond high CPU problem on Mac. Using these strategies will enable you to easily find the underlying causes of the problem and solve it, enabling your Mac to regain its proper functioning.
Read more:
Was this article helpful?