Adobe offers some powerful graphic design tools like Photoshop, InDesign, and Illustrator that are great for both skilled professionals and enthusiasts. However, like all other files and folders saved on your Mac, InDesign files are not immune to unforeseen incidents.
Accidental erasure or file corruption are some common reasons why designers lose their creative work. Unless you know some smart ways to recover InDesign files, there is a constant fear of data or InDesign files loss.
This blog covers a few viable practices to recover InDesign files if you have inadvertently lost them during a macOS upgrade.
How do I recover a lost InDesign File?
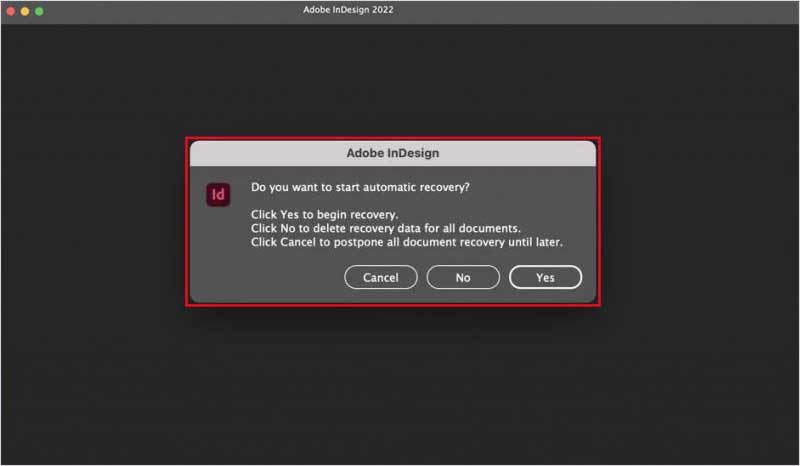
You can recover an unsaved InDesign file with Adobe InDesign’s built-in option to automatically perform corrupt file recovery. Simply, restart your computer or MacBook and reopen InDesign. This move will enable automatic file recovery in InDesign.
Recover InDesign Files on Mac with AutoSave
InDesign also gives you the option to AutoSave your files. Let’s observe steps to utilize AutoSave in InDesign:
- When you open the InDesign app, an autosaved file will prompt to open. Since the recovery feature locates the recently closed file, it will automatically open it in the InDesign window.
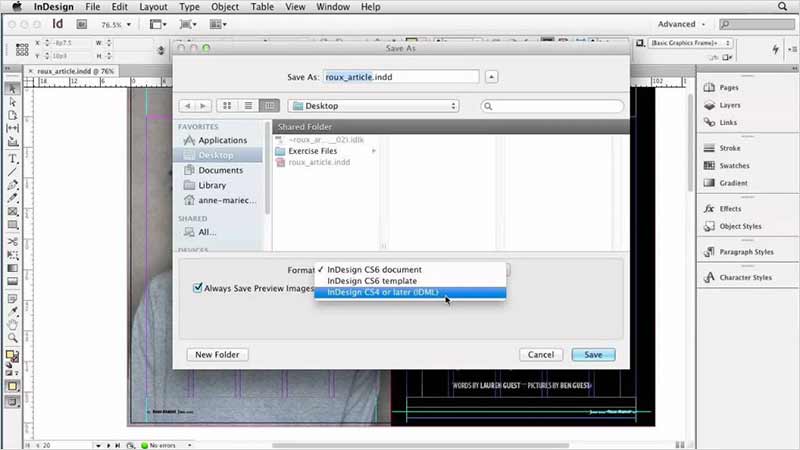
- Click on the File option on the top-left corner and ‘Save Project As’ the recovered InDesign file.
- If the AutoSave feature fails to save and load the files, you can find the InDesign Recovery folder on Mac and recover the file from it.
Automatic Recovery of InDesign Files on Mac
If AutoSave didn’t help you retrieve the desired InDesign file, your other option is to use a built-in Automatic Recovery feature to retrieve an unsaved InDesign file. This unsaved file remains stored on a temporary space, separated from the original InDesign file, on your computer’s storage drive. Follow steps to recover InDesign files automatically:
- Mac users can open Spotlight Search and type the following path: Users/[User Name]/Library/Cache/Adobe InDesign/Version[#.0]/InDesign Recovery.
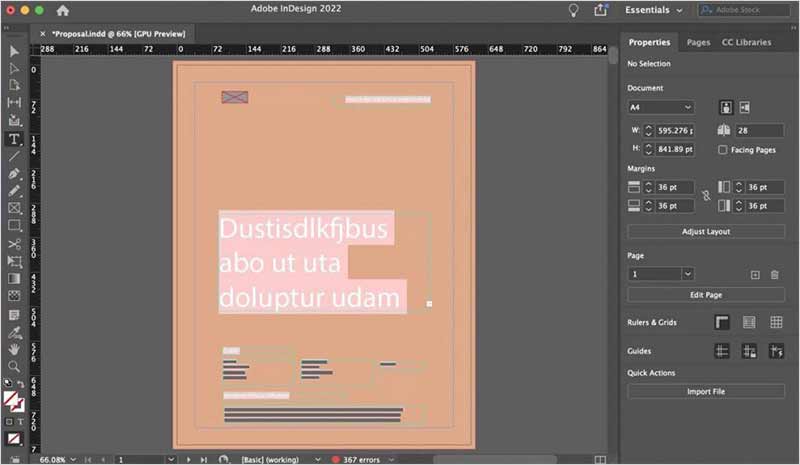
- It will open the Automatic Recovery folder where you can find the draft for an unsaved project. If you haven’t specified a file name to your ongoing project, then it would be labeled as ‘Untitled Project 1, 2, 3, or so on.’
- To rename the file, click on the File tab on top and click Save as to save a permanent copy of the unsaved file with a suitable file name.
If the solutions mentioned above prove inefficient at recovering your InDesign files, simply download Stellar Photo Recovery for Mac. It is a reliable photo recovery software that can scan the storage drive and recover your InDesign files lost in the system. The software is proficient at retrieving deleted photos, videos, and audio files from Mac.
If you are one of those Mac users who encrypt their hard drives in order to prevent data loss, the software can surpass the challenge of encryption on drives and perform conventional photo recovery software. Observe the steps to recover InDesign files:
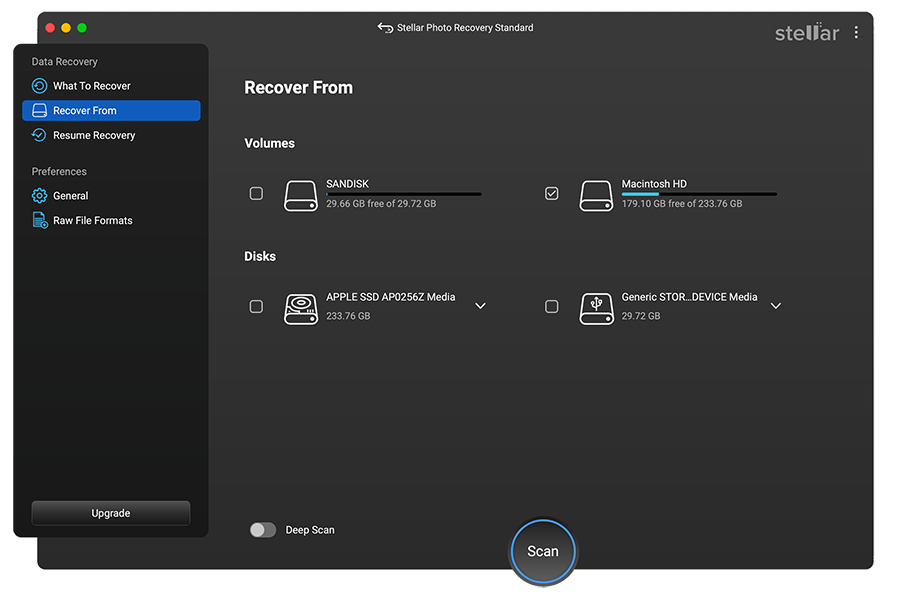
- Download and launch Stellar Photo Recovery software.

- On the home screen, select the storage media and press Scan. Customize the recovery process via the Advanced Settings icon on the top to select InDesign files.
- A dialog box will pop that says ‘Scanning Completed Successfully!’ All the found files and folders are listed in the left-pane of the main window. The bottom-right pane lists the files stored in the selected folder. Select a file and preview in the right pane.
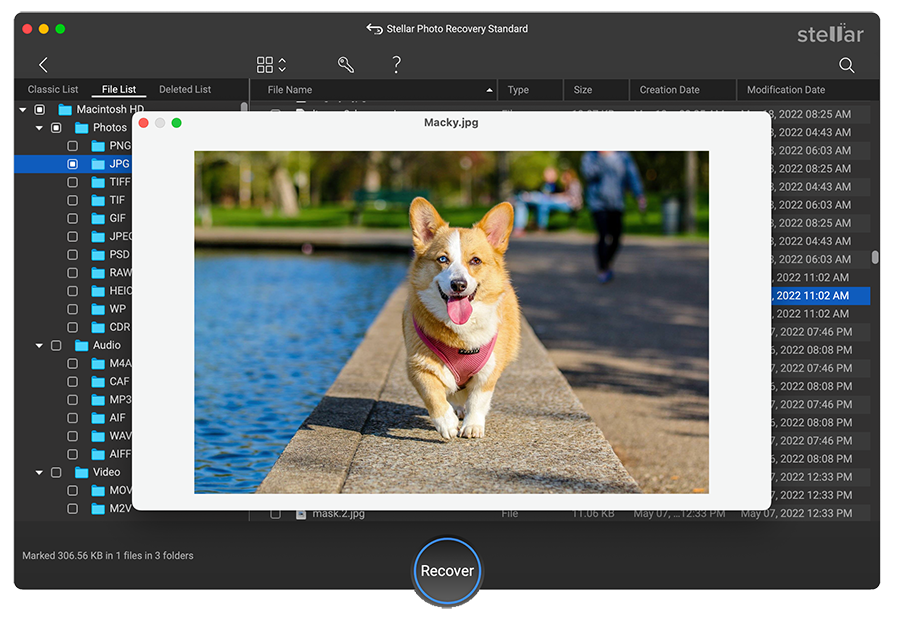
Note: If you can’t find the desired InDesign file, choose Deep Scan option at the bottom and click Recover.
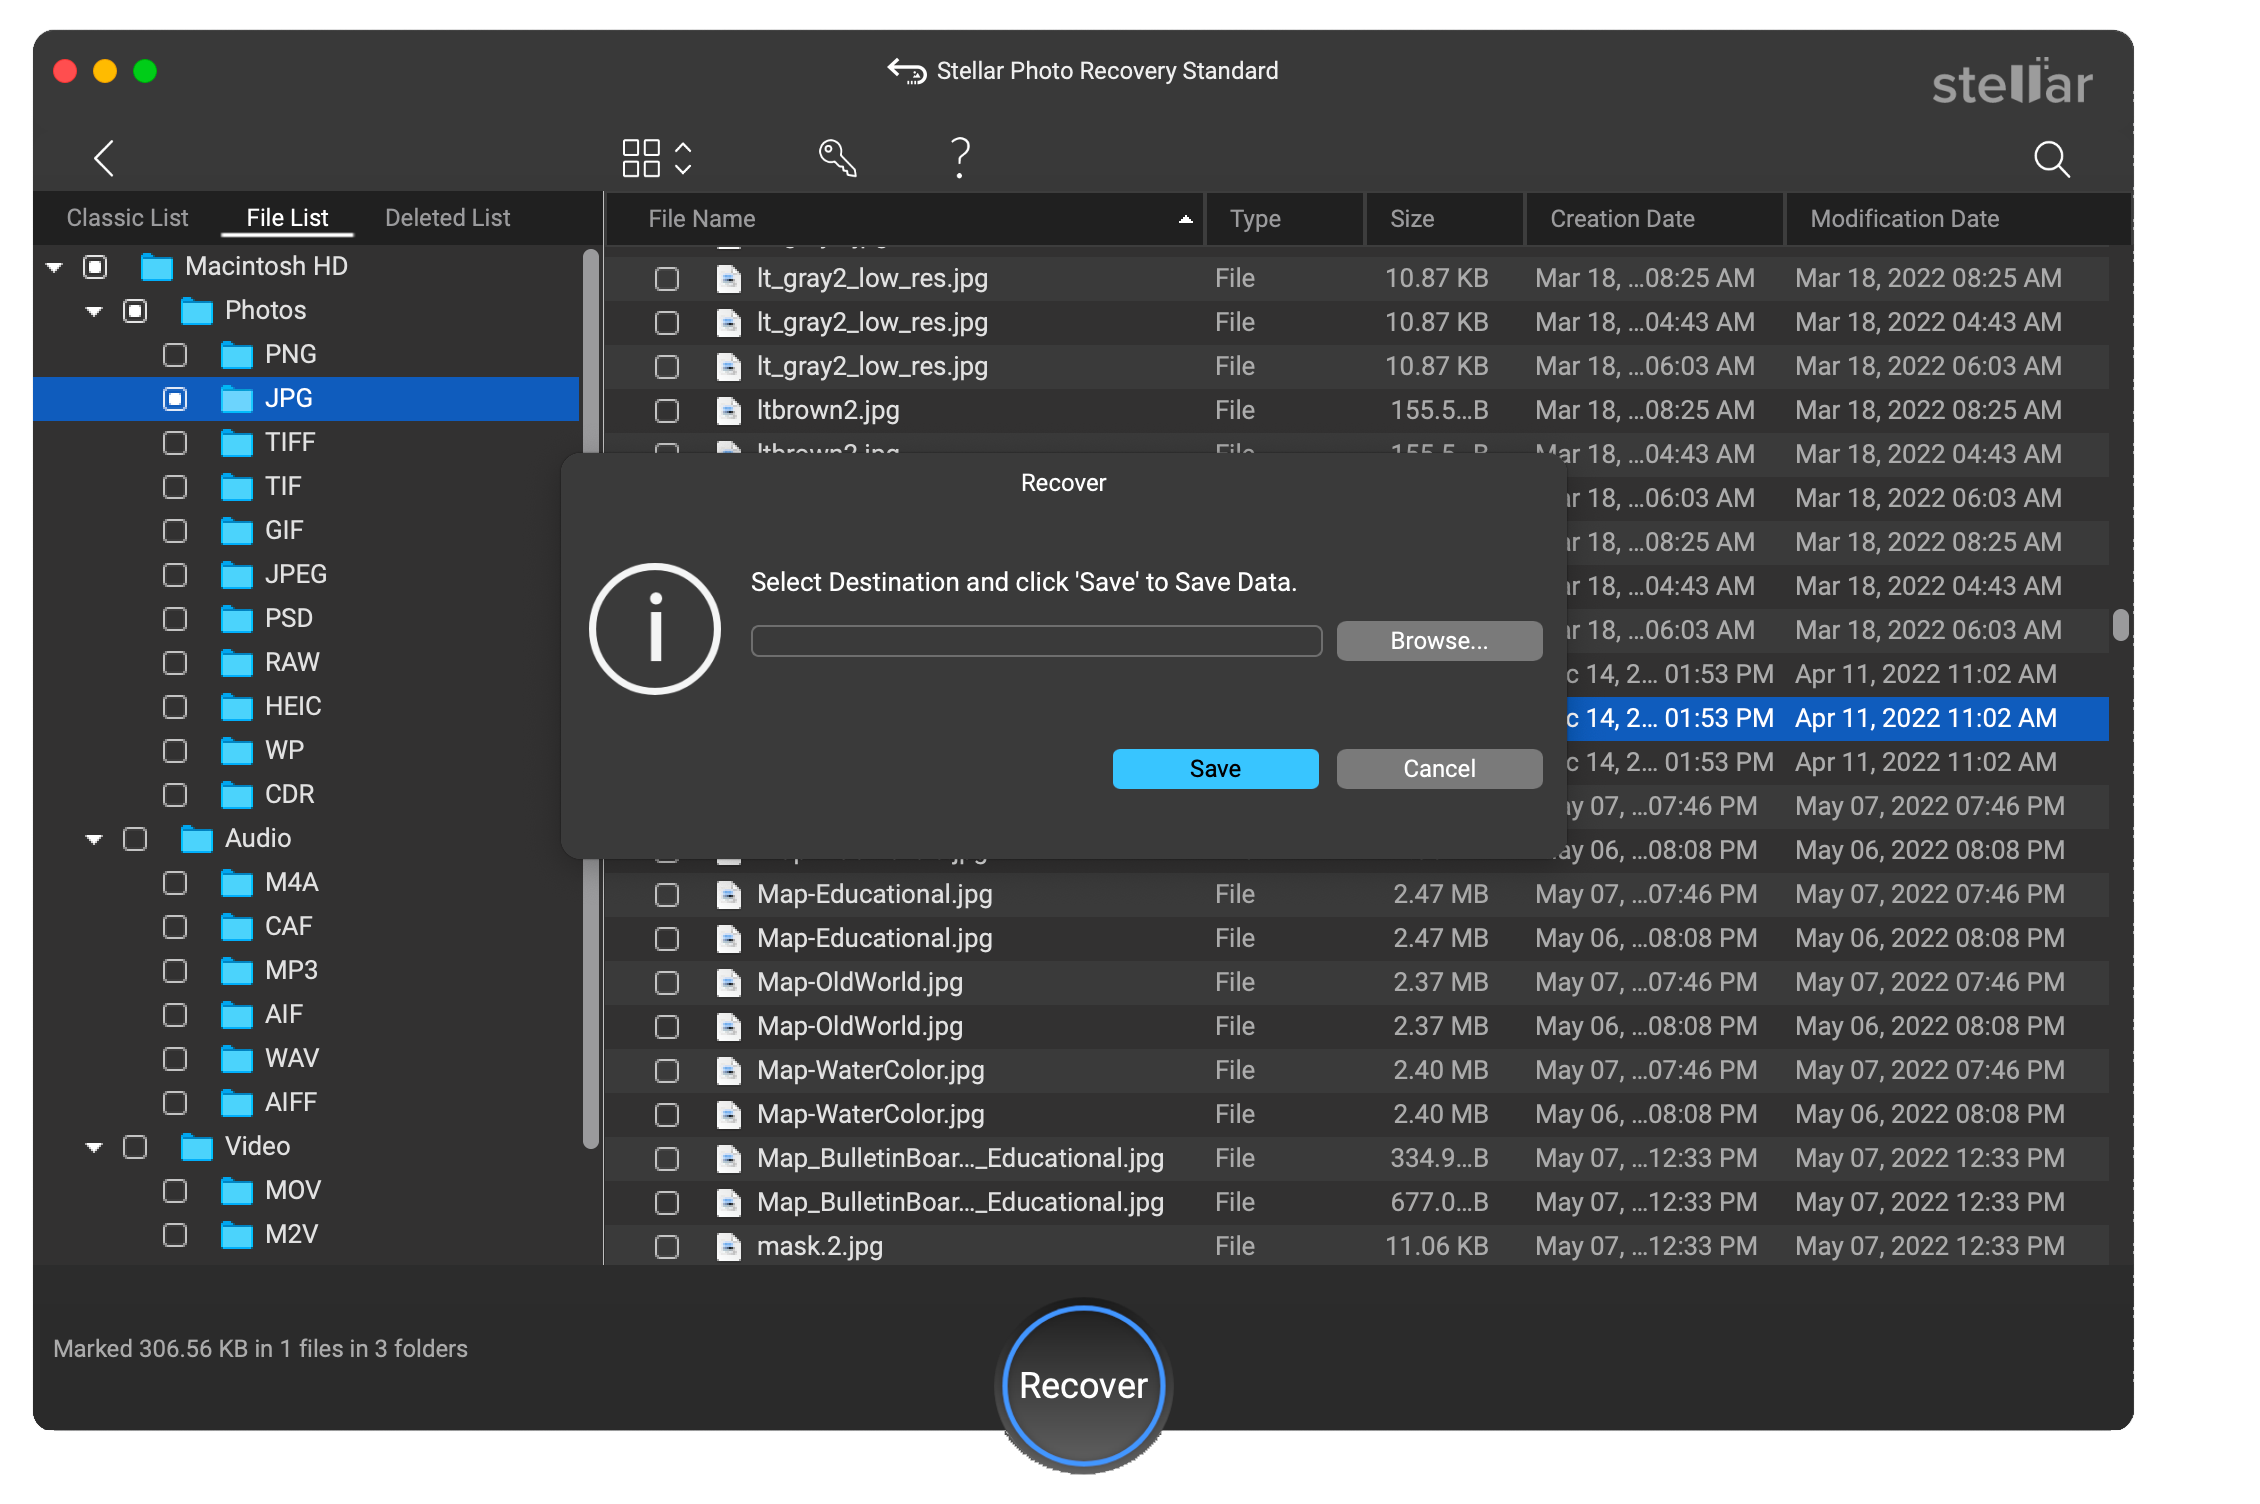
- Specify the location or folder where you wish to save your recovered InDesign file and press Save button.
Bonus Tips to Prevent Adobe InDesign Data Loss: By taking some precautionary measures and proactive steps to safeguard your data, you can prevent InDesign file loss. Start by taking simple initiatives like:
- Don’t miss taking back up of all significant files to an external drive.
- Carefully press Shift-delete keys or Delete command.
- Always use a reliable antivirus software to prevent malicious attacks.
- Be cautious of external vulnerabilities that can cause major data loss.
Conclusion:
All the methods mentioned in this post are reliable and efficient in finding your lost Adobe InDesign files from Mac. Be it AutoSave, automatic recovery, or professional data recovery software like Stellar Photo Recovery Standard for Mac, choose an option that can ease your stress by swiftly recovering your lost InDesign files. Moreover, always keep your macOS updated to ensure your hard work remains untouched and safe. However, before any major software updates, make sure all your important work or design tools are compatible with the new installation!
Is InDesign compatible with Mac?
InDesign 16.0 and above version tools are compatible with Big Sur (macOS 11). Though, InDesign 15.X and earlier versions have not been tested for compatibility with Big Sur (macOS 11).
Why is InDesign so slow on my Mac?
Sluggish and unexpected behavior of Adobe tools is a sign your image is either corrupt or there are damaged preferences. Reset the preferences to remove all the custom settings and relaunch InDesign with default settings. Nonetheless, take a backup of all the crucial work folders before performing this step.
Why can't I open my InDesign file?
Due to corrupt files or preference setting, you are unable to open InDesign File. Just relaunch InDesign and hold down Control-Alt-Shift on Windows laptop. Mac users press Command-Control-Opt-Shift and click on Yes button to delete InDesign preference files. Usually, this step will enable you to open your InDesign file without any trouble.
Was this article helpful?